
Small Kitchen Storage Ideas for Apartments: The Zero Drill Build Order

No drill. No landlord email. No security deposit math at 11 p.m.
Most small kitchen storage ideas assume you own the walls. You don’t, so this guide is built around what a lease actually allows: adhesive, tension, magnets, and gravity. Four moves, in order, and the first one costs nothing.
Here is the part nobody tells you. The reason your kitchen feels full is almost never that you own too much. It’s that roughly a third of your storage sits in a height band your hands refuse to visit, so you keep everything you actually use on the counter. Fix the band, and the counter clears itself.
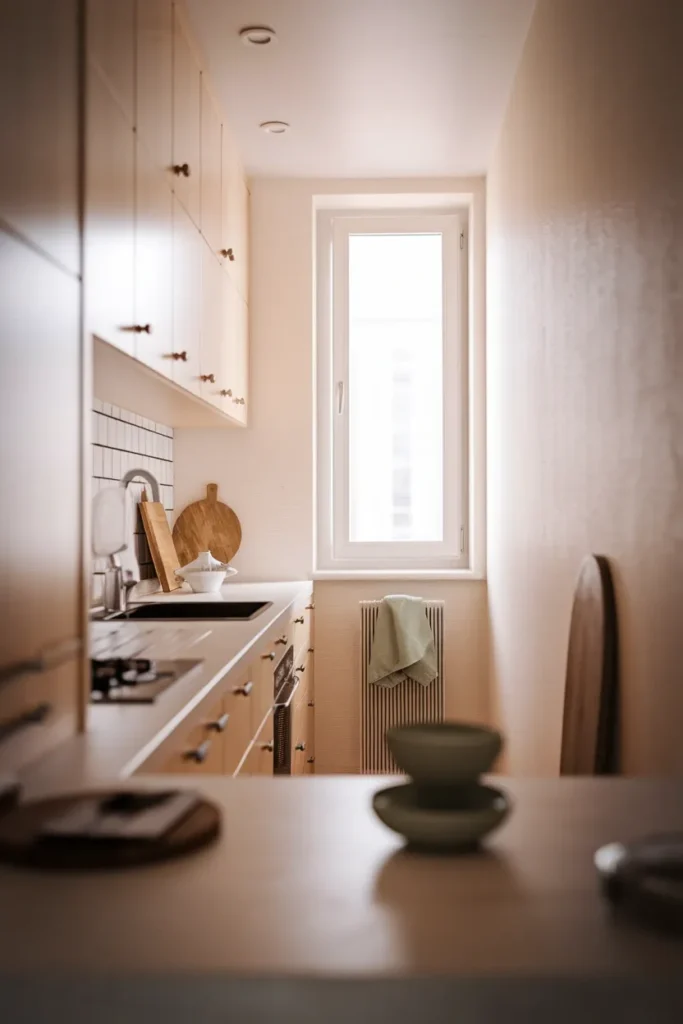
Start Here: The Four Moves That Free the Most Space
If you do nothing else, do these, in this order. Each one is reversible and none of them touches a stud.
- Empty the top shelf of every upper cabinet and move those items down. Free. Takes 20 minutes. This is the single highest-yield move in the whole guide, and the next section explains why.
- Mount organizers to the inside of your cabinet doors. Roughly 6 to 8 inches of unused depth behind every door you already open twenty times a day.
- Hang a rail on the backsplash. An IKEA KUNGSFORS rail runs $11.99 for 22 inches and moves your five daily tools off the counter and into arm’s reach.
- Add one rolling cart in the widest dead gap you own. The small RÅSKOG is $29.99 and fits an 11 inch footprint.
Total for moves 2 through 4, done cheaply: under $80. Move 1 is free and does more than the other three combined.
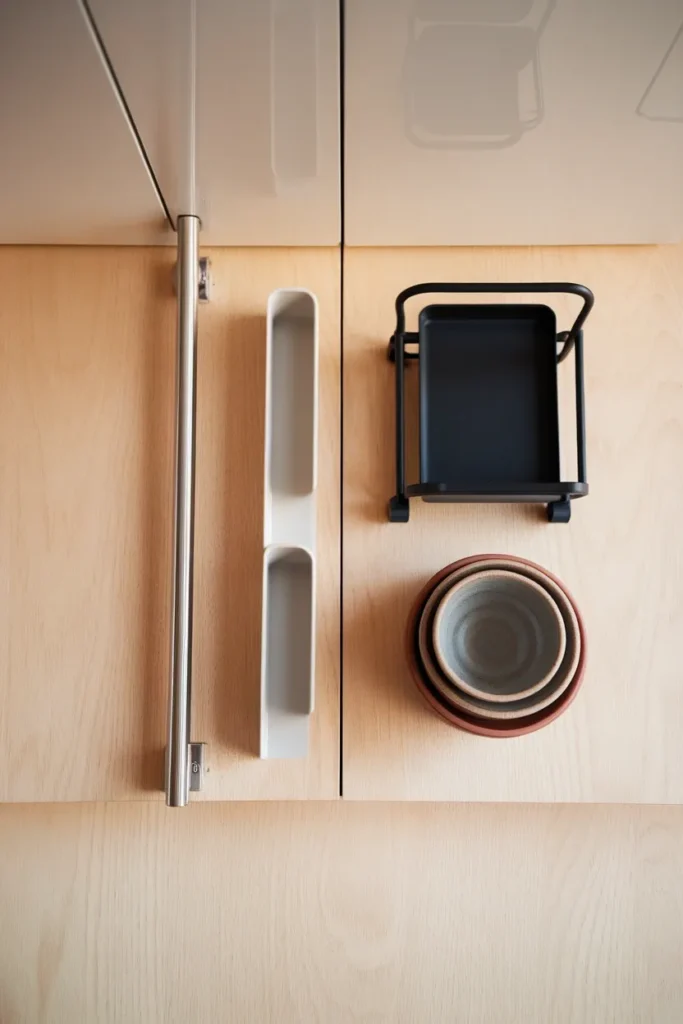
The Daily Band: Why 15 to 48 Inches Is the Only Storage You Really Have
Reach in a kitchen is not a preference. It’s a measurable band, and federal accessibility standards define it precisely: an unobstructed forward or side reach runs from 15 inches to 48 inches off the floor. Reach forward over a counter roughly 20 inches deep and that ceiling drops further, to 44 inches. Those figures come from the U.S. Access Board reach range standards, which exist for accessible design but describe every pair of human arms in a rental galley just as well.
Call it the Daily Band. Everything between 15 and 48 inches is storage you will use without thinking. Everything above it is storage you will use when you drag a chair over, which in practice means twice a year.
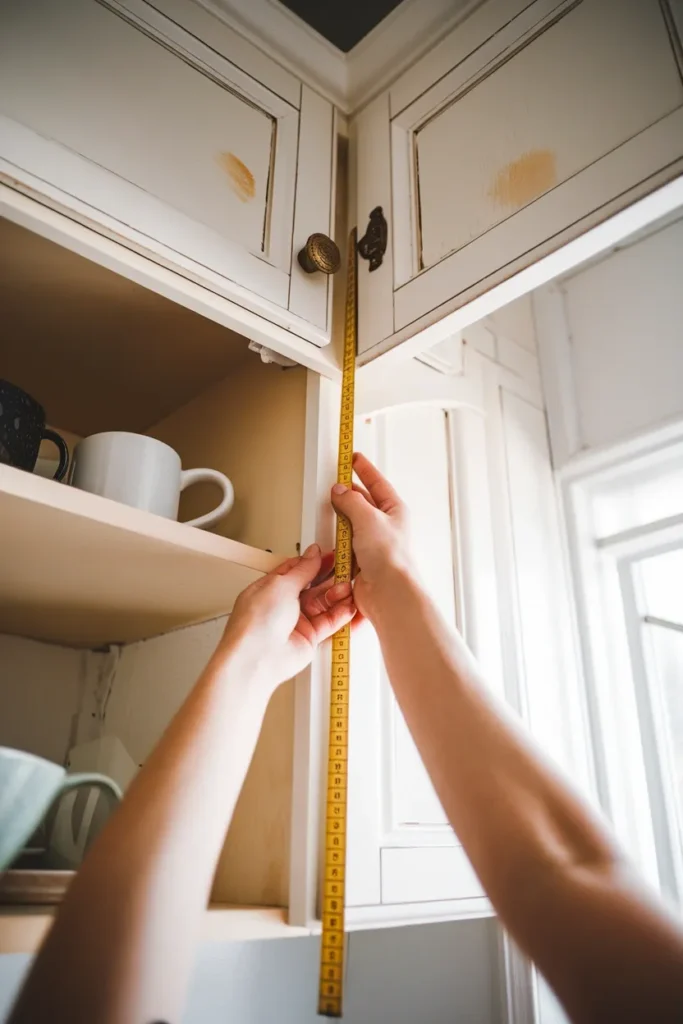
Now go measure your kitchen. In most apartments the bottom shelf of the upper cabinets sits around 54 inches and the second shelf lands near 66. That means your entire upper cabinet system is outside the Daily Band. Which explains the counter. You are not messy. You have been storing daily items in annual space, so your hands invented a workaround, and the workaround is the countertop.
The fix is a sort, not a purchase:
- Inside the band (15 to 48 in): everyday plates, glasses you use daily, the five tools you cook with, coffee setup, oils and salt.
- Just above (48 to 60 in): weekly items. Baking sheets, the good bowls, the second set of mugs.
- Above 60 in: holiday and annual only. The roasting pan. The waffle maker you are honest about now.
- Below 15 in: heavy and infrequent. Stock pots, small appliances, bulk paper goods.
That last one matters more than it sounds. Deep low cabinets are where things go to be forgotten, so put weight down there, not frequency.
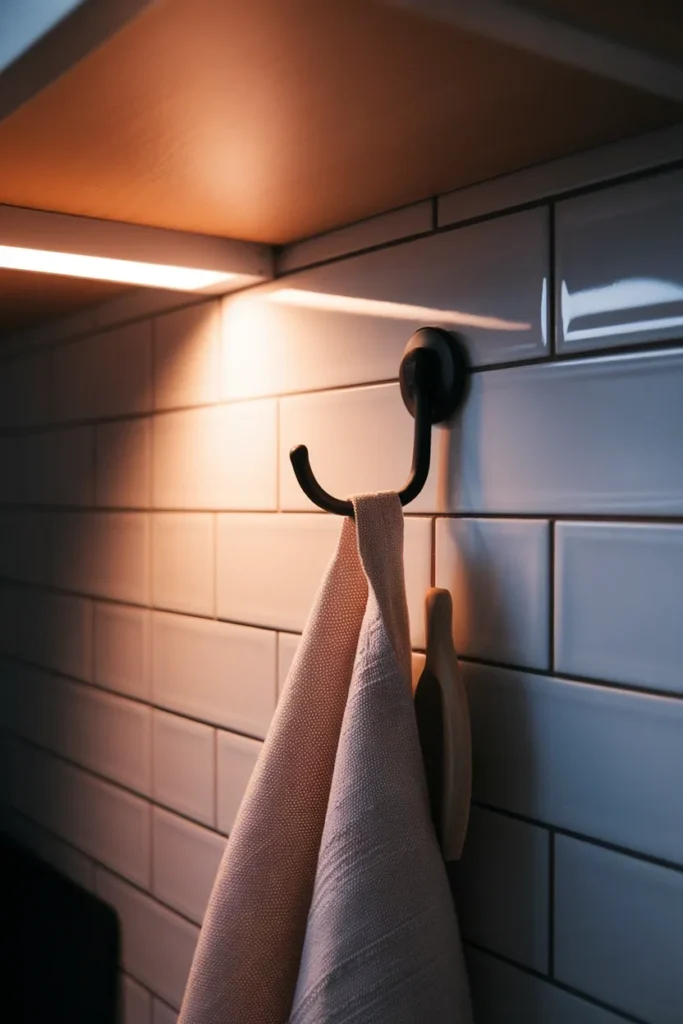
Hang Everything, But Know Exactly What the Wall Will Hold
Every guide says hang more. None of them publishes the numbers, which is how renters end up pulling paint off drywall on move-out day.
Here are the real manufacturer ratings for 3M Command products, the standard renter-safe option:
| Product | Holds |
|---|---|
| Medium Hook (17001) | 3 lb |
| Large Hook (17003) | 5 lb |
| Jumbo Hook (17004) | 7.5 lb |
| Clear Large Hook (17093CLR) | 4 lb |
| Broom Gripper (17007-ES) | 4 lb |
| Under Sink Cabinet Caddy (17604-HWES) | 7.5 lb |
| Sticky Nail Wire-Back Hanger (17048) | 8 lb |
Now weigh what you were about to hang. A 10 inch cast iron skillet is commonly 5 to 6 lb on its own. That is a Jumbo hook at minimum, and honestly it belongs on a rail anchored properly or in a low cabinet. A stainless colander, a set of measuring cups, oven mitts, a dish towel, a small cutting board: all comfortably inside Medium and Large territory.
Three rules that keep the deposit:
- Halve the rating for anything that swings. A pan you grab in a hurry loads the hook dynamically, not statically. Rate for the yank, not the weight.
- Wait the full hour before loading. The adhesive needs cure time, and this is the step everyone skips at 9 p.m. on a Sunday.
- Never adhere to textured or freshly painted walls. Paint under 30 days old comes off in a sheet. Tile, sealed cabinet doors, and the fridge side are the reliable surfaces.
The wider point here is that renting is a constraint, not a ceiling. The same reversible logic works everywhere in an apartment, and if you want the whole-home version there is a full walkthrough of zero drill renter decorating moves that covers lighting, walls, and floors the same way.
The Inside of Every Cabinet Door Is Free Real Estate
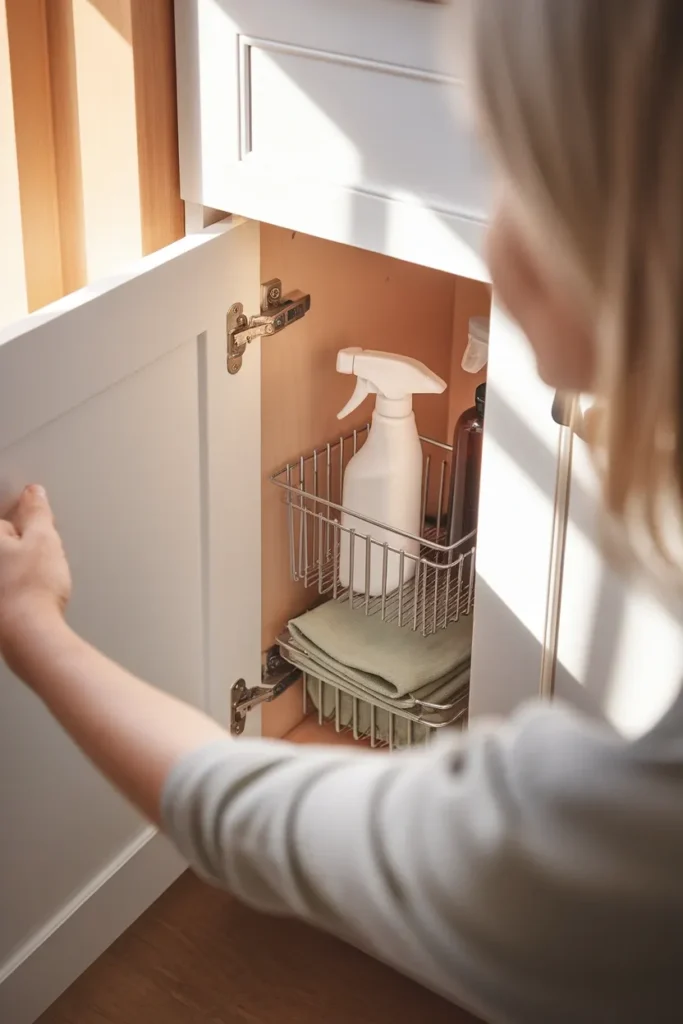
Open any cabinet and look at the door. There is usually 6 to 8 inches of clear depth between the inside face of that door and the front edge of the shelf, and it is doing nothing.
What belongs there, roughly in order of payoff:
- Under the sink door: spray bottles, gloves, sponges, trash bags. Getting these off the cabinet floor is what makes under-sink space usable at all.
- Beside the stove: a slim spice rack. An IKEA BEKVÄM at $9.99 measures 15 3/4 x 3 7/8 x 3 1/2 inches and mounts to a door face without eating shelf depth.
- Pantry cabinet door: foil, wrap, parchment, and zip bags standing on end. Boxes stack terribly and stand beautifully.
- Beside the prep zone: cutting boards and sheet pans on a vertical file rack.
The measurement that decides everything: close the door slowly and watch where it hits. You need door-face depth plus organizer depth to clear the shelf edge. Anything over about 3 1/2 inches deep will hit a standard shelf, and you will discover this after you have committed the adhesive.
A failure mode worth naming: people load door organizers with heavy glass jars, then the door sags on its hinges over a few months and stops closing flush. Keep door storage light. Plastic, paper, cloth, and small tins only.
Stop Storing Food Under the Sink
This is where we part ways with almost every list on page one of Google. “Store items under the sink” shows up as a top idea on the highest-ranking result, unqualified. It should be qualified.
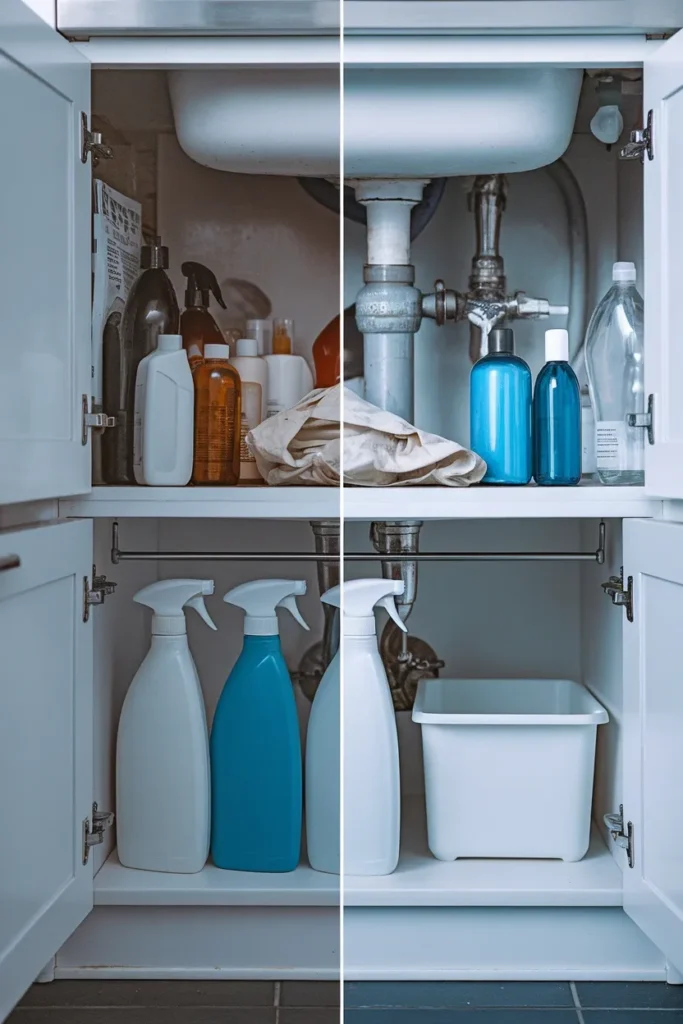
Under the sink is the worst microclimate in your kitchen. It’s warm, because the drain and any dishwasher line run heat through it. It’s damp, because condensation collects on cold supply lines. And it’s where your cleaning chemicals live. Kansas State’s safe food storage guidance for cupboards is direct on both counts: store foods “in a cool, dry, dark location away from heat sources like appliances,” and “store foods away from chemicals to prevent contamination.”
So under the sink gets non-food only. Cleaning supplies, dish soap refills, trash bags, gloves, a small caddy of tools. That is a real storage win, because those items were probably crowding a cabinet you’d rather use for food.
Where the food goes instead:
- Dry goods: the coolest, driest cabinet you own, which is almost always the one farthest from the oven and the fridge exhaust. Both appliances vent heat, and the cabinet next to them runs measurably warmer.
- Oils and vinegars: not on the shelf above the range, no matter how convenient the reach. Heat degrades oil fast and there is a fire consideration too.
- Onions, potatoes, garlic: a low, ventilated basket. Not the fridge, and not next to each other, because onions accelerate potato sprouting.
Decanting into airtight containers helps, but do it for the reason that actually pays: uniform containers let you see quantity at a glance, and they stack square instead of round, which is where the space savings come from. The aesthetics are a bonus, not the point.
Turn the Gap Beside the Fridge Into a Pull Out Pantry
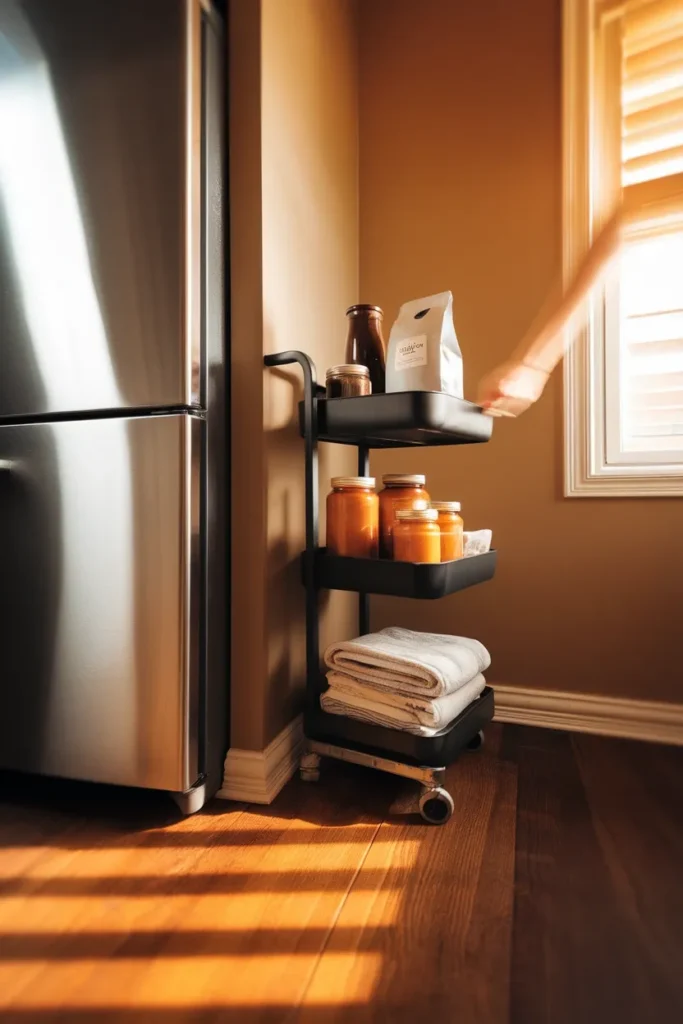
Almost every apartment kitchen has one: a 9 to 14 inch dead gap between the fridge and the wall, or between a cabinet run and the doorway. It usually collects a broom and a folded paper bag.
Measure it before you buy anything. You need the gap width, minus about half an inch of clearance, and you need to check the fridge door swing so a cart does not block it.
For a 12 inch gap or wider, the small IKEA RÅSKOG is $29.99 and measures 11 x 15 x 24 inches, rated to 26 lb total and 9 lb per tier. For a wider gap or an open corner, the standard RÅSKOG is $39.99 at 13 3/4 x 17 3/4 x 30 3/8 inches, rated to 40 lb with 13 lb per shelf. Those per-shelf limits are the ones people ignore. A tier of canned goods clears 9 lb quickly.
Load it in reach order, top to bottom: snacks and daily grabs on top, backup pantry in the middle, heavy and bulk on the bottom to keep the center of gravity low. A top-heavy cart on casters tips when a kid pulls it.
The honest downside, since nobody mentions it: rolling carts are loud. Hard casters on tile make a distinct rattle every time you move them, and if your kitchen opens onto a bedroom you will notice it at 6 a.m. Felt caster pads or a small rug runner underneath fixes it for a few dollars.
Open Shelves That Read Styled, Not Cluttered
Open shelving is the most-pinned small kitchen storage idea and the one most likely to look worse than the cabinet it replaced. The difference between the two outcomes is not taste. It’s three mechanical rules.
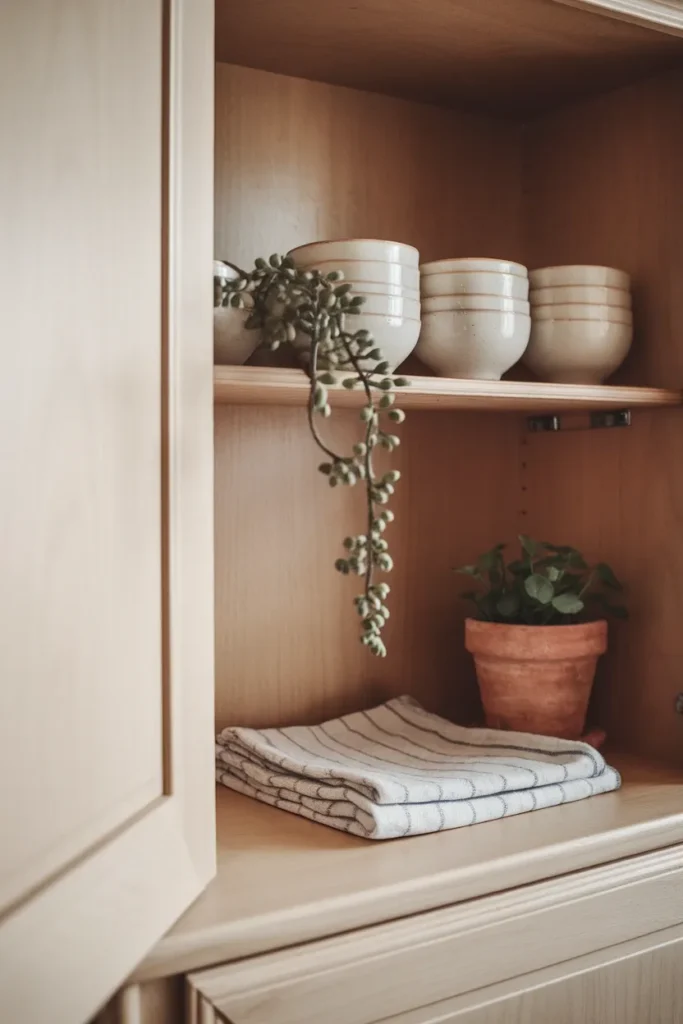
Rule one: one repeated shape per shelf. Six matching white bowls read as a pattern. Six different white objects read as a pile. Repetition is what your eye interprets as intentional.
Rule two: leave the top third empty. A shelf loaded to the ceiling reads as a warehouse. Air above the objects is what signals a choice was made.
Rule three: every shelf needs one thing that is not kitchenware. A small plant, a leaning postcard, a wooden spoon in a crock. Pure function reads institutional.
The texture point deserves its own line, because open shelves fail in exactly the way a bare wall fails. Ceramic, glass, and metal are all hard, cool, and smooth, so a shelf of only those materials feels like a supply closet no matter how neatly it’s arranged. One woven, wooden, or cloth element per shelf changes the read completely. The same principle applies room-wide, and there’s a full breakdown of layering textures so a surface reads warm if you want the rules behind it.
Also worth being blunt about: open shelves need dusting, and in a kitchen that dust is greasy. Anything within about 4 feet of the range will film over in a few weeks. Put daily-use items there, since they self-clean through use, and keep the decorative things at the far end of the run.
Buy Back the Counter Space You Already Own
Counter space in a small kitchen isn’t a fixed quantity. Several square feet of it are recoverable.
- Over the sink. An expandable roll-up rack turns the sink basin into a drying, rinsing, and prep surface. This is the single largest recovery in most apartments, often 3 to 4 square feet.
- The corner. Two-tier corner risers double the footprint of a dead diagonal that currently holds one bottle of oil and a lot of nothing.
- Vertical stacking. Shelf risers inside a cabinet turn one shelf into two for plates and mugs.
- The fridge side panel. Magnetic. Free. Holds a paper towel roll, a spice tin caddy, and a shopping list. Test with a magnet first, because many newer stainless finishes are not magnetic.
What to keep on the counter, and this is a short list: the appliance you use daily, the tools you reach for daily, and one thing that isn’t functional. Everything else is storage that has escaped.
Do not store anything on the stovetop or on a shelf directly above the range. Cooking oils, paper goods, dish towels, and plastic all live badly next to a heat source, and a towel draped near a burner is a genuine fire risk, not a hypothetical one. The convenience is real and it isn’t worth it.
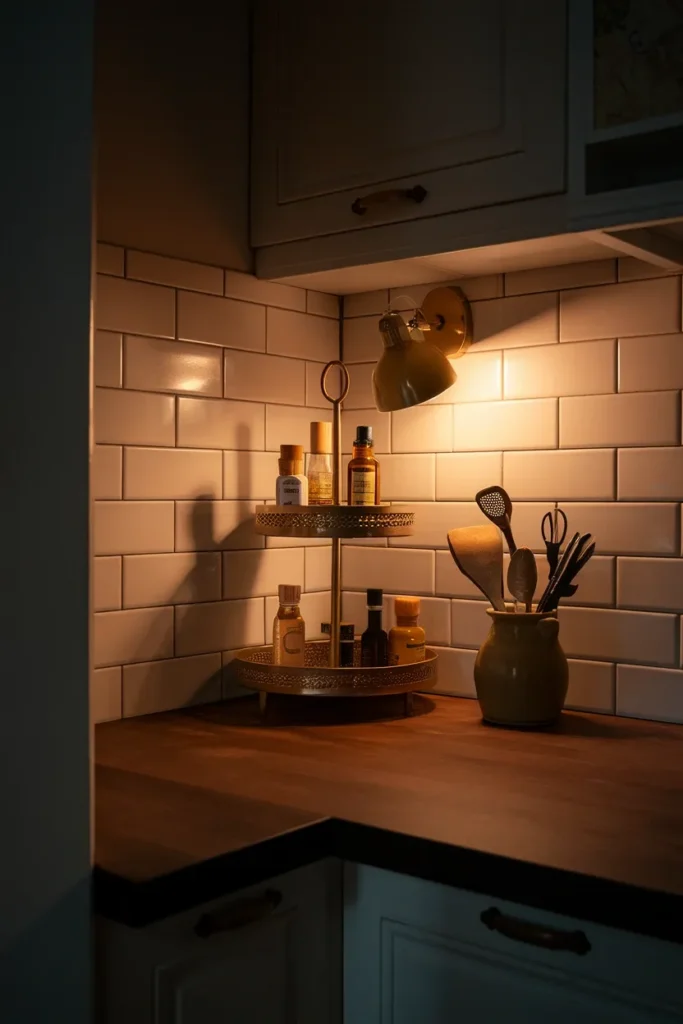
Make Budget Organizers Look Like They Belong
The reason a well-organized small kitchen can still feel chaotic is usually material mismatch. Five organizers in five finishes from five brands read as clutter even when every item is neatly stored.
Pick one metal and stay with it. Brushed steel or matte black, not both. Then pick one warm material, wood or woven, and repeat it three times across the room. That’s it. Two-material discipline is what makes a $60 setup photograph like a $600 one.
Color does the rest of the work. A small kitchen has very little wall showing between cabinets and counter, so whatever color is in your textiles and containers dominates the room’s read. Keeping those inside one warm neutral range makes a cramped kitchen feel settled rather than busy, and there’s a fuller guide to building a warm neutral palette for small rooms that applies directly here.
One practical swap: transfer decanted goods into containers with the same lid finish, even if the jars differ. Lids sit at eye level on a shelf and are what your eye actually registers. Matching lids on mismatched jars reads more consistent than mismatched lids on matching jars.
The Whole Build, Totaled at Three Real Budgets
All prices below are current US IKEA and standard retail. No “affordable” hand-waving.
| Tier | What’s in it | Cost |
|---|---|---|
| Weekend, under $60 | Reach-band re-sort (free) + BEKVÄM spice rack $9.99 + KUNGSFORS 22 in rail $11.99 + tension rod under sink (~$8) + Command Large Hooks 6-pack (~$12) + two shelf risers (~$16) | ~$58 |
| Real fix, under $150 | Everything above + small RÅSKOG cart $29.99 + HULTARP 15 in magnetic knife rack $17.00 + over-sink roll-up rack (~$30) + two door-mount organizers (~$20) | ~$155 |
| Full reset, under $300 | Everything above + large RÅSKOG cart $39.99 (swap in) + KUNGSFORS 22 in magnetic knife rack $20.00 + full decanting container set (~$60) + corner riser set (~$25) | ~$290 |
The honest recommendation: start at tier one. The free re-sort plus $58 of hardware solves most apartment kitchens. Spend the other $200 only after you’ve lived with tier one for two weeks and can name exactly what’s still wrong.
Where This Goes Wrong at Month Three
Every organizing system decays. Here’s how this one specifically fails, so you can catch it early.
The counter creeps back. Usually because something in the Daily Band got assigned to an item you don’t actually use daily, pushing a real daily item out. Fix: once a month, look at what’s on the counter and find what it displaced.
Door organizers start rattling. Adhesive creeps under temperature swings, especially near a dishwasher vent. Re-press them firmly every few months, or move them to a door away from the heat.
The cart becomes a junk drawer on wheels. Carts are open and forgiving, which is exactly the problem. Give each tier one written category and stick to it.
Decanted jars run empty and stay empty. The system only works if refilling is part of unpacking groceries. If it isn’t, keep the original packaging for the things you restock most.
Small Kitchen Storage Ideas FAQs
How do I add storage to a small kitchen without cabinets? Work the surfaces you already have. The inside of every existing door, the backsplash wall (via an adhesive-mounted rail), the fridge side panel, the gap beside the fridge, and the space over the sink. Between those five, most apartments recover the equivalent of one full cabinet without a single hole in the wall.
How can renters add kitchen storage without drilling? Adhesive hooks and strips, tension rods, magnetic mounts, freestanding carts, and over-the-door hangers. Check your adhesive weight ratings before loading (a Command Medium Hook holds 3 lb, a Large holds 5 lb, a Jumbo holds 7.5 lb) and wait the full cure hour before hanging anything.
Is it safe to store food under the kitchen sink? Better not to. That cabinet is warm from plumbing lines, damp from condensation, and typically houses cleaning chemicals. Food storage guidance from Kansas State Extension calls for a cool, dry, dark spot away from heat sources and away from chemicals. Use under-sink space for cleaning supplies and non-food items instead.
What’s the cheapest way to add kitchen storage? Re-sorting what you already own by reach height, which costs nothing and typically frees more counter than any purchase. After that, a tension rod and a set of adhesive hooks run under $20 combined and handle the under-sink cabinet and the backsplash.
How do I maximize counter space in a small kitchen? Cover the sink with an expandable roll-up rack, move your five daily tools onto a wall rail, add risers to the corner, and move anything used less than daily off the surface entirely. Recovering the sink alone typically returns 3 to 4 square feet.
How do I keep open shelves from looking cluttered? Repeat one shape per shelf, leave the top third of the shelf empty, and include one non-kitchen item per shelf. Repetition plus air is what reads as styled rather than stored.
How do I organize a small kitchen with no pantry? Build a vertical one. A rolling cart in a dead gap gives you three tiers of shelf-stable storage, and the inside of a cabinet door handles wraps, foils, and bags. Keep it in the coolest cabinet zone, away from the oven and the fridge exhaust.
Start With the Free Move
Before you buy anything, do the twenty minute version: take everything off the top shelf of every upper cabinet, move it somewhere above 60 inches or below 15, and put your daily items in the space you just cleared. Live with it for a week.
Most people find they need about half the hardware they thought they did. If you want the same reversible logic applied to the rest of the apartment, walls, lighting, and floors included, the zero drill renter decorating moves guide picks up where this one leaves off.
Keep reading
More cozy nook ideas
 Small Spaces
Read →
Small Spaces
Read →
10 Small Reading Nook Ideas for Adults
One high-back chair, one clamp-on lamp, one $19.99 tray table. At IKEA US prices this month, that’s a full reading corner for…
 Small Spaces
Read →
Small Spaces
Read →
18 Twin Bed Ideas for a Small Room
A twin bed in a small room can look like a leftover dorm setup or like the best seat in the house.…
 Small Spaces
Read →
Small Spaces
Read →
14 Modern Apartment Decor Ideas That Make a Small Room Feel Bigger
Four hundred and sixty square feet. That is the average size of a new US studio apartment, according to RentCafe’s 2025 numbers,…
One Comment