
How to Create a Library Lounge That Looks Custom, Not Homemade
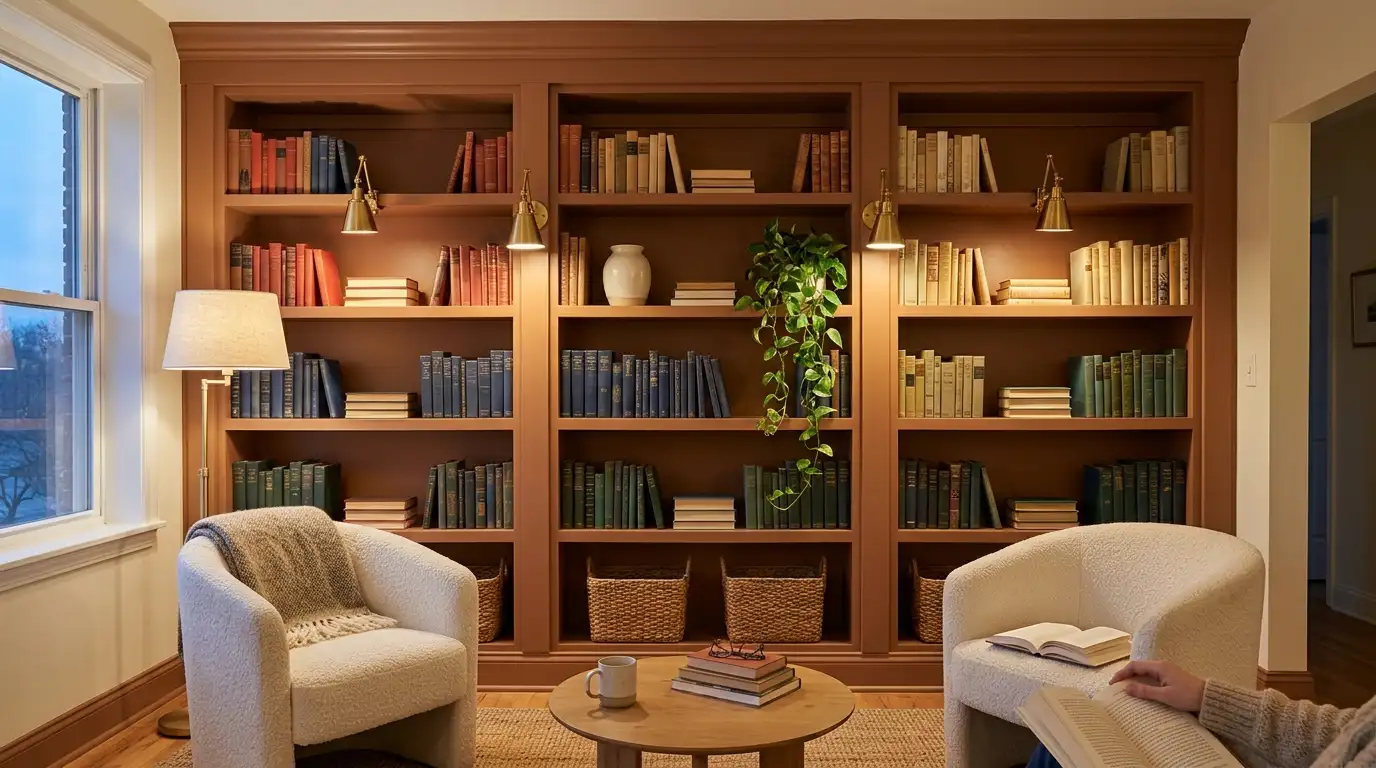
If your book wall reads as three flat-pack boxes lined up against drywall, the books aren’t the problem. The gaps are. A library lounge looks custom when the shelving meets the floor, the ceiling, and the walls with nothing showing in between, and you can fake all three with stock bookcases, primed trim, and one weekend, even in a rental.
This build uses three IKEA BILLY bookcases and their height extensions. It closes every seam with boards and crown molding, then paints the whole wall one color so it reads as architecture instead of furniture.
You’ll get exact ceiling math for an 8-foot room and a build list priced in October 2026. There’s also a renter version that never touches the ceiling, plus the seating and light that make a wall of books feel like a room people want to sit in.
Start with the rule that decides everything else.
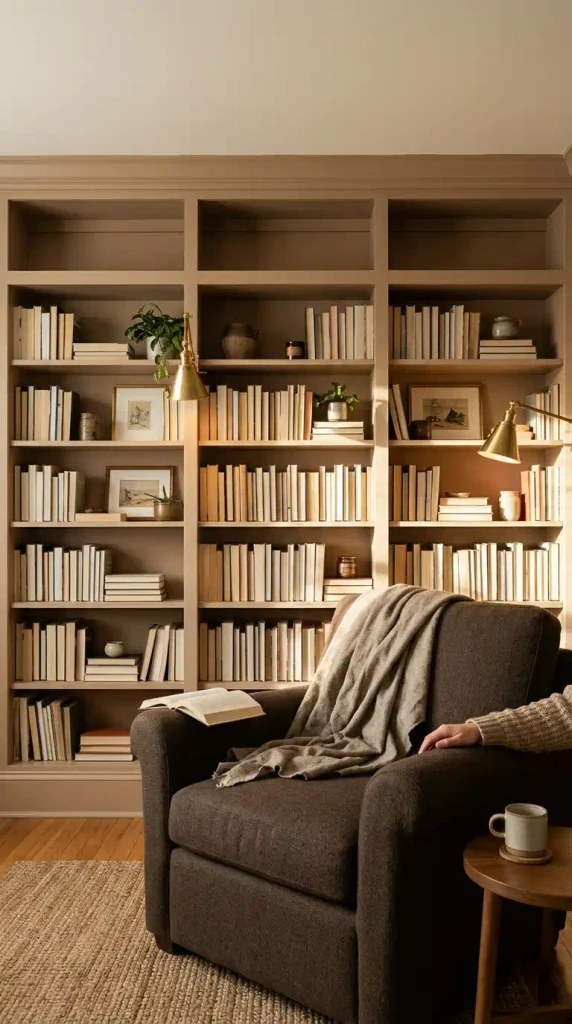
The Three-Touch Rule: Why Built-In Bookshelves Look Custom
Custom carpentry touches three surfaces. Store-bought bookcases touch one.
Scroll back through any built-in library you’ve saved and the pattern repeats. Shelving runs into the ceiling, sits on a solid base at the floor, and stops tight against a side wall or a finished end panel.
Freestanding units float instead. They leave a dark stripe above the top, a recessed kick at the bottom, and a sliver of wall between every case. Your eye reads all of it as furniture, not architecture.
So the whole project comes down to one rule: close the top, close the bottom, close the seams. Paint, light, and styling only pay off once those three are handled.
Stand back from your wall and check it against the table below. Spot three or more tells, and the trim deserves your money before a single decor piece does.
Measure the Wall Before You Buy a Single Shelf
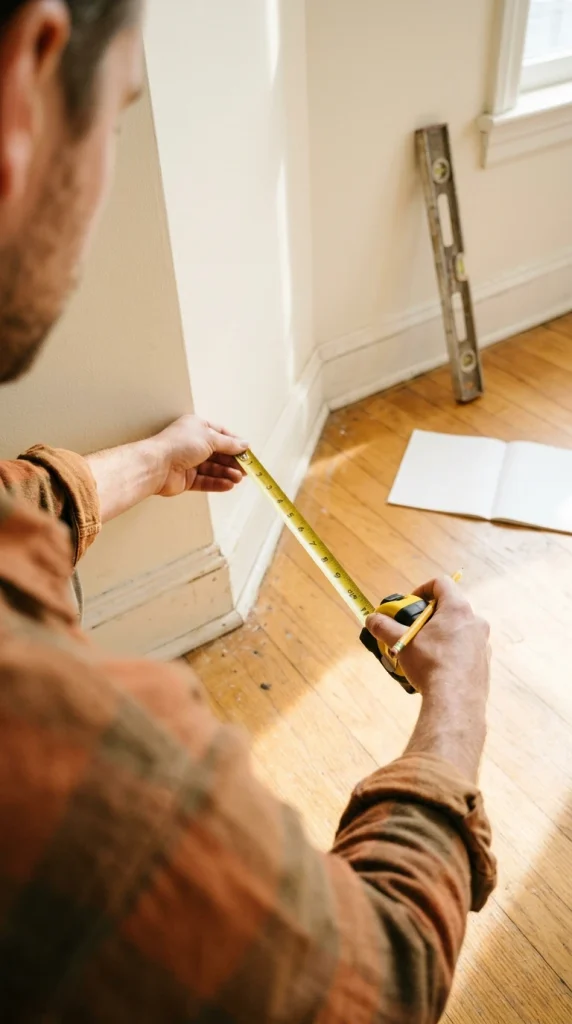
Five numbers decide whether this build fits, and a tape measure and a pencil collect them in ten minutes.
Ceiling height comes first. Measure it at both ends of the wall and in the middle, because ceilings are rarely level, and the lowest number wins.
Here’s the math for a standard 8-foot ceiling:
- A BILLY bookcase stands 79 1/2 inches tall, and its height extension adds 13 3/4 inches, for 93 1/4 inches total.
- That leaves a 2 3/4-inch gap under a 96-inch ceiling.
- A primed 1×3 board measures 2 1/2 inches wide in real life, so it closes almost all of that gap.
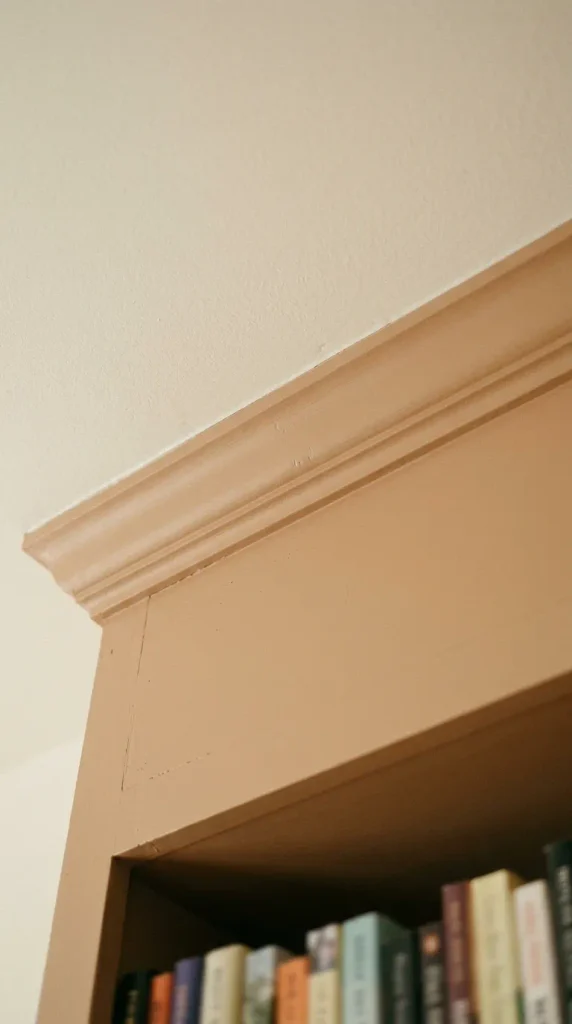
- Crown molding hides the last quarter inch where the ceiling dips.
Taller ceilings follow the same logic with a wider top board.
Width is next. Three standard BILLY cases line up to 94 1/2 inches. A wider wall gets filler strips at the ends. A narrower one can swap in the 15 3/4-inch-wide BILLY for one of the bays.
Last, mark everything in the way: outlets, switches, vents, window trim, and your baseboard’s height and depth. An outlet behind a bookcase is easy to work around. A heat vent behind one is not, so plan the layout to keep it clear.
📏 Measure these five first
Build the IKEA BILLY Built-In in One Weekend
Day one is assembly and anchoring. Day two is trim, caulk, and paint.
Work in this order. Each step hides the small mistakes of the one before it, which is why skipping ahead shows in the finished wall.
Assemble the cases and extensions, set them in place, and shim the fronts until each one sits level and plumb.
Anchor every case and every extension to the wall with the tip-over restraints IKEA includes. Screws and plugs for your wall type are sold separately.
Clamp neighboring cases together and screw through the side panels so the row acts as one piece.
Glue and brad-nail 1×3 face strips over each seam and both outside edges.
Run a 1×4 base board across the bottom and a 1×3 board across the top, then fit the crown molding to the ceiling.
Caulk every joint where wood meets wood, wall, or ceiling, and fill the nail holes.
Prime with a shellac-based bonding primer, then brush or roll on two coats of trim enamel.
Step 2 is the one people skip, and it matters most. A row of loaded bookcases is tall and heavy. The Consumer Product Safety Commission’s Anchor It! tip-over guidance is plain on this point: bookcases belong secured to the wall, especially in any home where kids live or visit.
Safety note: anchor tall furniture to the wall, keep candles and cords away from fabric, and use a licensed electrician or contractor for hardwired lighting, ceiling mounts, or anything structural.
Step 6 is where the wall starts to look built. A good painter’s caulk turns every joint into one continuous surface. DAP Alex Plus can take paint in about 30 minutes, so you can caulk in the morning and prime after lunch.
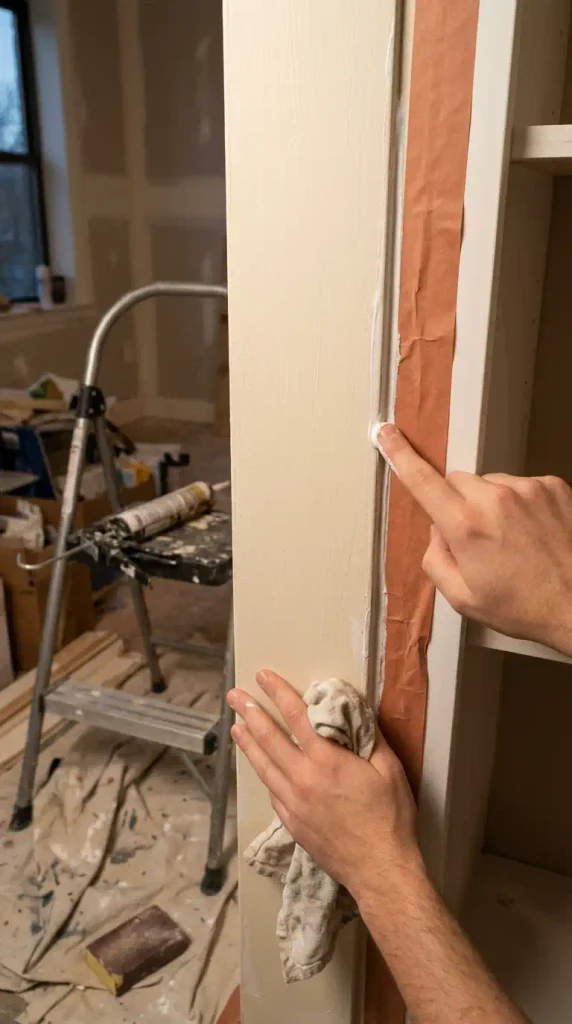
Step 7 is where most painted BILLY walls fail. IKEA wraps the cases in a smooth paper foil, and wall paint brushed straight onto it tends to chip the first time a book slides across a shelf.
A shellac-based primer like Zinsser B-I-N is made to grip glossy surfaces without sanding. Behr’s Cabinet, Door & Trim enamel is built around one coat of primer plus two coats of paint. Behr lists one hour dry to the touch and two hours before recoating, so both coats fit into one afternoon.
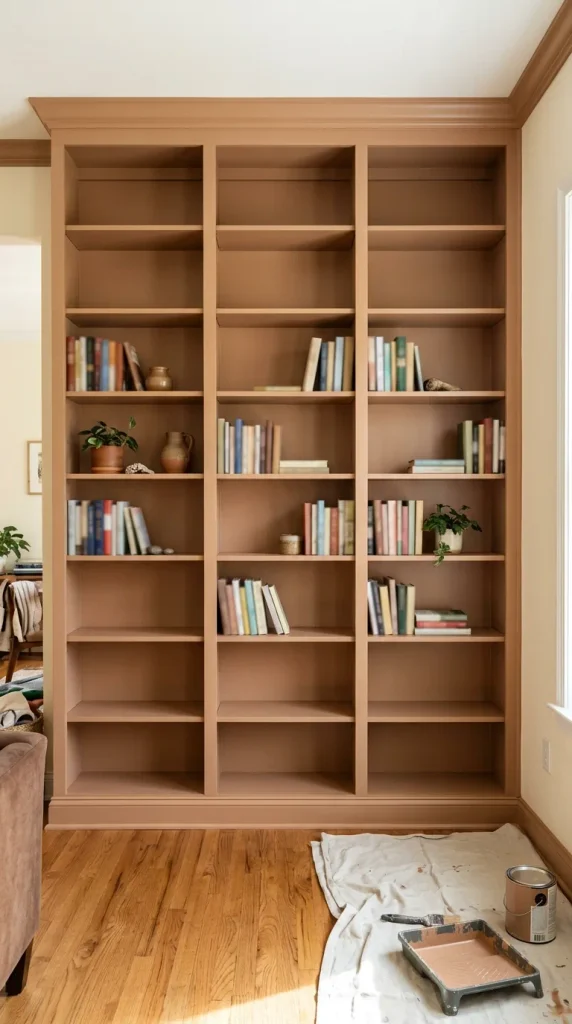
Renting? Attach every board to the bookcases, never to the wall. When you move out, the trim leaves with the furniture, and the anchor holes are the only marks left behind.
The Renter Version: Built-In Look, Patchable Holes Only
A landlord who says no to paint doesn’t have to mean no library lounge.
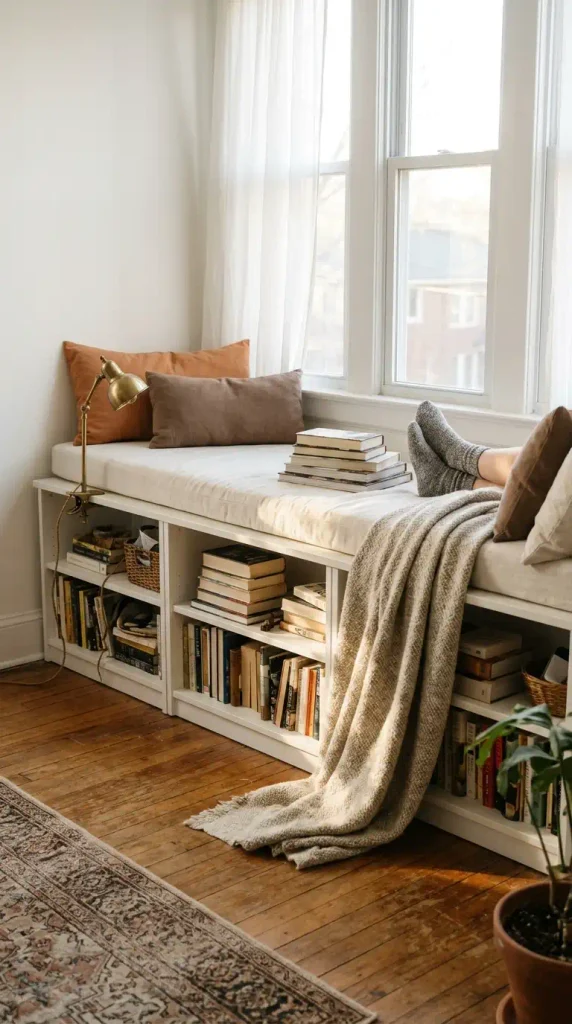
Skip the ceiling and build low. IKEA makes a shorter BILLY that stands 41 3/4 inches tall. Three of them in a row under a window or along a wall can take a single 1×12 board across the top as a bench or a long display ledge.
Low cases still touch the floor and both side walls, so two of the three surfaces are closed. The open top reads as intentional because it’s a seat.
Anchor them anyway, especially with kids around. The holes are small, and a dab of spackle covers them at move-out.
Everything else attaches to the furniture, not the building:
- Face strips get glued and nailed to the cases.
- Peel-and-stick wallpaper lines the back panels instead of paint on the wall.
- Clamp lamps grip the shelf edges instead of sconces screwed into drywall.
The same no-paint thinking works across the rest of the room, and these small apartment living room ideas follow it wall by wall.
If the factory white is staying, test before you trim. Hold a primed board against a shelf in daylight. Two near-whites side by side is the fastest way to give a built-in away.
Fix trim to the bookcases with glue and brad nails.
Clamp lamps onto shelf edges.
Line back panels with peel-and-stick wallpaper.
Caulking crown molding to a rental ceiling.
Screwing sconces into drywall.
Painting the wall behind the cases.
What a Library Lounge Costs: The Real Build List
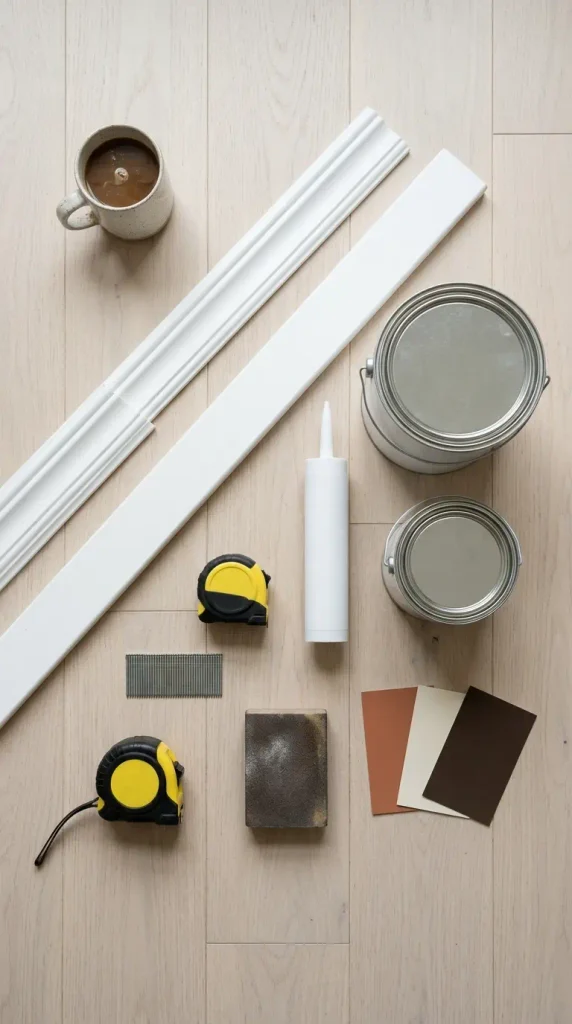
Here’s the full three-bay wall, priced at IKEA, Home Depot, and Walmart in October 2026.
| Piece | What to buy | Price (Oct 2026) |
|---|---|---|
| 📚 Bookcases | 3 IKEA BILLY, white, 31 1/2 x 11 x 79 1/2 in | $237.00 |
| ⬆️ Extensions | 3 BILLY height extension units, white | $90.00 |
| 👑 Crown | 2 lengths primed MDF crown, 3 5/8 in x 8 ft | $25.96 |
| 📏 Face strips and top board | 5 primed finger-joint pine 1x3s, 8 ft | $38.60 |
| 🧱 Base board | 2 primed MDF 1x4s, 8 ft | $13.96 |
| 🧴 Primer | Zinsser B-I-N shellac primer, 1 qt | $20.98 |
| 🎨 Paint | Behr Premium Cabinet, Door & Trim enamel, 1 gal | $47.68 |
| 🔧 Caulk | 2 tubes DAP Alex Plus, 10.1 oz | $5.94 |
| 💡 Shelf lights | 2 IKEA RANARP wall/clamp spotlights | $89.98 |
| Total | Three-bay wall, about 94 1/2 in wide | $570.10 |
The bookcases and extensions make up more than half of that. IKEA’s in-store Family price drops each white BILLY to $65 through December 24, 2026. That takes $42 off and lands the wall at about $528.
The total leaves out wall screws for your wall type, wood glue, brad nails, sandpaper, and brushes, since most people already own some of them.
Want a smaller start? A single bay costs about $238 at the same prices. That covers:
- one bookcase and one extension
- one length of crown, two 1x3s, and one 1×4
- quart sizes of primer and paint
- one tube of caulk and one lamp
You can add bays later, because the trim goes on last.
Budget a few dollars more for warm bulbs, and shop by lumens rather than watts. The Department of Energy’s plain-English guide to lumens explains why that number on the box tells you more than the wattage does.
Seating That Makes a Home Library Lounge Feel Like a Room
A wall of books is a library. Add the right seat and it becomes a lounge.
The difference is conversation and stretch-out room. Decorators describe a library lounge as book storage paired with a place to relax and talk, so plan the seating around how you actually read.
One chair: angle it toward the shelves instead of lining it up parallel to them, so the books stay in view while you read.
A chaise: reads the most like a lounge, but it eats the most floor and pushes the side table out of easy reach.
Two smaller chairs facing each other: across a low table, they give you the conversation half of the idea and leave the wall itself as the focal point.
If you’re still choosing the chair itself, our reading chairs ranked for three-hour comfort sort the options by how they feel at the end of a long read.
Keep the side table close to arm height, so a mug never needs a reach and a twist.
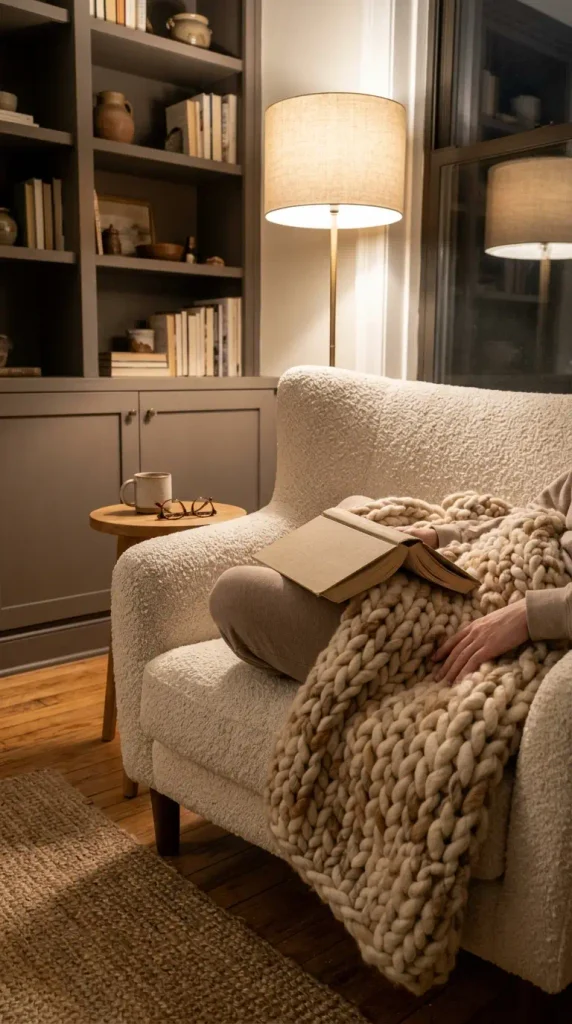
Then slide a rug under the front legs of the seating. Between the rug and a full wall of books, the room loses its echo. A page turn suddenly sounds like the loudest thing in the house.
Light It Like a Library, Not a Showroom
Overhead light flattens a bookcase wall into a grid. Libraries that look rich light in layers, and you only need three.
Start at the chair with a reading lamp around 800 lumens, the brightness of an old 60-watt bulb.
Then light the shelves themselves. IKEA’s RANARP clamps onto a shelf edge as easily as it mounts to a wall, so two of them can wash the books without one hole in the drywall.
Finish with one low lamp across the room so the corners don’t drop into shadow when the overhead light is off.
Keep every bulb at 2700K, the warm white of old incandescent light. One cool daylight bulb mixed into the set is all it takes to make the wall feel like a store display.
Our reading nook lighting ideas go further on lamp styles and placement if your lounge shares the room with a smaller reading corner.
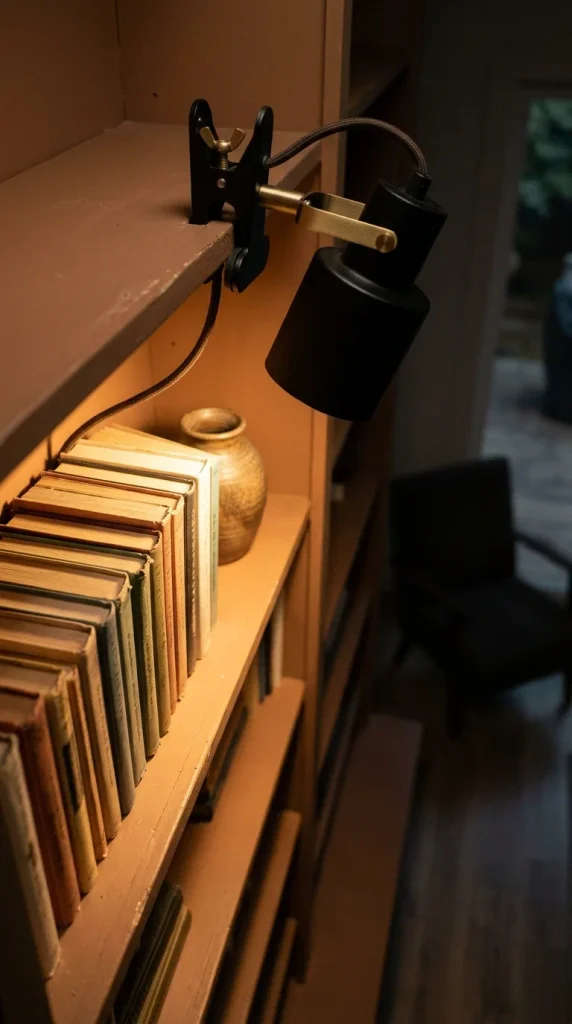
Cords give plug-in lights away. Run them down the inside back corner of a case, behind a row of books, and out at the base, then paint any visible cord cover the wall color. Hardwired picture lights look cleaner, but they need a licensed electrician. Plug-ins are the renter path.
Style the Shelves So They Look Collected, Not Stocked
Full shelves look like storage. Edited shelves look like a library.
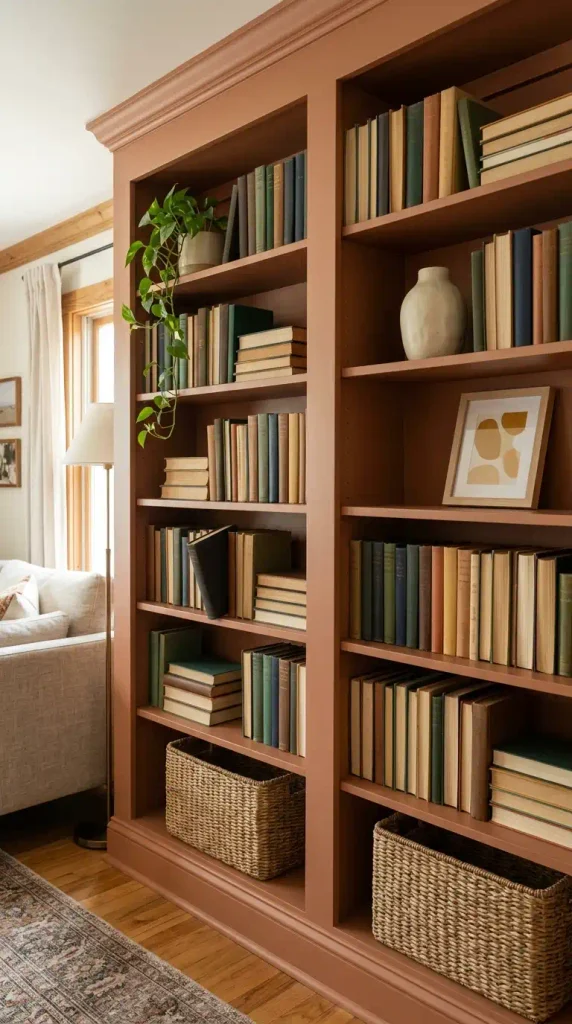
Shelve most books upright in runs, then break each shelf with one horizontal stack that doubles as a bookend.
Give every third or fourth shelf a single object, like a vase, a framed photo, or a small plant, and leave a little air around it. Grouping objects in odd numbers keeps them from lining up like merchandise.
Color-coding is a trade-off, not a rule. Sorting by spine color photographs well and makes any one book harder to find. A middle path is grouping by genre first, then by color inside each group.
Use the bottom shelves for baskets that hide remotes, chargers, and the stack you haven’t started yet. Keep the top shelves lighter so the wall doesn’t feel top-heavy.
Every shelf packed tight, books leaning at angles, factory-white cases against a gray wall, and one ceiling light doing all the work.
Upright runs broken by horizontal stacks, one object every few shelves, baskets on the bottom row, painted cases, and clamp lamps glowing on the spines.
Older paperbacks add something no new book can. As aging paper breaks down, it gives off a faint vanilla scent, so a run of secondhand books from a library sale brings smell along with character.
Frequently Asked Questions
What is a library lounge?
A library lounge is a room or wall that pairs book storage with a comfortable place to sit, read, and talk. Picture full-height shelves with an armchair, a chaise, or two chairs facing each other. At home it can be a whole spare room or one living room wall built out so it looks like it was always there.
How do you make IKEA BILLY bookcases look built-in?
Close the three gaps a freestanding bookcase leaves. Add BILLY height extensions plus a top board and crown molding to reach the ceiling, a base board across the bottom, and 1×3 face strips over every seam. Caulk the joints, prime with a shellac-based bonding primer, and paint the cases and trim one color.
What furniture does a home library need?
Shelving and one comfortable seat are the essentials. Add a side table at arm height, a reading lamp near the chair, and a rug to soften sound. A library lounge adds a second seat or a chaise so the space works for talking and stretching out as well as storing books.
How do I make a home library in a small space?
Use one wall instead of a whole room. A single bookcase with a height extension and trim reads as built-in, and one armchair angled toward it finishes the setup. In a rental, low bookcases under a window with a board across the top give you shelves and a bench in the same footprint.
How much does it cost to build a library wall?
At October 2026 prices, a three-bay IKEA BILLY wall with extensions, trim, primer, paint, caulk, and two clamp lamps totals about $570, or about $528 with IKEA’s in-store Family price on the bookcases. A single bay with the same finishes comes to about $238. Tools, glue, and wall screws are extra.
What color should a library lounge be?
Choose one color for the cases and trim and commit to it. Deep greens, warm browns, and clay tones read as classic library, while soft blues and sage stay lighter and brighter. Whatever you pick, matching the cases to the trim matters more than the exact shade, since two different whites side by side look unfinished.
Your Library Lounge, One Weekend at a Time
A library lounge stops looking homemade the moment the gaps disappear. Close the top, the bottom, and the seams, and paint everything one color. Then add a seat that faces the books and light that warms them.
None of it needs a carpenter, and the single-bay version gets you started for about $238.
Measure your wall this week, even if the build waits until next month. Those five numbers tell you exactly what to buy.
Save this to your reading nook board so the ceiling math and the build list are on hand when you’re standing in the IKEA aisle.
Keep reading
More cozy nook ideas
 Nook Ideas
Read →
Nook Spirit Book Nook Kits: What They Are, Which IKEA Shelf Fits, and Whether They’re Worth It
If you’ve seen a bookshelf on TikTok with a tiny glowing alleyway running between the paperbacks and gone looking for it, you’ve…
 Home Library & Bookshelves
Read →
12 Ideas for Built-In Bookshelves Around the Fireplace for Book Lovers
Thirty-two inches between uprights. Six inches of bare masonry around the firebox. Twelve inches of shelf depth. Get those three numbers right…
 Home Library & Bookshelves
Read →
15 Corner Bookshelf Ideas on a Budget
Twenty-six dollars. That’s the lowest price on this list for a corner bookshelf that still holds a real stack of paperbacks. The…