
Container Gardening Ideas for Small Cottage Gardens That Fit a Rental Patio

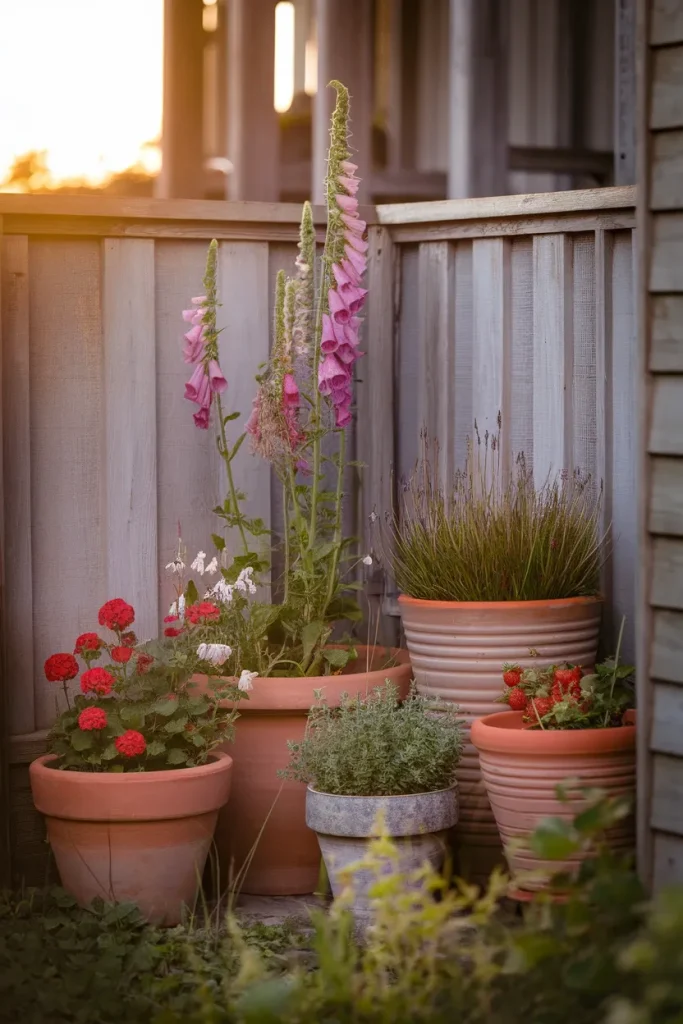
One anchor pot, two mid-size pots, three little ones. That’s the whole cottage garden, and it fits on a patio smaller than a parking space.
Container gardening cottage style usually gets sold with an English picket fence attached. You don’t need the fence. You don’t need the yard either, or a landlord who says yes to digging.
What you need is the right pot sizes, plants that flop over the edges on purpose, and about four hours on a Saturday. Here’s the build order, starting with the six pots that do most of the work.
1. Build the 1-2-3 cluster before you buy a single plant
Six pots. Three sizes. That ratio is the difference between a cottage garden and a row of sad planters by a sliding door.
The 1-2-3 cluster:
- 1 anchor pot, 16 to 20 inches wide. Homes & Gardens names that same 16 to 20 inch range as the working size for a layered cottage pot, and it’s the one that carries your tallest plant.
- 2 mid pots, around 12 inches. These sit slightly forward and break the straight line.
- 3 small pots, 6 to 8 inches. Herbs, strawberries, a single geranium. They fill the gaps at ankle height.
Odd numbers and mixed heights are what read as “grown over time” instead of “bought last Tuesday.” Your eye stops looking for the pattern and starts looking at the plants.
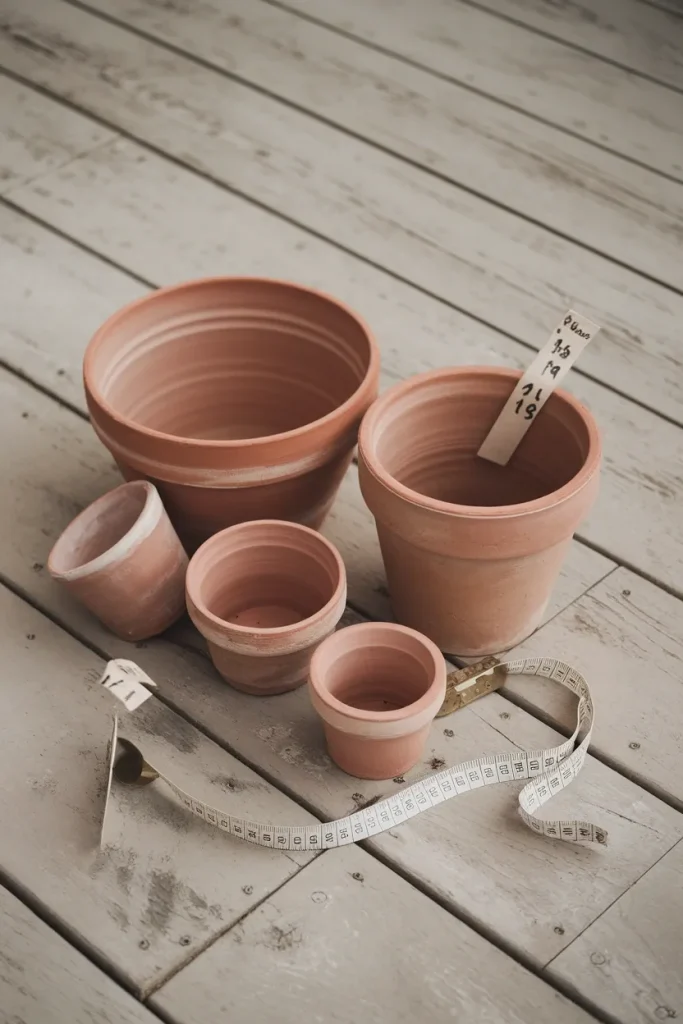
Product archetype to shop: any 14 to 15 inch terracotta pot is the workhorse at big box stores. Lowe’s currently lists the Pennington 14 inch cone planter and a Southern Patio 15 inch clay planter in exactly that slot. Budget roughly $120 to $250 for six pots, mix, and starter plants (that’s an estimate based on common big box sizing, so check your local pricing before you commit).
Failure mode: six matching pots lined up evenly reads like a hotel entrance. Vary the size, vary the spacing, and let two of them touch.
2. Size the pot to the plant, not to the corner
Here’s where most small cottage gardens quietly fail. The pot looks right next to the door, but the roots inside it are strangling.
Land grant extension services publish actual minimums, and they’re bigger than the pots most of us reach for. Per the Colorado State Extension container size guidelines, tomatoes, peppers, eggplant, cucumbers, cabbage, and beans all want a 5 gallon minimum. Beets, carrots, lettuce, and green onions do fine in 3 gallons. Most herbs and radishes are happy in 1 gallon or less.
| What you’re growing | Minimum container | Roughly this pot |
|---|---|---|
| Tomatoes, peppers, cucumbers, beans | 5 gallons | 14 to 16 inch |
| Beets, carrots, lettuce, green onions | 3 gallons | 12 inch |
| Most herbs, radishes | 1 gallon or less | 6 to 8 inch |
| Tall cottage flowers (foxglove, cosmos, delphinium) | Your 16 to 20 inch anchor | 18 inch |
Colorado State also gives a proportion rule worth stealing: the planting should stand about twice as tall as the visible part of the pot. An 18 inch pot wants roughly 36 inches of plant above it. Shorter than that and the container looks like it’s swallowing the garden.
Sun matters as much as size. Flowering and fruiting plants want 8 hours of direct sun, root crops 6, leafy greens and herbs get by on 4. Count the hours your corner actually gets on a weekday before you pick plants, not after.
Failure mode: cramming a tomato into a 10 inch pot. It’ll live, it’ll flower, and it’ll drop half its fruit in the first heat wave because the root ball can’t hold enough water to make it to evening.
3. Fill it with potting mix, and give the roots 8 inches
Scooping dirt from the yard into a pot is the single most common way a cottage container garden dies in July.
Colorado State explains why in one line: most native soils carry enough clay to compact, and compacted soil cuts off the oxygen roots need. In a garden bed, worms and weather keep it loose. In a 14 inch pot, nothing does.
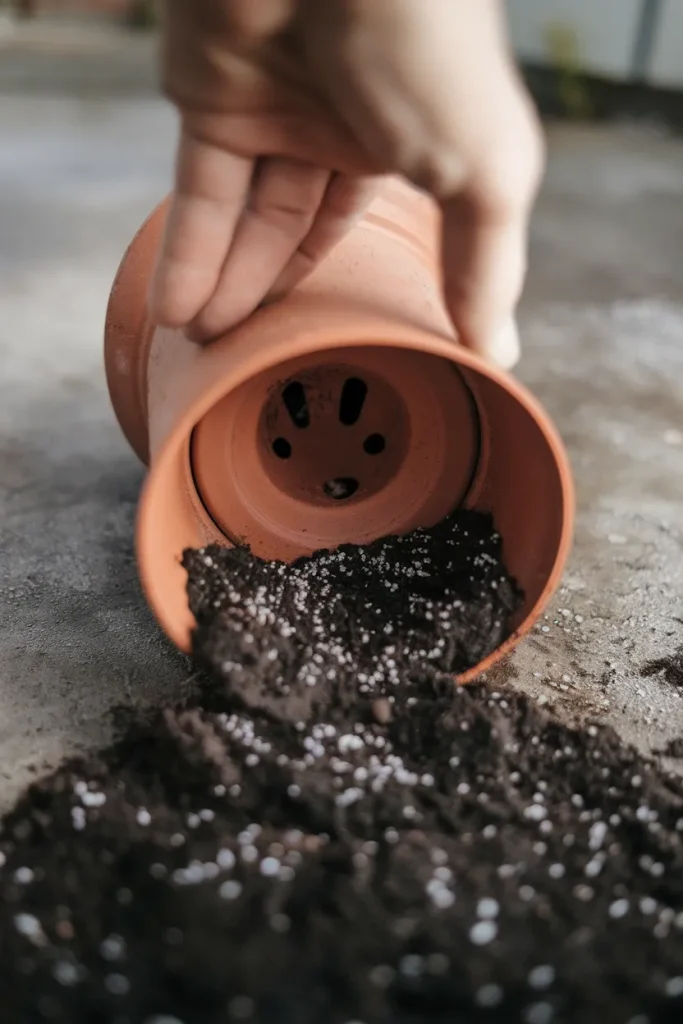
Depth is the other half. Clemson rooting depth recommendations for containers put the floor at 6 to 8 inches of soil for adequate rooting, and their suggested homemade mix runs one part peat moss, one part potting soil, one part coarse builder’s sand or perlite, plus a slow release fertilizer.
Two small mechanics that change everything:
- Stop filling 1 inch below the lip. Oregon State recommends that gap so you get a reservoir. Water pools there and soaks down instead of sheeting off the top and running down the outside of the pot.
- Don’t oversize an empty pot. Too much unfilled soil volume around a small root ball stays soggy and invites root rot.
Terracotta earns its own warning. Clay is porous, which is exactly why it looks the way it does, and exactly why Colorado State flags clay and wood as the materials that lose moisture fastest. Unglazed pots in full sun are the ones you’ll be watering twice a day in August. Glazed ceramic or a lined galvanized tub holds moisture longer if your schedule is tight.
Failure mode: no drainage hole. Water collects at the bottom, roots sit in it, and the plant yellows from the base up while you keep watering it because the top looks dry.
4. Choose plants that spill, climb, and reseed themselves
Cottage style isn’t a plant list. It’s a habit: nothing stands to attention, everything leans on its neighbor.
Build each big pot with three jobs covered.
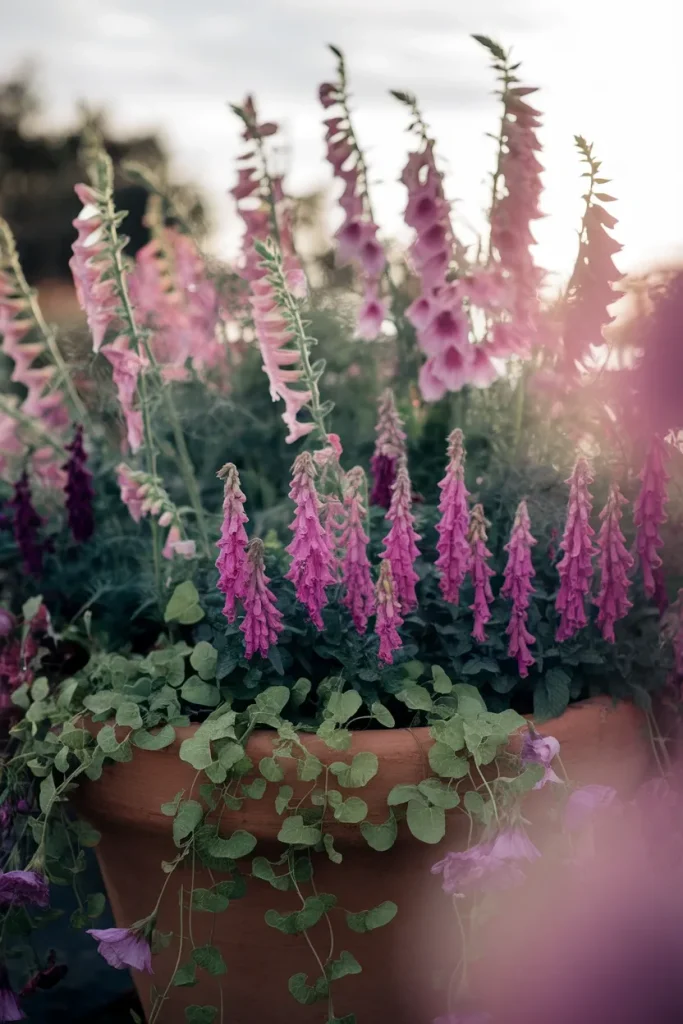
- Something upright. Foxglove, delphinium, snapdragon, cosmos, a compact rose. This is your 36 inches of height above the 18 inch anchor pot.
- Something mounding. Salvia, geranium, sweet alyssum, dianthus, lavender. It closes the middle so you never see bare soil.
- Something spilling. Creeping Jenny, bacopa, calibrachoa, ivy, nasturtium. It breaks the hard rim of the pot, which is what stops a container from looking like a container.
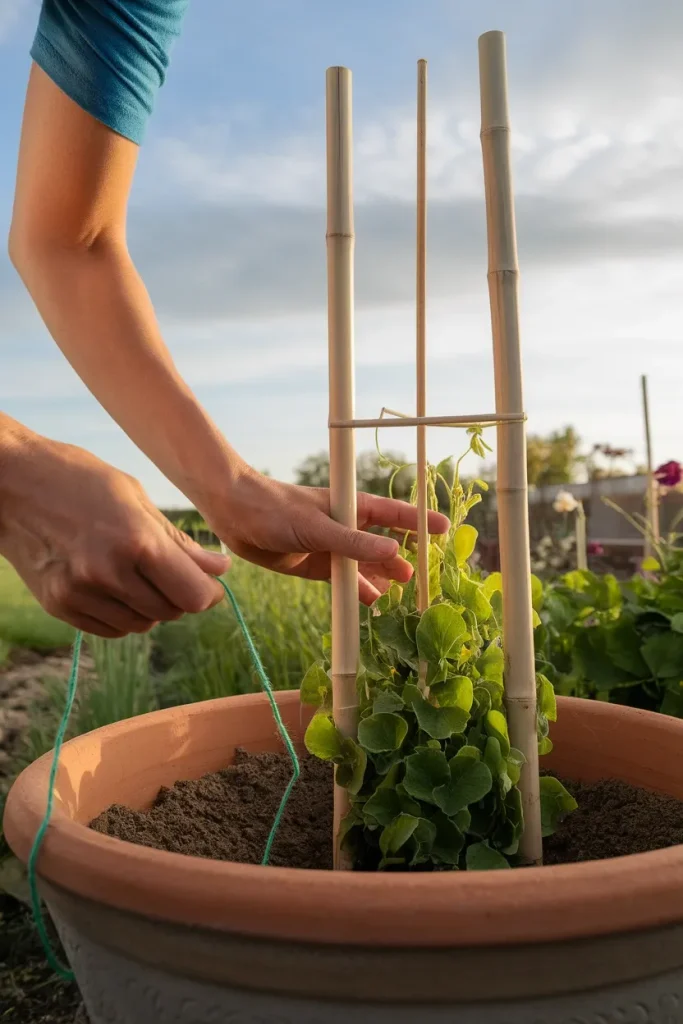
Then add one climber with something to grab. Sweet peas on a 4 foot bamboo obelisk cost almost nothing and give you the scent, which is the part photos can’t deliver. Morning glory works too, faster and pushier.
Self-seeders are the cottage garden’s actual secret. Cosmos, nigella, sweet alyssum, and foxglove all drop seed and come back, so year two of your patio costs less than year one and looks fuller. Let a few flower heads go brown on the stem instead of deadheading everything.
Edibles belong in the mix, not in a separate “vegetable” pot. Thyme spilling over a rim, strawberries in a small pot, lettuce tucked at the base. Illinois Extension gets 4 to 6 lettuce plants into a single 1 gallon container, which means one of your three small pots can be salad.
Failure mode: all annuals. Everything peaks in July, then you’re staring at six pots of stems by Labor Day. Put one perennial (lavender, salvia, thyme) in each large pot so the bones survive.
5. Pack them tighter than feels right
Nursery spacing is for garden beds, where plants have years and unlimited root run. A pot has one season.
Plant your big containers at roughly double the density the tags suggest. Three or four plants in a 12 inch pot. Five to seven in the 18 inch anchor. It looks absurd on planting day and correct three weeks later.
Density is what creates the overflowing look everyone saves on Pinterest, and it does real work too: leaves shading the soil surface slow evaporation, which buys you hours between waterings.
You pay for the crowding with food. Clemson notes that a starter fertilizer carries plants 8 to 10 weeks, after which you’re feeding every 2 to 3 weeks. Crowded pots burn through it faster. Put a recurring reminder on your phone for the same day every other week, because the day you forget is the day the geraniums stop blooming.
Failure mode: packing tight and then feeding on a garden bed schedule. Growth stalls, leaves pale, and it looks like a light problem when it’s a nitrogen problem.
6. Leave a path through the pots, even a fake one
A cluster of pots against a wall is decoration. A cluster you can walk into is a garden.
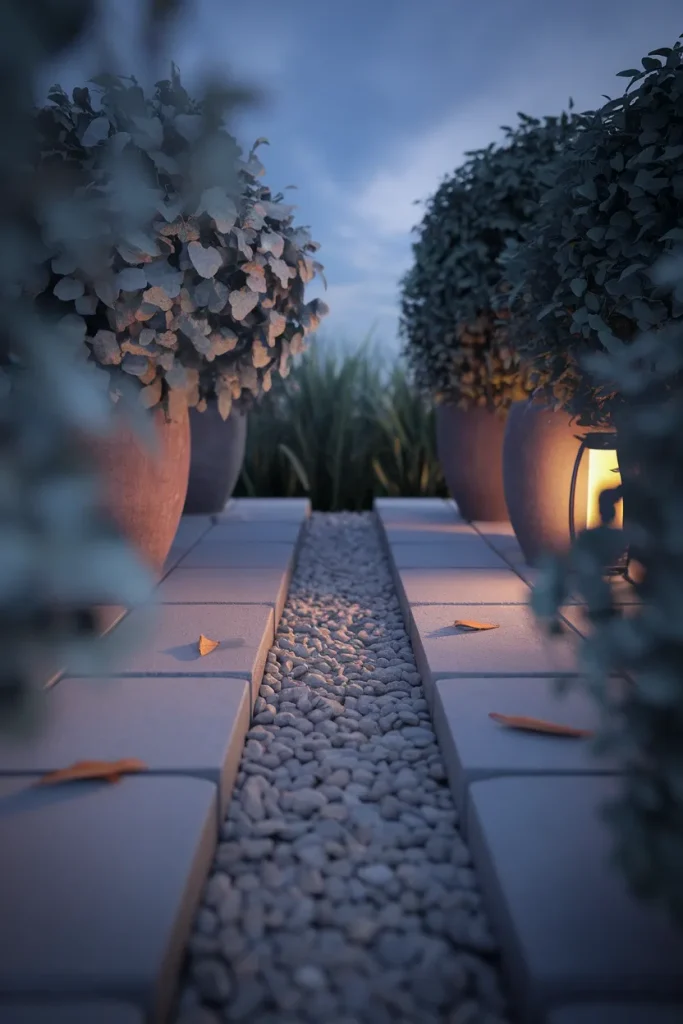
On a small patio, the “path” might be 20 inches of clear concrete curving between two pot groupings. That’s enough. Leave at least 18 inches of walking width so you can get to the back pots with a watering can without doing gymnastics.
Break the wall line while you’re at it. Pull one mid pot forward 12 to 18 inches from the others so the arrangement has depth instead of sitting flat like a shelf. The same instinct that makes cottage garden path layouts work in a full yard scales down to a balcony: something to walk along, something that hides what comes next.
If you have actual ground, a $20 bag of pea gravel poured into a rough 3 foot oval under the pots does more for the cottage feel than another plant. It softens the concrete, it drains, and it makes the crunch underfoot that people associate with garden paths without a single paver.
Failure mode: pots pushed flat against the wall in a single line. Nothing overlaps, so nothing looks like it grew there.
7. Renter rules: weight, water, and getting your deposit back
Not one of the top ranking cottage container guides mentions renting. Most of us are renting.
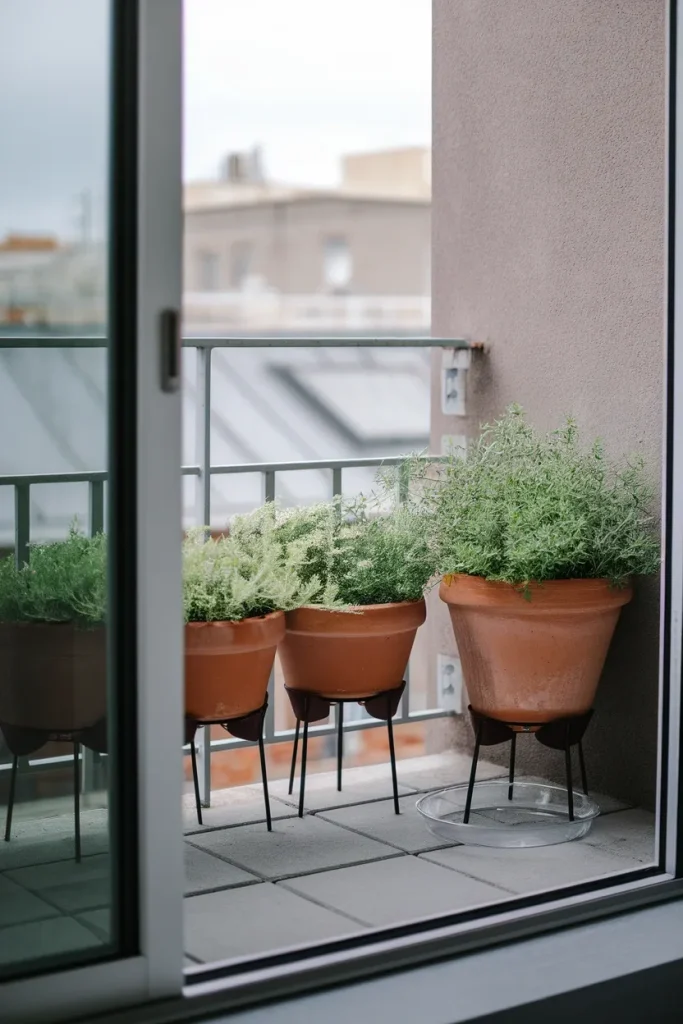
Weight is the real constraint on a balcony. Wet potting mix is heavy, and a filled 18 inch pot with a saucer is a two person lift once it’s soaked. Keep the heaviest pots against the building wall rather than out at the railing edge, where balcony structures carry the least load, and check your lease before you go big. Some leases cap what you can put on a balcony outright.
Never drill into anything. You don’t need to. Freestanding obelisks, tension-free plant stands, and pots that simply sit where you set them cover every structural need a container garden has. Skip the wall-mounted planters entirely.
Protect the surface underneath. This is the deposit part. Terracotta and galvanized metal both leave rust rings and mineral stains on concrete and composite decking. Put every pot on feet or a saucer, and lift them occasionally so nothing stays permanently wet against the floor.
Buy pots you can carry when they’re full, because you will move. Two 12 inch pots hold about as much soil as one 16 inch, but you can carry them one at a time down a staircase.
Renting a place with a balcony instead of a patio changes the plant math (more wind, more reflected heat, less depth), and a full balcony garden setup for renters is worth reading before you buy anything wider than your railing.
Failure mode: a beautiful galvanized tub sitting directly on composite decking all summer. You’ll find the ring in September, and so will your landlord.
8. Put a chair in it, or it’s just a display
Every guide that ranks for this topic builds a garden to look at. Almost none build a place to sit.
A container garden you can’t sit inside gets watered for three weeks and then ignored. Add a seat and it becomes the reason you go outside at 7pm.
You need less than you think:
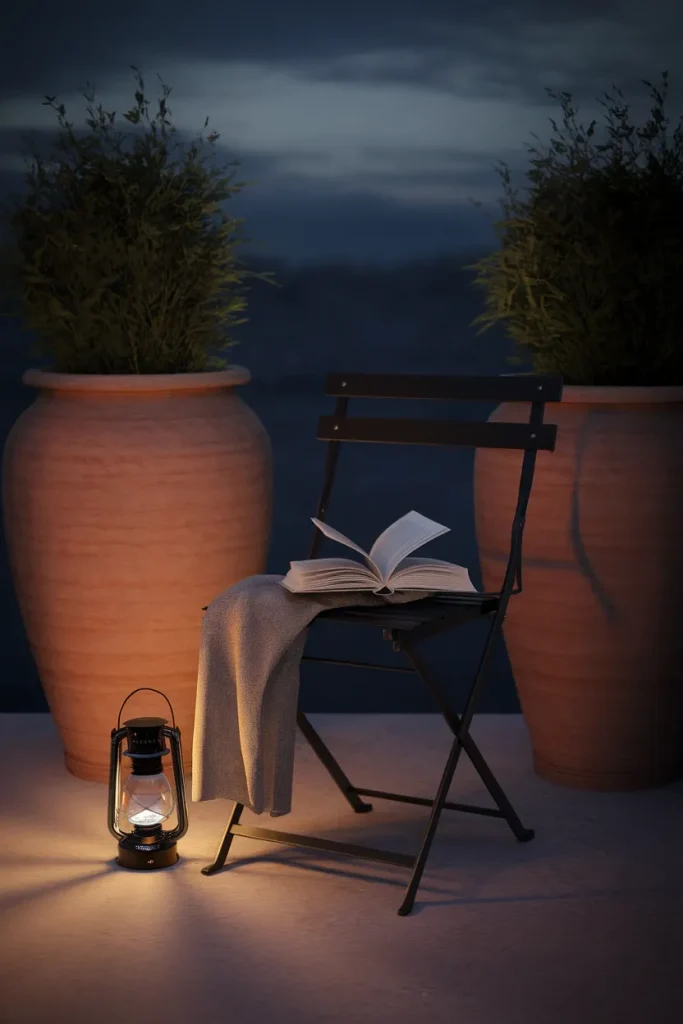
- One folding bistro chair, the 17 to 18 inch seat height that fits a 24 inch cafe table. Fold it flat against the wall in November.
- An outdoor cushion and a washable throw. Cotton or acrylic, not wool, because it will get rained on.
- One warm light. A rechargeable LED lantern at 2700K or a string of fairy lights along the railing. Warm, not daylight white, or the whole corner turns into a parking lot.
- A small side table within reach. The 18 inch reach rule applies outdoors exactly like it does indoors: your mug should land without you standing up.
Then aim the seat into the pots rather than out at the view. Sitting with foliage at shoulder height on two sides is what makes a 30 square foot patio feel enclosed. That’s the whole trick behind a garden nook, and it costs nothing to get right on day one.
The pots on either side of the chair should be your tallest. Anything at 40 inches or above creates a wall of green that your eye reads as shelter.
Failure mode: buying the chair last. By then the pots are placed, and there’s no gap left for a person.
9. Water the way the extension services say, not the way you water houseplants
Containers dry out on a completely different schedule than anything indoors, and this is where most first-year cottage gardens get lost.
Colorado State is blunt about it: in hot weather containers “may require daily or twice daily watering as plants grow larger.” Clemson says check at least once a day, and twice on hot, dry, or windy days. Wind is the part people miss. A breezy 78 degree afternoon can pull more moisture out of a terracotta pot than a still 90 degree one.
The test that actually works, from Oregon State: push a finger in and water when the top 1 to 2 inches are dry. Then water until it runs out the bottom. You want to hear it hit the saucer. A splash across the surface wets the top inch and leaves the root ball dry underneath, which is how a plant wilts in soil that looks damp.
Three habits that cut your watering in half:
- Group pots close together so they shade each other’s sides.
- Mulch the soil surface with a half inch of fine bark or gravel.
- Move the small pots (the ones that dry out first) into afternoon shade in August.
Failure mode: watering on a fixed schedule regardless of weather. Two rainy days plus your usual Tuesday soak equals root rot in a pot that can’t drain fast enough.
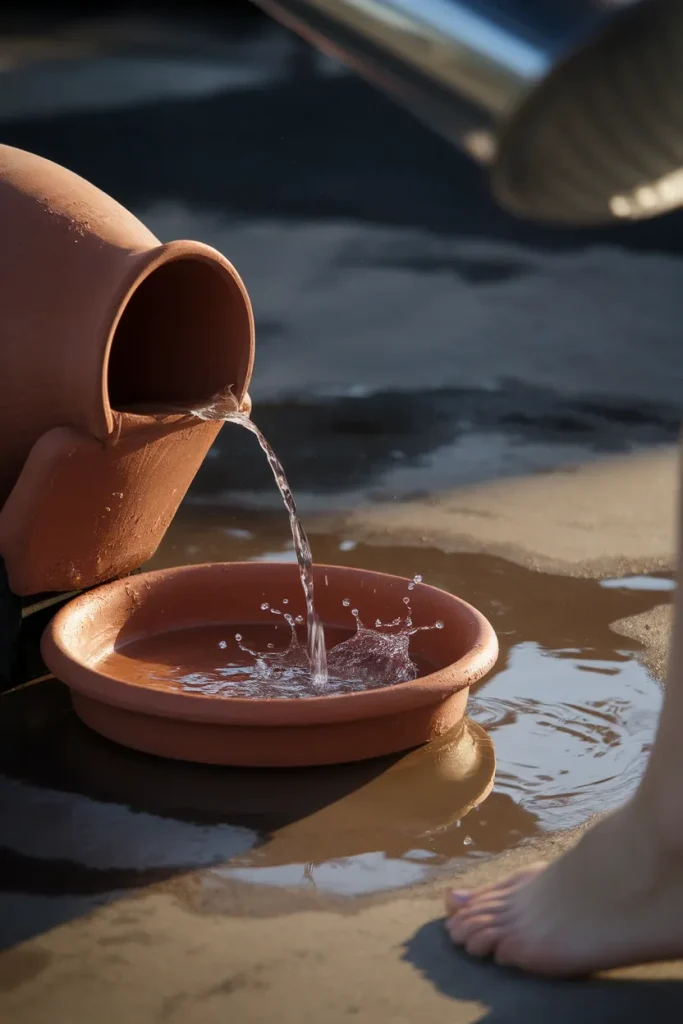
10. Know when pots stop making sense
Container gardening cottage style has a ceiling, and hitting it is a good problem.
You’ve outgrown pots when three things are true at once: you’re watering twice a day in June, you own more than about ten containers, and you’ve started buying plants you have nowhere to put.
At that point a single raised bed does more with less effort. More soil volume means a bigger moisture buffer, which means you’re watering every two or three days instead of twice daily. If you own your place, or your landlord allows freestanding structures, comparing raised garden beds for a cottage garden against another round of pots is the honest next step.
Keep the containers anyway. The best small cottage gardens run both: a bed doing the heavy growing, and pots doing the arranging, moving with the sun and filling the spots a bed can’t reach.
Failure mode: buying pot number fourteen. At that point you’re not gardening, you’re carrying water.
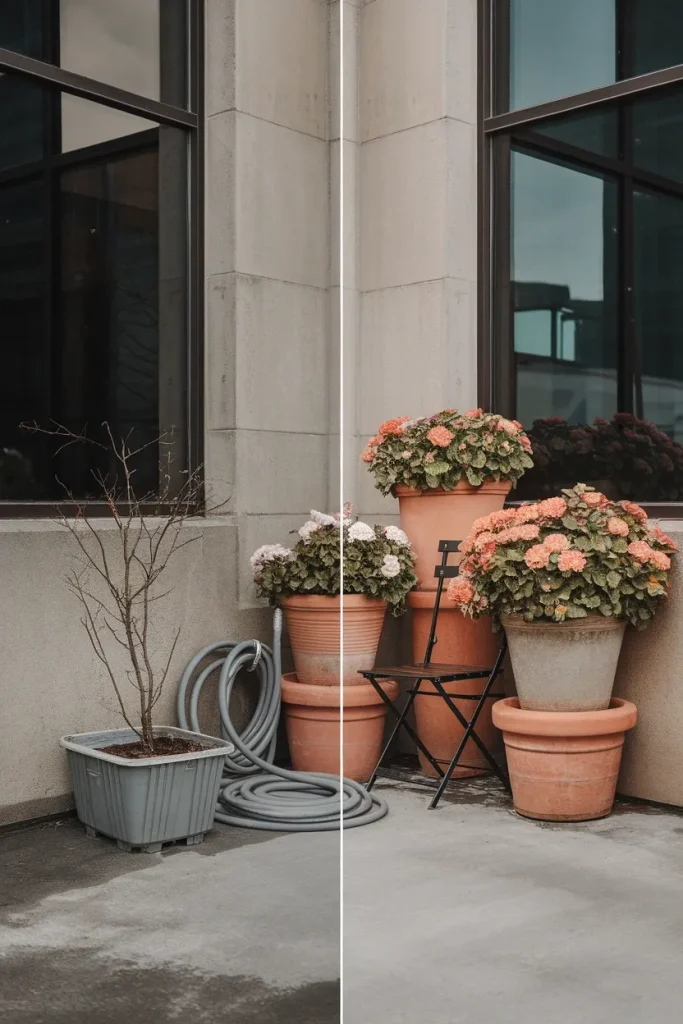
11. What October actually looks like
Every competing guide ends at “water and feed.” Nobody tells you what happens when the cosmos go brown.
Here’s the short version of a season’s end that sets up next year:
Leave some seed heads. Cosmos, nigella, and foxglove drop seed into the pot below. Let three or four heads dry fully on the stem before you clear anything, and year two starts itself.
Pull the annuals, keep the perennials. Lavender, salvia, thyme, and rosemary stay in their pots. Yank the spent annuals, top up the mix, and the pot still looks intentional in November instead of abandoned.
Move terracotta off the ground. Clay absorbs water, water freezes, clay cracks. In any zone that freezes, either bring unglazed pots into a garage or shed, or at minimum lift them onto feet and empty the saucers.
Refresh, don’t replace. Old potting mix has been stripped by a season of feeding. Dump the top third, mix in fresh potting soil and compost, and reuse the rest.
Failure mode: leaving a full, wet terracotta pot sitting on cold concrete through a freeze. You’ll find the crack in March, and it always runs vertically from the rim.
Container Gardening Cottage Frequently asked questions
What plants make a cottage garden in pots? Cover three roles in every large pot: something upright (foxglove, cosmos, snapdragon, compact rose), something mounding (salvia, geranium, dianthus, lavender), and something spilling over the rim (creeping Jenny, bacopa, calibrachoa, nasturtium). Add one climber like sweet peas on a bamboo obelisk, and tuck herbs or strawberries into the small pots.
What size pot do I need for a cottage garden? Your anchor pot should be 16 to 20 inches wide. For specific crops, Colorado State Extension recommends a 5 gallon minimum for tomatoes, peppers, cucumbers, and beans, 3 gallons for lettuce, beets, carrots, and green onions, and 1 gallon or less for most herbs and radishes. Clemson puts the absolute soil depth floor at 6 to 8 inches.
How many plants go in one container? Roughly double what the nursery tag suggests, because a pot only has one season to fill in. Three or four plants in a 12 inch pot, five to seven in an 18 inch. Illinois Extension fits 4 to 6 lettuce plants in a single 1 gallon container as a reference point.
How do you make a cottage garden look full in pots? Three things: plant at double density, include at least one plant that spills over the rim of every pot so you never see a hard edge, and vary pot heights so the planting reads as layered. Colorado State’s proportion rule helps here, aim for plants about twice as tall as the visible part of the container.
Can you grow a cottage garden if you rent? Yes, and without a single hole in the wall. Use freestanding pots and obelisks only, keep heavy containers against the building wall rather than at a balcony railing, raise everything on pot feet or saucers to prevent staining, and check your lease for balcony restrictions before buying anything large.
Which cottage garden flowers self-seed? Cosmos, nigella, sweet alyssum, and foxglove all reliably drop seed and return. Let a few flower heads dry fully on the stem instead of deadheading every bloom, and the pot reseeds itself for the following season.
How often do container gardens need watering? Daily in hot weather, and twice daily on hot, dry, or windy days once plants are large, according to both Colorado State and Clemson extension guidance. Test by pushing a finger into the soil and watering when the top 1 to 2 inches are dry, then water until it runs out the drainage hole.
Start with the six pots
You don’t need a yard, a fence, or permission. You need one 18 inch pot, two 12s, three smalls, and a Saturday.
Buy the pots first, plant them at double density, put a chair between the two tallest, and let the whole thing get slightly out of hand by July. That’s not a failure of the plan. That is the plan.
If your corner is a balcony rather than a patio, read the balcony setup guide next. Wind and reflected heat change which plants survive, and it’s worth knowing before you spend the $120.
Keep reading
More cozy nook ideas
 Garden Nooks
Read →
Garden Nooks
Read →
Raised Garden Bed Ideas for a Cottage Garden (Without the Tidy Box Look)
No English manor, no in ground borders, no landlord who’ll let you dig up the yard. You can still get the raised…
 Garden Nooks
Read →
Garden Nooks
Read →
Cottage Garden Path Ideas That Wander, Bloom, and Hold Up to Real Feet
Most cottage garden path ideas fall apart in the same place: the moment you actually have to move dirt. So this one…
 Outdoor
Read →
Outdoor
Read →
Wildflower Garden Ideas That Look Romantic, Not Neglected
Most wildflower garden ideas skip the part that decides whether yours works, which is the math. Half a pound of seed covers…