
12 Furniture Makeover Ideas for Beginners Who Have Never Painted a Thing

Your dresser is fine. It works, it holds socks, and it has looked exactly the same since the day you carried it in. That is the piece almost everyone starts with, and it is usually the right call.
A furniture makeover sounds like it needs a garage, a power sander, and a weekend you do not have. It needs none of those. Most of what follows takes one evening, costs less than a takeout order, and uses tools you can hold in one hand. Two ideas take a Saturday. One takes twenty minutes.
The list is sorted roughly by nerve. Number one needs a screwdriver and nothing else. Number twelve leaves no trace at all, which matters when your lease has opinions.
And two of the twelve are about safety rather than style. They are the two things every big guide on this topic leaves out, and skipping them is how a good-looking piece turns into a real problem.
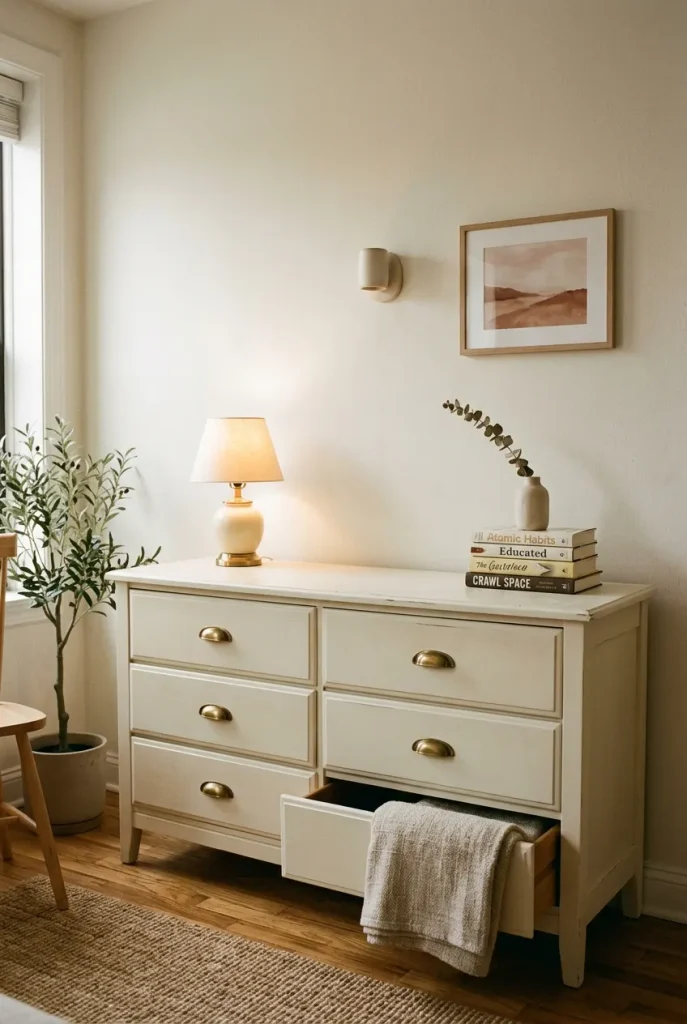
1. Swap the hardware and stop there
Hardware is the smallest lie you can tell about a piece of furniture. Knobs and pulls sit at eye level, catch the light, and tell your brain “old” or “new” before you register anything else.
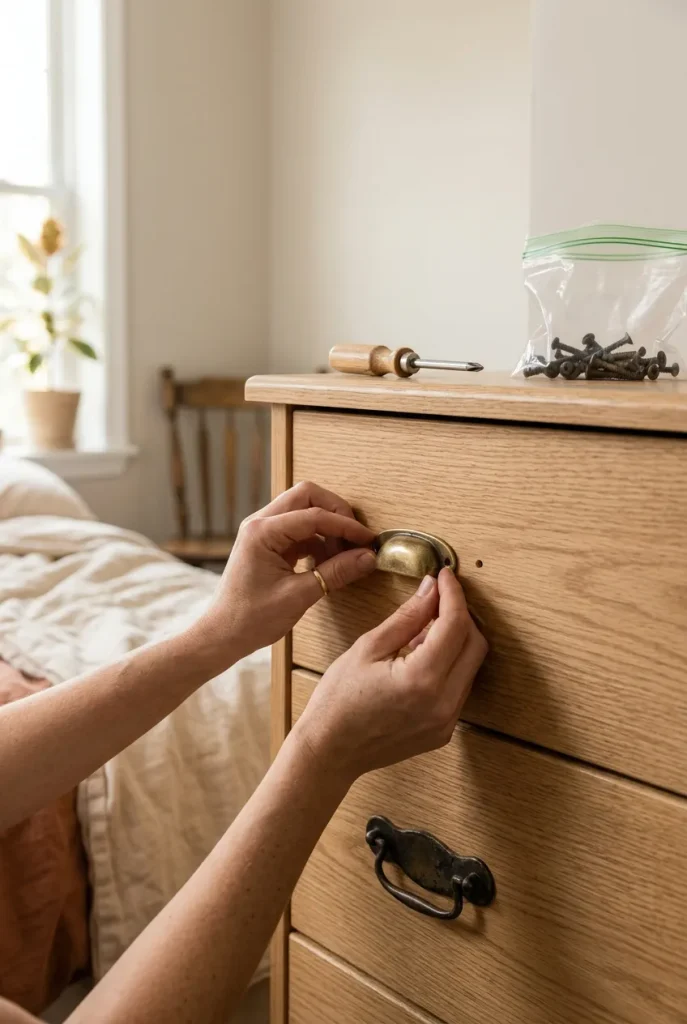
Unscrew one pull and measure the distance between the two screw holes, center to center. Most US pulls come in 3 inch or 96 mm spacing, and if yours matches one of those, the replacement drops straight in with no drilling.
Take one pull off and measure hole to hole. Write the number on your hand.
Buy one single replacement first, not a set of ten. Hold it against the drawer in daylight.
Like it? Order the rest. Bag the originals and tape the bag inside the bottom drawer.
Wipe the drawer fronts where the old hardware sat. There will be a shadow. Clean it now.
That last step is the one people skip, and it is why a fresh pull can still look wrong on an old drawer.
2. Paint it without sanding, the honest version
Sanding is the step that makes people quit. It is dusty, it is loud, and it turns a two-hour job into a whole afternoon. The good news is that skipping it is a real option. The bad news is that “no sanding” does not mean “no prep.”
Every finish that fails, fails for the same reason. Nothing gripped. Degrease first, because furniture polish and kitchen grease sit on a surface for years and paint will not stick to either. Then give the paint something to hold onto, either a light scuff with a sanding sponge or a bonding primer made for slick surfaces. Only then does color go on, two or three thin coats instead of one thick one.
That is the Clean, Grip, Color Rule, and it is the whole beginner process in three words. On cost, a DIY paint job on one piece generally lands between $60 and $120 when you already own brushes, against $200 to $500 to hand it to a pro, and a single quart covers roughly 100 to 150 square feet, which is one to two medium pieces, according to Angi’s 2026 chalk paint cost data.
3. Change the wood tone with gel stain instead of stripping
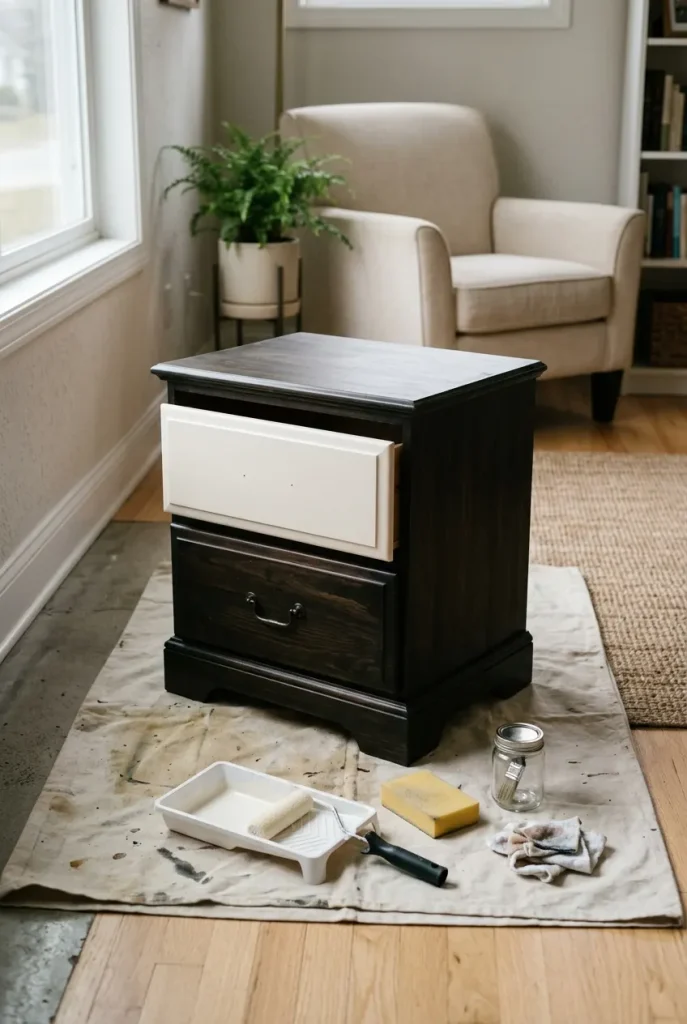
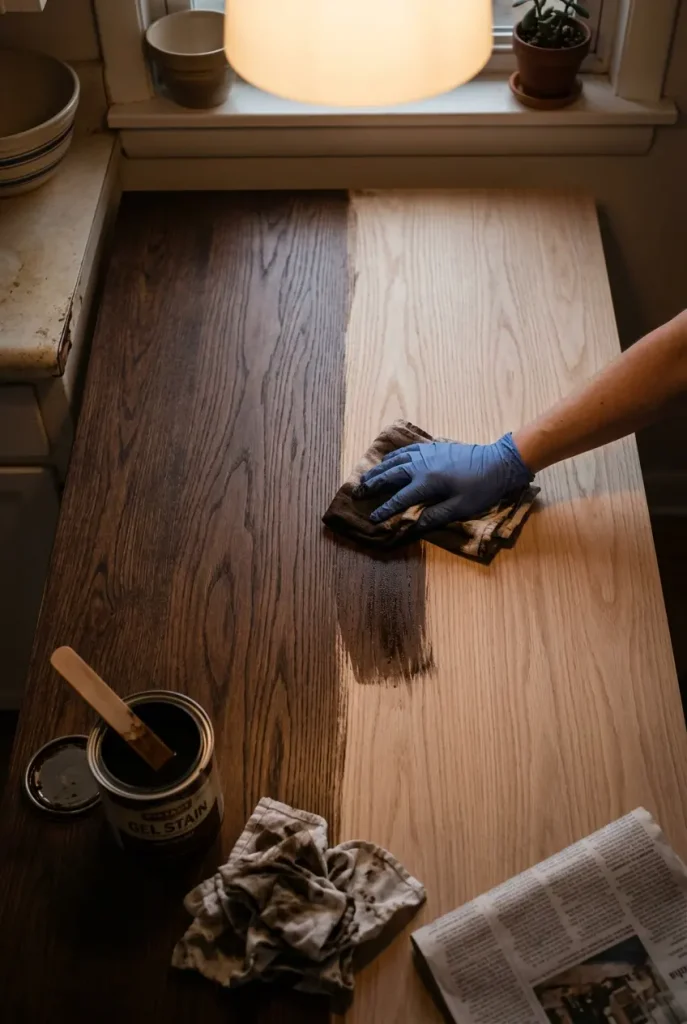
Gel stain sits on top of a finish instead of soaking into bare wood. That single property is what makes it useful to a beginner, because stripping an old finish is the messiest job in this entire list and gel stain lets you skip it.
It works best when you are going darker. A honey-oak side table can read as walnut in one coat. Going lighter is not what this product does, so do not fight it.
Wipe it on with a rag, wait a minute, wipe the excess off. The waiting is the whole skill. Leave it too long and you get a sticky patch that never quite cures.
💡 Quick Tip
Test on the underside of the piece or the back of a drawer first, never the top.
4. Line the drawers and the open back panel
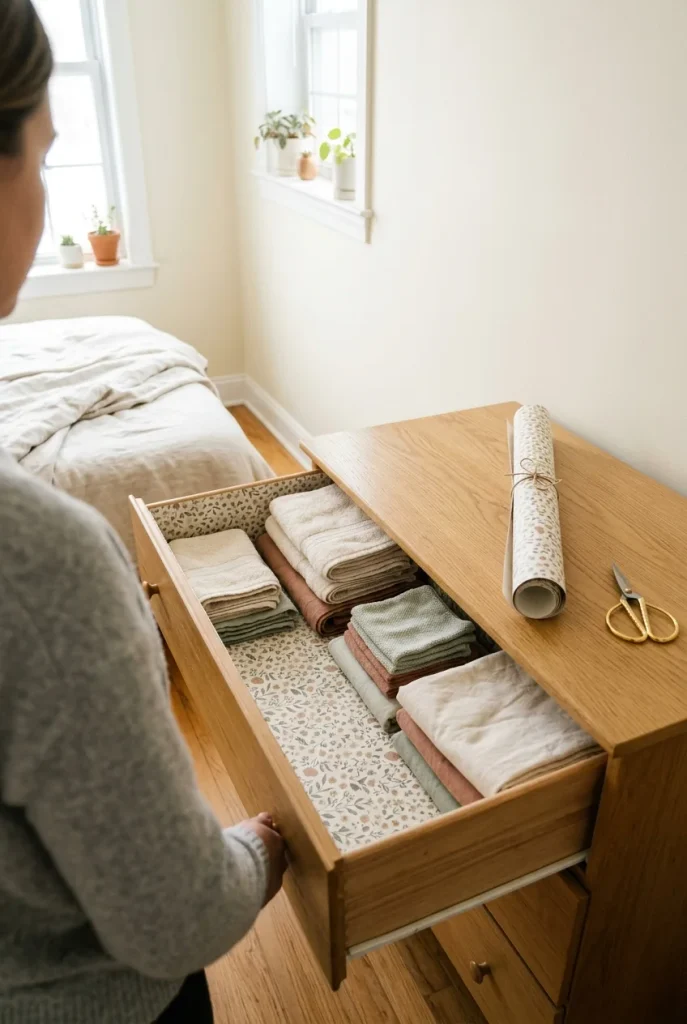
Nobody expects the inside of a drawer to be pretty, which is exactly why it lands. Peel-and-stick wallpaper costs a few dollars a foot, cuts with scissors, and comes off again without taking the wood with it.
The back panel is the better-kept secret. Most open bookcases and cube shelves have a thin cardboard back that reads as a grey void behind your books. Cover it and the whole unit looks lit from within.
Line it without regrets
Old drawers also smell like old drawers. Wipe them out and let them air for a day before you line them, or you seal the smell in.
5. Recover a chair seat with a staple gun
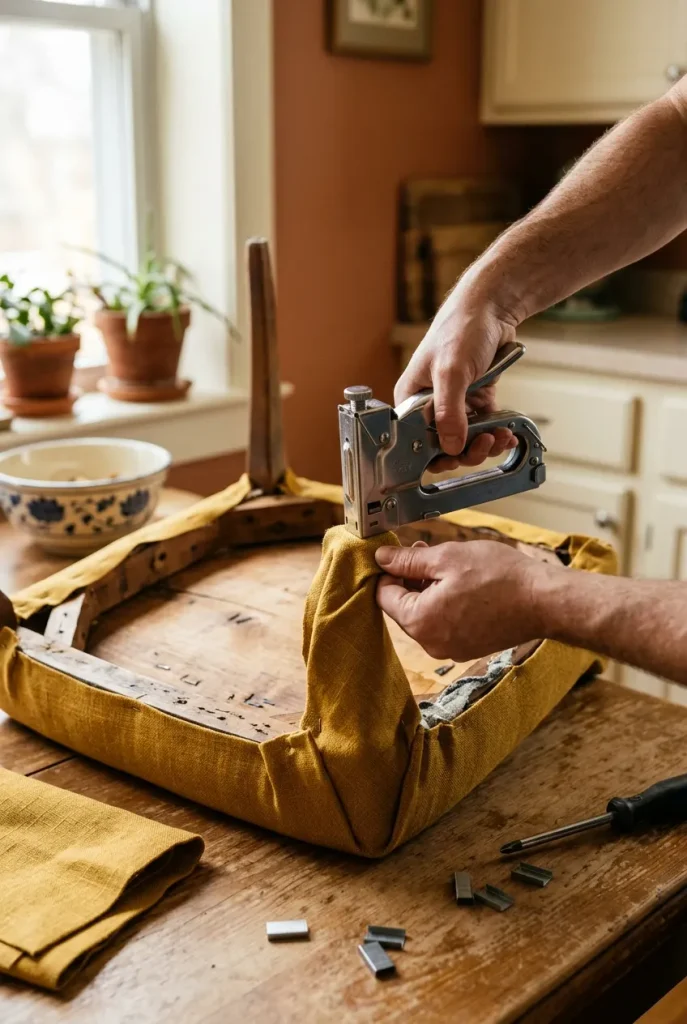
Dining chairs take the worst of it. Crumbs, dog paws, a decade of being sat on in jeans. The seat is also, on most chairs, four screws away from coming off in your hands.
Flip the chair, unscrew the seat pad, and you have a flat board with fabric stapled to the underside. New fabric goes straight over the old, no stripping needed, pulled tight and stapled from the center of each side outward so the tension stays even. Corners last, folded like a gift box.
Pick a fabric with some weight to it. Quilting cotton is pretty and wears through in a year.
6. Make a flatpack bookcase read as built-in
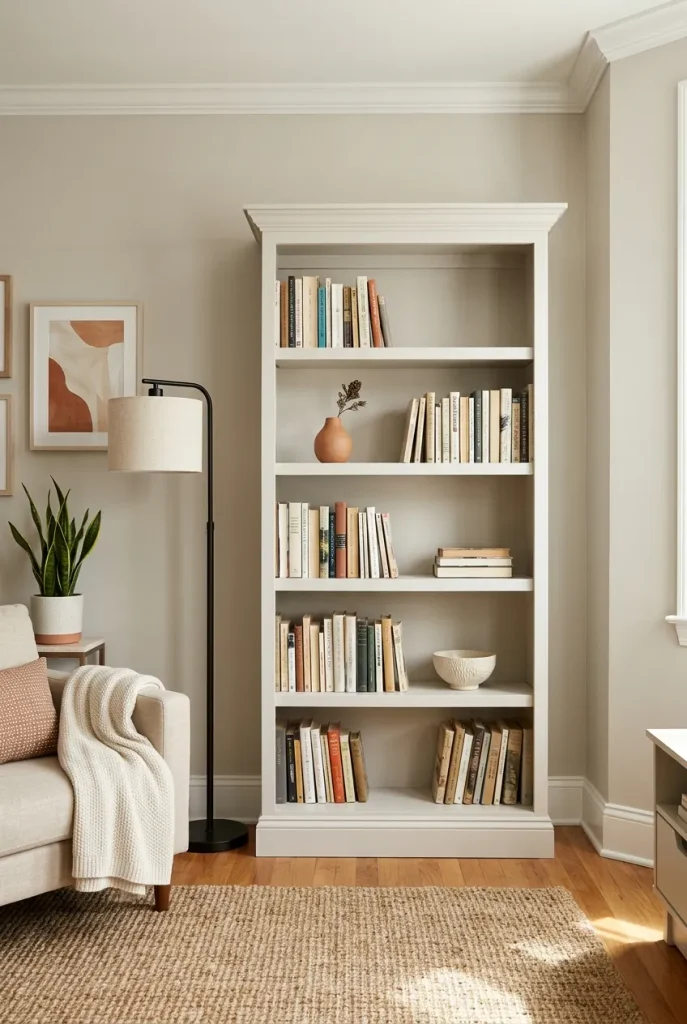
Two lengths of trim and a can of paint are what separate a $60 bookcase from something that looks like it came with the house. The trick is not the paint. It is the gap.
A freestanding unit gives itself away by the shadow line where it meets the wall and the floor. Close that line with a strip of baseboard-matched trim at the bottom and a slim crown or plain 1×2 across the top, then paint the whole thing, trim included, the same color as your wall. The eye stops finding the edge.
Pale laminate box floating an inch off the baseboard, dark gap along the floor, shiny factory edges catching the light.
Trim closes the floor gap, everything painted wall color, shelves reading as architecture instead of furniture.
This is the single highest-value idea on the list for a small room, and it works beautifully around a chair. If you want the version with a seat built in beside it, here is a Billy bookcase reading nook setup that uses the same pieces.
7. Two-tone a side table so the damaged half disappears
Two-tone gets sold as a trend. It is really a repair strategy. When a small table has a scratched top and an undamaged base, painting the whole thing wastes the wood, and refinishing the whole thing is more work than the piece deserves.
So you split it. The only real decision is which half goes dark.
| Dark top, pale base | Pale top, dark base |
|---|---|
| Hides rings, heat marks and scratches on the surface you actually use. | Hides chipped or mismatched legs and a scuffed lower shelf. |
| Makes the table feel lighter and taller in a small room. | Grounds a table that looks like it is floating next to a low chair. |
| Needs a hard-wearing topcoat. Mugs go here. | Needs almost no topcoat. Nothing touches the legs. |
Height matters more than color once you are done. Beside a chair, the surface wants to land near the armrest, and there is more on picking the right reading nook side table if the one you are painting turns out to be the wrong size for the job.
8. Add trim or wood appliques to flat drawer fronts
Flat drawer fronts photograph flat. Slab-front dressers from the last twenty years have nothing for light to catch, which is why they look unfinished in every room and every photo.
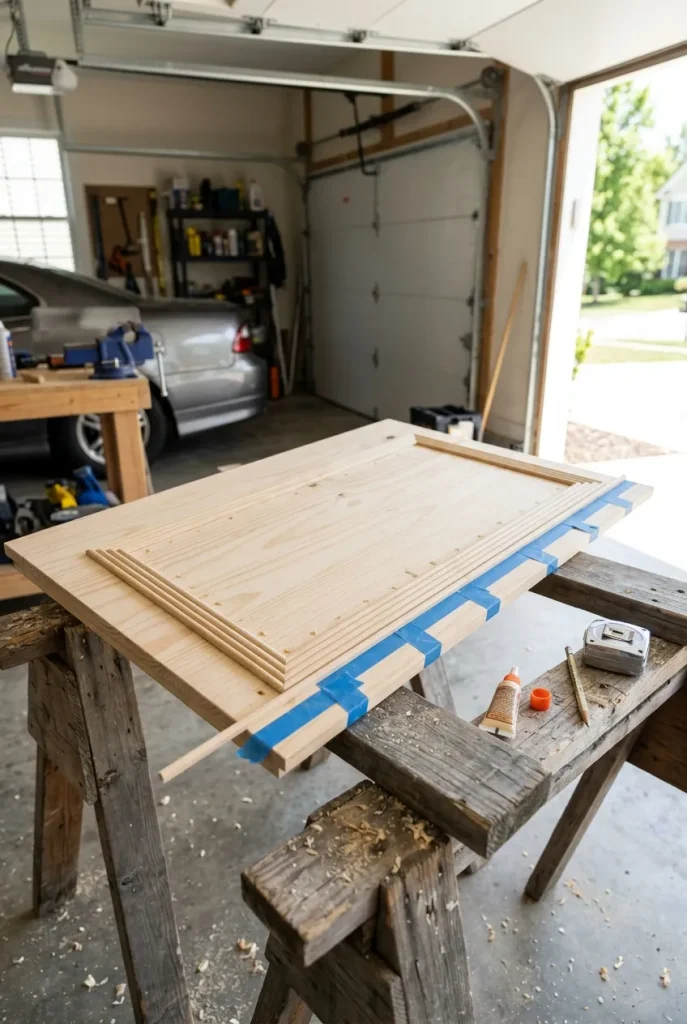
Thin half-round moulding, a square of lattice trim, or a heat-softened wood applique glued on before painting gives the front a raised line, and a raised line gives you a shadow. That shadow is doing the entire job.
Dry-fit every piece with tape before any glue comes out.
Fill the seam where trim meets drawer with caulk, then paint over it.
Keep the design to one shape repeated on every drawer.
Gluing trim over a glossy factory finish with no scuff underneath.
Measuring from the drawer edge instead of from the center.
A different pattern on each drawer. It reads as a mistake, not a choice.
Measuring from the edge is the failure mode, and it is a quiet one. Drawer fronts are rarely identical to the millimeter, so edge-referenced trim ends up a hair off on every drawer and the whole front looks crooked without you being able to say why.
9. Dry-brush a dark piece lighter instead of painting it solid
Dark oak sits in every thrift store in America because nobody wants it. That is good news for your budget and bad news for your room, which is probably already short on light.
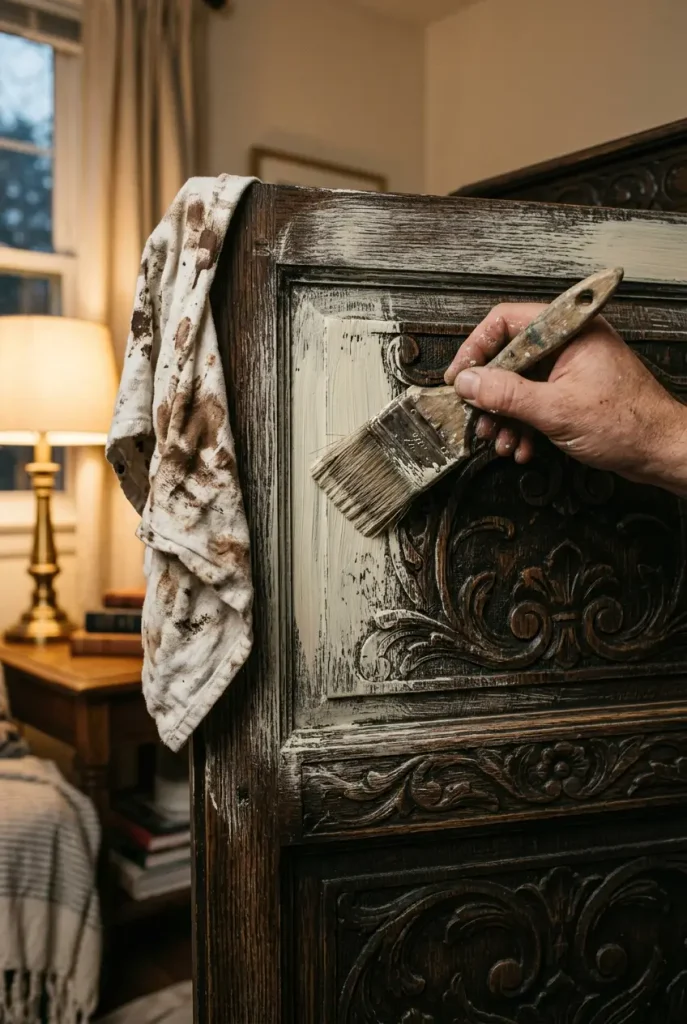
Dry-brushing splits the difference. You load a stiff brush with paint, wipe almost all of it back off onto a rag, then drag what is left across the grain so it catches the high spots and leaves the low ones dark. The wood grain stays visible. The piece reads several shades lighter.
- ▸Less paint on the brush than feels right. Then take more off.
- ▸Work in long single passes. Going back over a stroke muddies it.
- ▸Carved details and turned legs take it best. Flat panels take it worst.
- ▸Stand back every few minutes. Up close you will always think it needs more.
It is forgiving in a way solid paint is not. Too light in one spot, brush a little of the original tone back over it.
10. Find out how old the piece is before you sand anything
This is the entry the big roundups leave out, and it is the one that actually matters.
Homes built before 1978 may contain lead-based paint, and the older the building, the likelier it is. Furniture painted in those decades can carry the same problem. Sanding or scraping it dry throws lead dust into the air of the room you are standing in, which is a different category of risk than a bad paint job.
⚠️ Watch Out
Safety note: anchor tall furniture to the wall, keep candles and cords away from fabric, and use a licensed electrician or contractor for hardwired lighting, ceiling mounts, or anything structural. If a painted piece may predate 1978 and you cannot confirm otherwise, treat it as if it contains lead and get it tested by a certified inspector before you sand.
The practical version for a beginner is short. Ask the seller the age. If you cannot find out, assume lead is present. Mist the surface before you touch it so dust stays down, use wet sandpaper or a sanding sponge rather than a dry power sander, keep the work outside or sealed off from the rest of your home, and clean with wet wipes and a HEPA vacuum rather than a broom.
Heat guns should stay under 1,100 degrees Fahrenheit. All of that comes straight from EPA’s lead-safe steps for DIY renovators, which is worth ten minutes before your first older piece. And if the answer is that the piece is genuinely old and genuinely painted, the no-sand route in idea 2 stops being the easy option and becomes the right one.
11. Anchor it before you style it
Styling comes last. Anchoring comes first.
A finished dresser goes back against the wall looking better than it ever has, which is exactly when it gets climbed on. The US Consumer Product Safety Commission runs the CPSC Anchor It campaign for this reason, and its advice covers more than dressers: anything with drawers, doors, or shelves belongs strapped to a wall stud, televisions included. A federal stability rule for clothing storage units took effect on September 1, 2023, but that rule governs new furniture, not the secondhand piece in your hallway.
A kit, a drill, a screwdriver and a stud finder is the whole list. Bracket to wall, bracket to furniture, strap between them, then pull hard on it to check.
Renting is not an exemption. Two small anchor holes patch with a dab of filler when you move out, and CPSC keeps repair tips on the same site for exactly that reason.
12. Do the whole thing without changing the piece at all
Some pieces you do not get to change. Rented furnishings, a hand-me-down someone wants back, a landlord’s built-in. You can still fix how it looks.
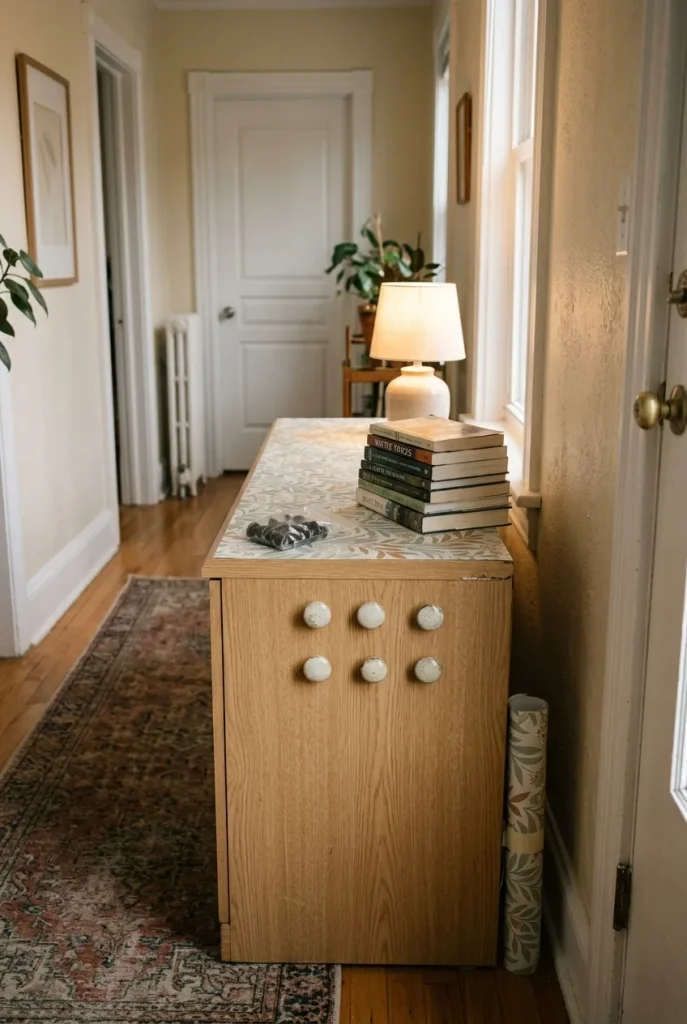
Removable adhesive film over a laminate top. A loose slipcover on a tired armchair. Peel-and-stick paper on the back panel. Cabinet knobs swapped out with the originals bagged and kept. Felt-glide risers to lift a piece off the floor and change its proportions. Every one of these comes off again in an afternoon.
| Piece | Archetype | Price band |
|---|---|---|
| 🎞️ Surface | Removable adhesive film, 2 ft roll | $[21] |
| 🔩 Hardware | Six knobs, 3 inch or 96 mm centers | $[32] |
| 🧶 Soft layer | Washable cotton slipcover | $[23] |
| Total | The Reversible Refresh | $[14] |
Renting shapes far more decorating decisions than most guides admit, and there are more no-trace options in these renter friendly apartment decor ideas if the lease is the thing holding you back.
Frequently asked questions
How can I modernize my old furniture?
Change the three things people notice first: hardware, wood tone, and proportion. New pulls take twenty minutes. Gel stain shifts a dated orange-oak finish toward walnut in a single coat. Trim at the base closes the gap that makes a freestanding piece look temporary. Do those three and most rooms read as updated before any paint is involved.
Can I just paint over furniture without sanding?
Yes, as long as you replace sanding with something. Paint fails because nothing gripped, not because nobody sanded. Degrease the piece thoroughly, then use either a light scuff with a sanding sponge or a bonding primer made for slick surfaces, then two or three thin coats of paint. Skipping the degrease step is what causes peeling weeks later.
How can I make cheap furniture look expensive?
Kill the shadow gaps and the shiny edges. Add trim where the piece meets floor or wall, paint it the same color as the wall so the eye stops finding the outline, swap plastic or thin hardware for something with weight, and add one raised detail such as moulding on a flat drawer front. Matte finishes read costlier than gloss.
What is it called when you revamp old furniture?
Several names, slightly different meanings. Refinishing means stripping back to bare wood and applying a new stain or finish. Upcycling means giving a piece a new purpose, like a dresser becoming a vanity. Flipping means buying, improving, and reselling. A furniture makeover is the broad term that covers all of them, including the surface-only work in this list.
What is the easiest piece of furniture to make over for a beginner?
A small side table or nightstand. It is light enough to carry outside, small enough that one quart of paint finishes it with plenty left, and low-stakes enough that a mistake costs you an afternoon rather than a bedroom set. Dining chair seats are the close second, because new fabric goes right over the old.
What are some creative DIY upcycling ideas for old furniture?
Turn a dresser into a bathroom vanity by cutting the top for a sink. Take the doors off a hutch and use the open top as shelving. Drop a cushion onto a low bookcase laid on its side and it becomes a window bench with storage underneath. A filing cabinet painted and topped with a plank makes a narrow desk in a rental with no office.
Start with the smallest thing you own
None of this needs to be a project. Pick the piece you look at most and change one thing about it this week, whether that is four pulls or the paper inside a drawer. The next piece gets easier because you already know what your hands do.
If you take one thing from this list, make it the two safety entries. A piece that is anchored and lead-checked is a piece you never have to think about again.
Save the ideas you want to come back to, and build the board before you build the corner. Sorting the pins is how most of these actually get finished.
Keep reading
More cozy nook ideas
 DIY
Read →
DIY
Read →
How to Make a DIY Headboard (Even If You’re Not Handy)
No saw. No garage. No conversation with your landlord. A DIY headboard is really just three things: one flat panel, something soft…
 DIY
Read →
DIY
Read →
Corner Bookshelf Reading Nook Ideas: 9 Cozy Builds for a Small Space
No bay window, no reno budget, no friendly landlord required. You need one empty corner, a corner bookshelf, and a chair that…
 DIY
Read →
DIY
Read →
Floating Shelf Ideas Around a Reading Chair That Actually Frame Your Seat
Picture 4 pm light, a linen throw over the arm of your chair, and one warm bulb glowing off a wood shelf…