
How to Make a DIY Headboard (Even If You’re Not Handy)

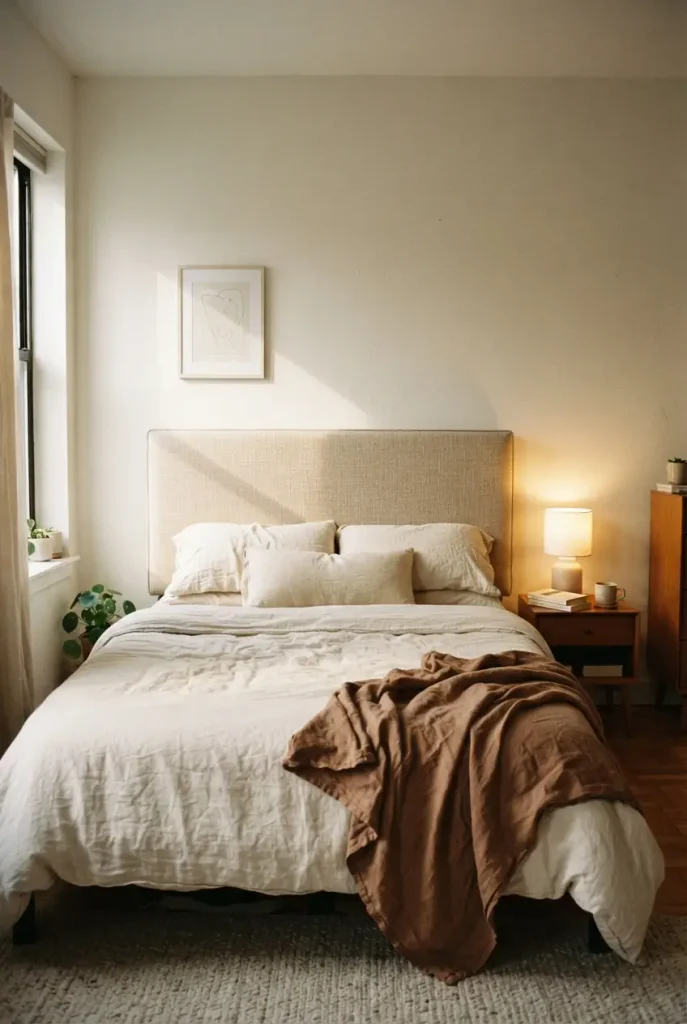
No saw. No garage. No conversation with your landlord. A DIY headboard is really just three things: one flat panel, something soft or interesting on the front, and a way to hold it up off the floor. Everything else is taste.
That matters if your bedroom is small, rented, and currently starring a bare wall behind your pillows. You lean back to read, your head hits drywall, and the whole corner reads unfinished no matter how good your bedding is.
So this is the version with actual numbers in it. Three builds you can finish in an afternoon, the exact widths and heights that make a panel look bought instead of homemade, a real totaled cost for a queen, and a mounting method that holds more than a picture frame. The cheap ideas roundups skip all of that. You need it.
Start with the type that matches your tools, then go straight to the measuring section. That is where most builds go sideways.
1. Six DIY Headboard Styles, Ranked by How Much Work They Take
Before you buy anything, pick your lane. The difference between a two-hour project and a two-weekend project is almost entirely whether you need to cut wood.
The four types below cover what actually shows up in real bedrooms. An easy DIY headboard usually means one of the first two.
Upcycled doors, shutters, and pallets get the most Pinterest saves and cause the most abandoned projects. A salvaged door needs stripping, sanding, and often lead-paint testing if it predates 1978. Start there only if you already like sanding.
If the headboard is step one in a bigger plan for the room, these bedroom reading nook setups pair well with every build below.
2. Measure First: The Four Numbers That Decide Everything
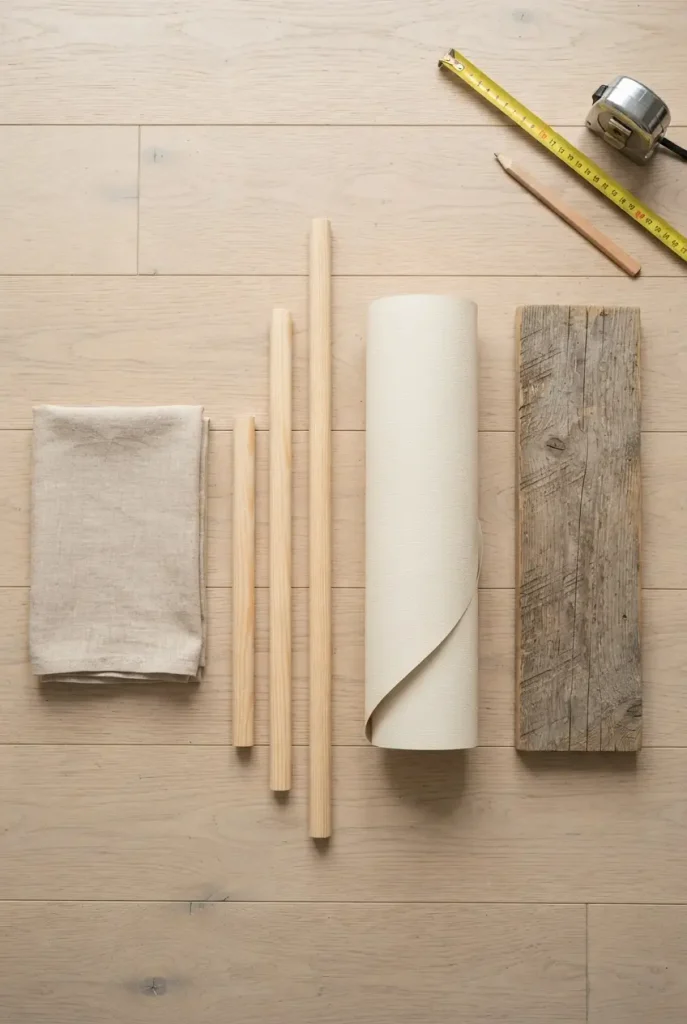
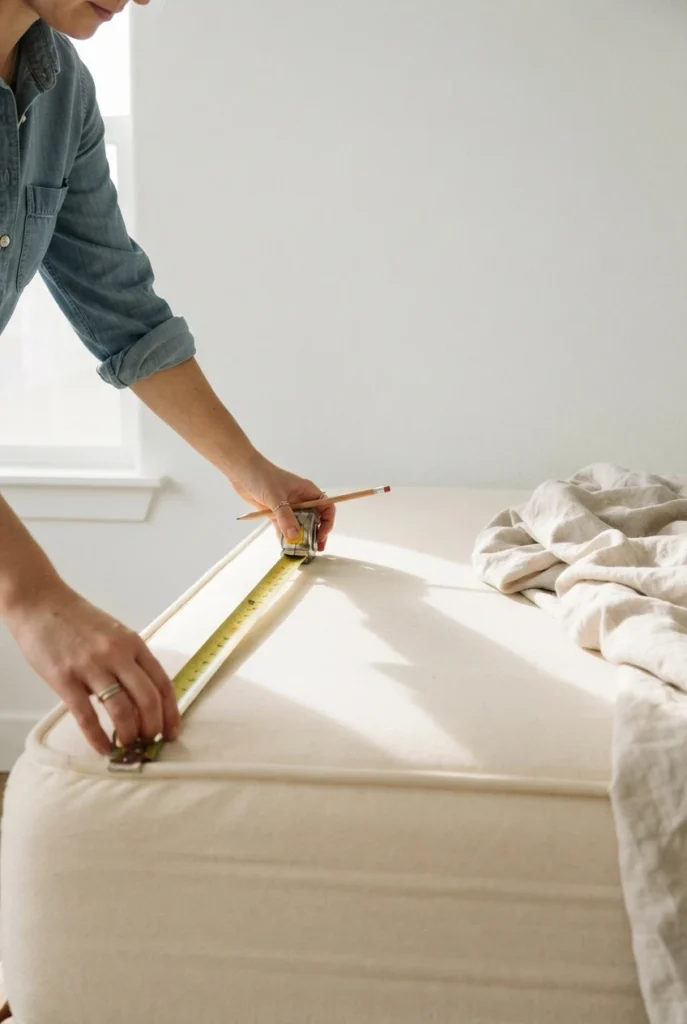
Grab a tape measure before you grab a credit card. Standard headboard widths run a little wider than the mattress so the bedding has somewhere to go.
Here is what the sleep retailers publish as standard, and it lines up across sources.
| Bed size | Mattress width | Headboard width |
|---|---|---|
| Twin | 38 in. | 41 in. |
| Full | 54 in. | 56 in. |
| Queen | 60 in. | 62 in. |
| King | 76 in. | 80 in. |
| Cal king | 72 in. | 74 in. |
Height is the number people guess at and regret. Published ranges run from 14 in. to 58 in. above the mattress, which is so wide it stops being useful. For reading in bed, anything under 24 in. of panel above the mattress top means your shoulders clear it and your head hits wall.
The fourth number is the one nobody mentions: the gap. If the bottom edge of your panel stops level with the mattress top, pillows slide down behind the bed every night. Two inches of overlap fixes it.
3. The 24 / 2 / 2 Rule
Three numbers, memorized once, and your panel will look like it came with the bed.
24 inches of panel above the mattress top, so you can sit up and lean back.
2 inches wider than the mattress on each side, so bedding has somewhere to tuck.
2 inches of panel behind the mattress, so pillows stop falling into the gap.
Run those three against a queen and you get a panel 62 in. wide and about 30 in. tall, mounted so its bottom edge sits 2 in. below the mattress top. Write that on your hand before you go to the lumber aisle.
[NO IMAGE PROMPT: the rule banner carries this section.]
4. Build One: The Upholstered Panel, About 3 Hours
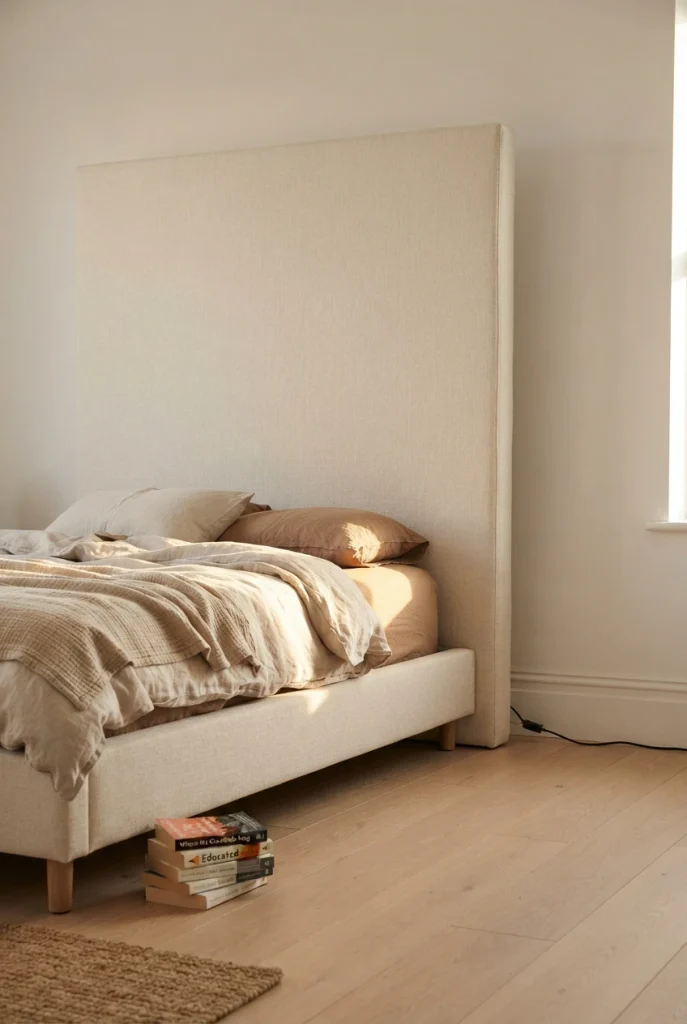
This is the upholstered headboard DIY that most people start with, and for good reason. It hides every mistake. A crooked cut vanishes under foam. A rough edge vanishes under fabric.
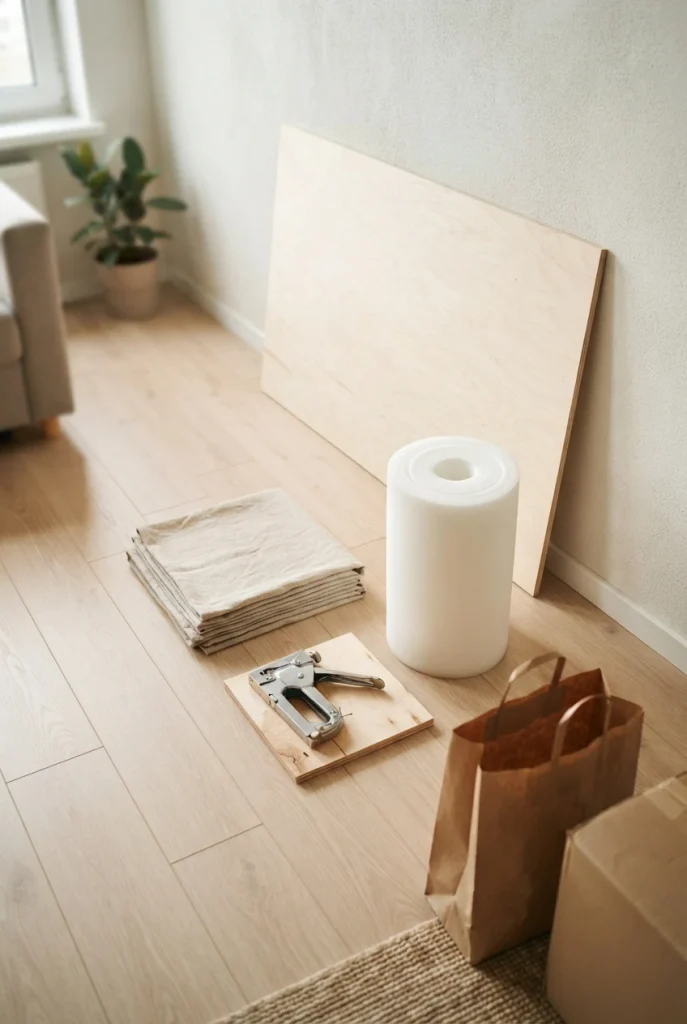
Buy a 3/4 in. sheet, not 1/2 in. Half-inch plywood flexes across a 62 in. span, and you feel it every time you lean back. The sande sheets at Home Depot measure 0.709 in. actual thickness and run $69.85 for a 4 ft. by 8 ft. panel. Ask the lumber desk to cut it to 62 by 30 for you. That single request removes the only step that needs a saw.
Lay the cut panel face down on the floor. Center a 2 in. thick foam sheet, 24 by 72 in., along the bottom edge where your back actually lands. Spray adhesive holds it.
Drape high-loft batting over the whole panel, foam and bare wood alike. It softens the step where the foam ends so the seam never shows through.
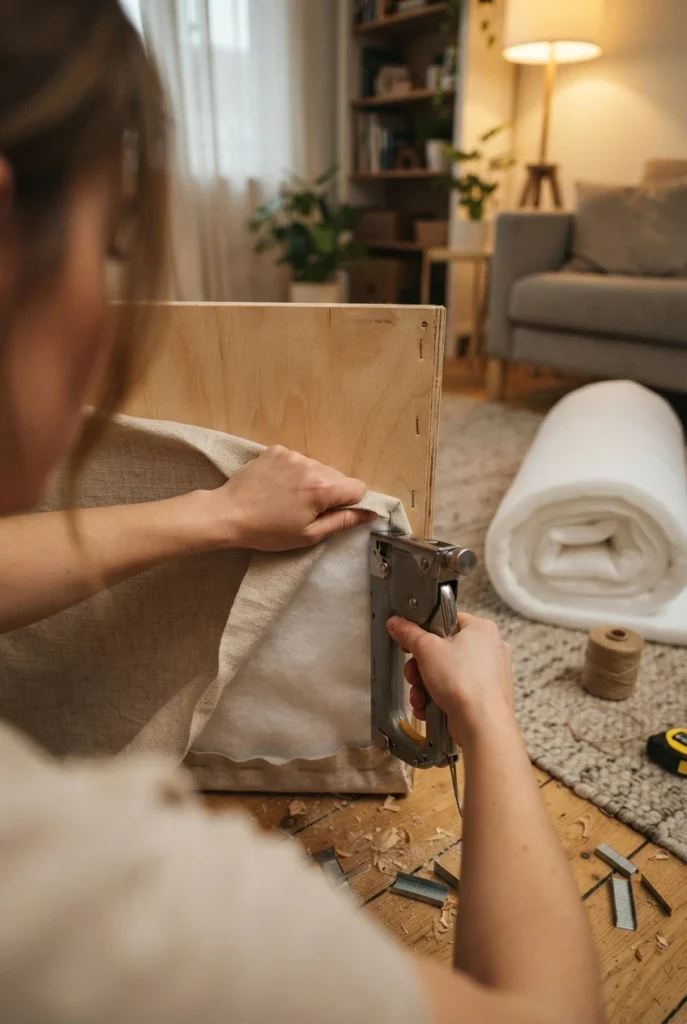
Flip the panel onto your fabric, face down. Staple the two long sides first, working from the middle outward, pulling firm but not tight enough to dent the foam.
Corners last. Fold them like wrapping paper, one clean diagonal tuck per corner, then three staples through the fold.
Screw the panel half of a 100 lb. French cleat across the back, roughly 6 in. down from the top edge. Mount the wall half into studs at the height your 24 / 2 / 2 math gave you.
Fabric weight is where a build either reads bought or reads homemade. A 7 oz. linen is lovely on a curtain and too thin here, because the batting texture telegraphs through. A 12 oz. linen-cotton blend at around $27.32 a yard holds its own, and it makes a dull thud when you lean back rather than the hollow knock of a bare panel.
I would skip button tufting on a first build. It doubles the time, and one uneven button is the thing your eye finds every morning.
Safety note: anchor tall furniture to the wall, keep candles and cords away from fabric, and use a licensed electrician or contractor for hardwired lighting, ceiling mounts, or anything structural.
5. What a Queen Upholstered Headboard Actually Costs
Every roundup calls this project inexpensive and then never adds it up. Here is the real total for a 62 by 30 in. queen panel, using current US retail prices.
| Piece | What to buy | Price |
|---|---|---|
| 🪵 Panel | 3/4 in. sande plywood, 4 by 8 ft. sheet | $69.85 |
| 🧽 Foam | 2 in. high-density, 24 by 72 in. | $29.99 |
| ☁️ Batting | High-loft polyester, 72 by 90 in. | $23.09 |
| 🧵 Fabric | 12 oz. linen-cotton, 54 in. wide, 2 yards | $54.64 |
| 🔨 Staple gun | Manual T50 plus 1,250 staples | $27.94 |
| 🔩 Mount | 100 lb. French cleat kit, 13 piece | $15.97 |
| Total | queen, 62 by 30 in. | $221.48 |
Two ways that number drops. Build a twin instead and a 2 by 4 ft. poplar project panel replaces the full sheet at $31.64, which brings the total to roughly $170. Or borrow the staple gun, since it is the one line item you keep forever, and your second build starts $28 lower.
Lumber pricing moves by store and ZIP code, so treat these as a live snapshot rather than a fixed quote. If $221 is more than this room deserves right now, there is a whole reading corner built under $100 that uses the same logic on a smaller scale.
6. The No-Drill Version for Renters
Let’s clear up the most repeated piece of bad advice on this topic. Command strips are not rated to hang a headboard. The XL heavyweight picture hanging strips top out at 20 lb, and the large ones at 15 lb, and 3M rates them for flat framed items on smooth walls. A plywood and foam panel is neither flat-backed nor light.
So the honest no-drill route does not hang the panel at all. It traps it.
Rest the panel on the floor behind the bed and let the frame and mattress pin it against the wall.
Add two felt pads to the back so it cannot scuff paint when it shifts.
Build the panel taller, around 48 in., since 18 in. of it disappears behind the mattress.
Adhesive strips holding a wood panel over your head while you sleep.
Industrial hook-and-loop tape, also rated around 10 lb per set.
Leaning a panel that is shorter than the mattress is tall. It slides.
A floor-resting panel needs a bed frame with a solid foot or a boxed base to hold it. Platform beds on thin legs will let it creep. Push the frame back until it touches, then check the gap again after a week of use.
The trade-off is real and worth naming. A leaned panel moves a quarter inch when you sit down hard, and you will notice it the first few nights. A cleat does not move at all, and it costs you two screw holes and a dab of spackle at move-out. For everything else in the room that has to stay reversible, these no-damage rental decor ideas work the same problem from the other direction.
7. Build Two: A Wood Slat Headboard With No Saw
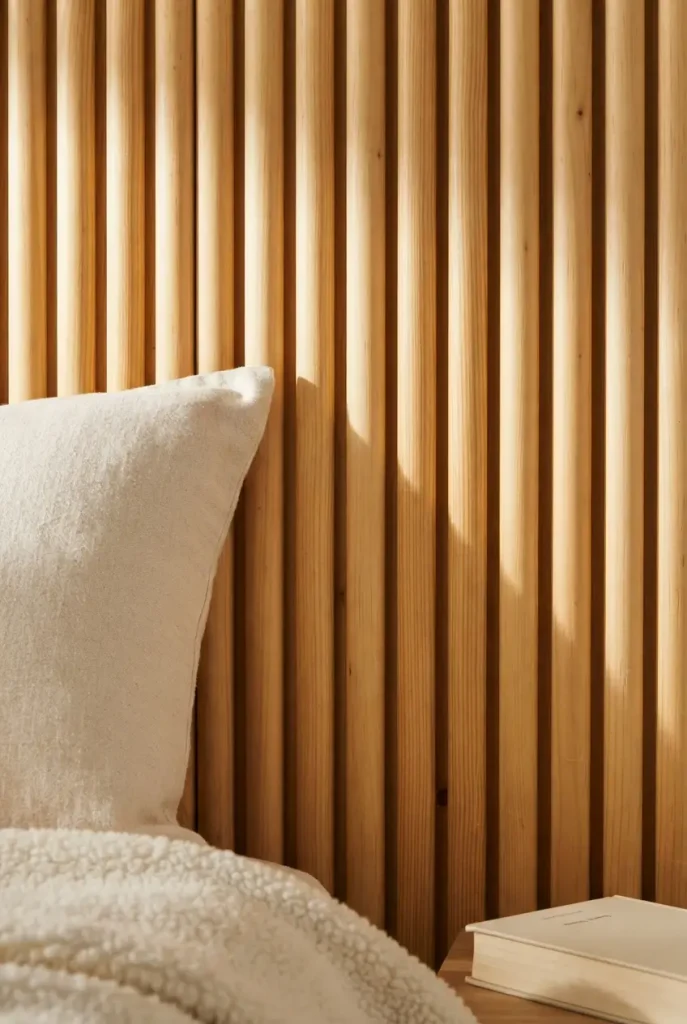
Dowels come pre-cut. That is the whole trick. A 1 in. pine round dowel sold at 48 in. runs $5.48, and a twin-width run of fifteen of them costs under $85 with nothing to measure twice.
The build is two horizontal backer boards, the dowels laid side by side across them, and two screws per dowel from behind. Stain before assembly, never after, because the gaps between rounds are impossible to reach with a rag once they are fixed.
Recreate this look
Round dowels and flat slats read very differently in a small room. Rounds catch light along one edge and throw a soft shadow line, which keeps a narrow wall from looking flat. Flat slats look sharper and cost more per foot.
The honest downside: wood against your spine is unforgiving. Plan on a bolster or a folded wool throw living there permanently, otherwise this becomes a headboard you look at instead of one you lean on.
8. Build Three: The Ten-Minute Headboard Shape on the Wall
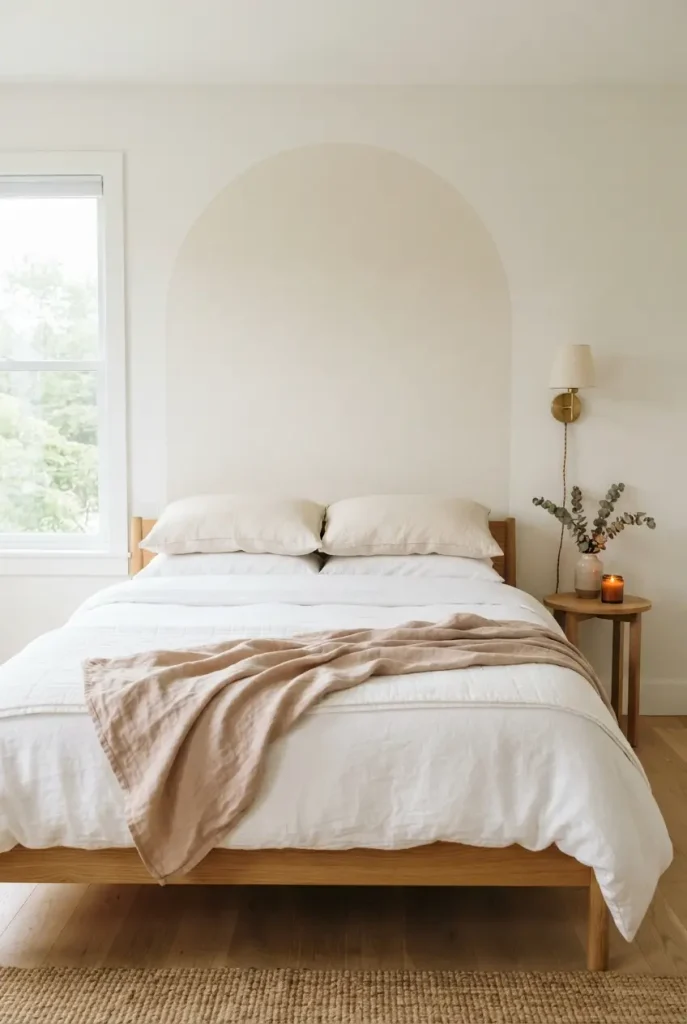
There is no panel in this one. You draw the headboard instead, either with paint or with a peel-and-stick roll, and the bed does the rest.
Bed floating against a blank rental wall. Nothing tells your eye where the room begins, so the bed reads like it was pushed there this morning.
An arch of textured wallpaper 66 in. wide behind the bed. The bed now sits inside something, and the wall stops feeling accidental.
Size the shape wider than the 24 / 2 / 2 numbers, because a flat graphic needs more visual weight than a thick panel to hold the same space. For a queen, an arch about 66 in. wide and 52 in. tall from the floor reads right.
Peel-and-stick runs $28 to $55 a roll, with most rolls covering about 30 sq ft, so a queen arch is one roll with trim to spare. Textured papers hide wall imperfections that flat colors announce.
Cut the arch curve with a dinner plate and a pencil before you peel anything. Paper is unforgiving once it touches drywall, and repositioning stretches the print.
9. Light It So You Can Actually Read in Bed
A headboard without a reading light is furniture, not a nook. Get this part right and the corner earns its keep every night.
An 8-pack of 800 lumen 2700K A19 bulbs runs $18.49, which is $2.31 a bulb, so there is no reason to keep the 5000K daylight bulb that came with your lamp. LEDs also use at least 75% less energy and last up to 25 times longer than incandescent, according to the Department of Energy’s LED lighting guide.
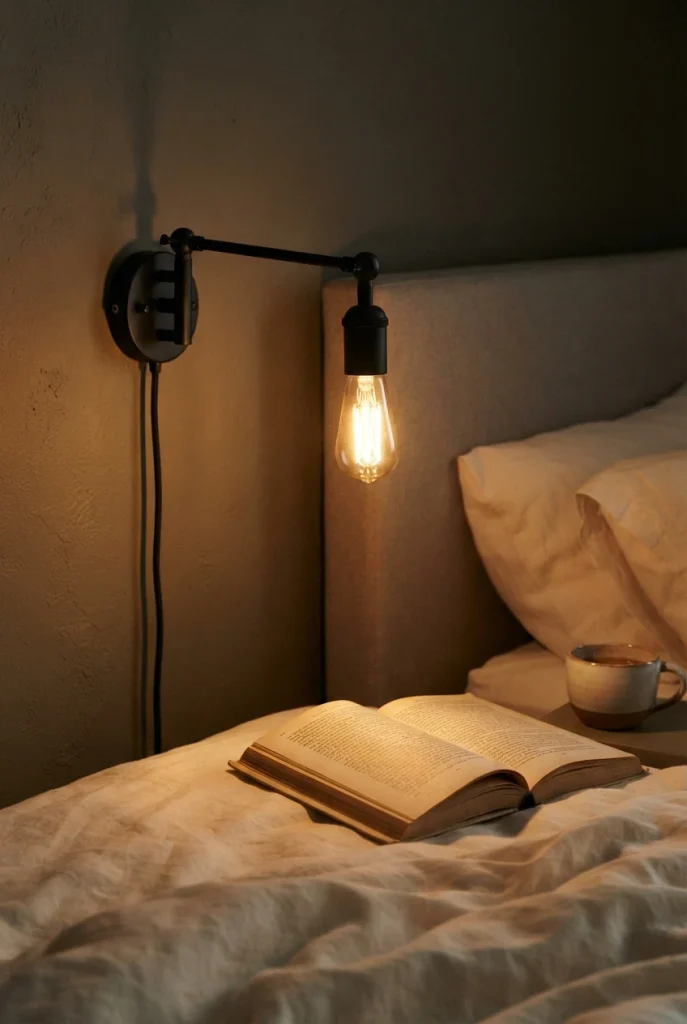
Mount a plug-in swing-arm sconce so the bottom of the shade lands around shoulder height when you sit up. Higher and the light hits your face. Lower and it lights the sheets instead of the page.
One dimmer on that circuit changes the room more than another throw pillow will. Warm light at low output is what makes a bedroom feel like evening rather than a hallway.
10. Five Things That Make a DIY Headboard Look Homemade
Fix these and nobody asks whether you made it.
- Mounting it too high. A panel floating 10 in. above the pillows reads like a piece of art hung wrong. Bottom edge goes behind the mattress, always.
- Matching the width to the frame instead of the mattress. Frames vary. Mattresses do not. Measure the mattress.
- Thin fabric over thick foam. The foam edge shows as a hard line through anything under about 10 oz.
- Visible staples on the side edges. Wrap fabric around to the back before stapling, even if it costs you an extra half yard.
- Skipping the sand. Sixty seconds with 220 grit on a cut plywood edge is the difference between a finished piece and a snagged sheet.
⚠️ Watch Out
If a bookcase, dresser, or tall shelf shares this wall, strap it before you hang anything else. A federal tip-over standard for clothing storage units took effect September 1, 2023, and anchoring kits cost less than one yard of your fabric.
Anchoring takes a stud finder, a drill, and about ten minutes per piece. The CPSC’s furniture anchoring steps walk through bracket placement and the tug test that confirms it held.
Frequently Asked Questions
How much does a DIY headboard cost?
A queen upholstered build totals about $221 with current US retail prices: $69.85 for a 3/4 in. plywood sheet, $29.99 for foam, $23.09 for batting, $54.64 for two yards of heavy linen, $27.94 for a staple gun, and $15.97 for a French cleat. A twin using a 2 by 4 ft. project panel lands closer to $170.
What material should I use for a DIY headboard?
Three-quarter inch plywood for anything wider than a twin, because half-inch flexes across a 62 in. queen span. For the front, pick upholstery-weight fabric around 12 oz rather than curtain-weight linen. Pre-cut 1 in. pine dowels at 48 in. are the easiest wood option since they need no cutting at all.
How do you attach a headboard to the wall without drilling?
You do not hang it, you trap it. Build the panel about 48 in. tall, rest it on the floor behind the bed, and let the frame and mattress pin it to the wall. Adhesive strips are not an option here: the heaviest Command picture strips are rated for 20 lb and are meant for flat framed items.
How tall should a headboard be?
Published ranges run 14 to 58 in. above the mattress. For reading in bed, aim for at least 24 in. of panel above the mattress top so your shoulders and head both have something to rest against. Anything shorter turns into decoration you cannot actually lean on.
Can you make a headboard without power tools?
Yes. Ask the lumber desk to cut your plywood to size, use a manual staple gun for the upholstery, and the only powered tool left is a drill for the cleat screws. The dowel build needs a drill too. The peel-and-stick wall shape needs nothing but scissors and a level.
How do I attach a headboard to a metal bed frame?
Most metal frames have pre-drilled headboard brackets at the head end, usually two slotted holes per side. Bolt a pair of 1 by 4 wood legs to those brackets, then screw your finished panel to the legs. If your frame has no brackets, a French cleat on the wall is the simpler path.
What kind of foam is best for an upholstered headboard?
Two-inch high-density polyurethane, roughly 1.8 lb density with a 44 lb compression rating, holds its shape against years of leaning. A 24 by 72 in. sheet runs about $30 from a foam supplier and covers the lower band where your back lands. Batting over the top blends the edge so no seam shows.
Pick One and Start This Weekend
A DIY headboard is one of the few projects where the hard part is deciding, not building. The panel takes an afternoon. The measuring takes ten minutes. The difference it makes to a small bedroom shows up the first night you sit up to read and your head lands on something soft.
If you are torn, build the upholstered one. It forgives every mistake and it is the one people assume you bought.
Save this to your bedroom board so the 24 / 2 / 2 numbers are there when you are standing in the lumber aisle wondering how tall to go.
Keep reading
More cozy nook ideas
 DIY
Read →
DIY
Read →
12 Furniture Makeover Ideas for Beginners Who Have Never Painted a Thing
Your dresser is fine. It works, it holds socks, and it has looked exactly the same since the day you carried it…
 DIY
Read →
DIY
Read →
Corner Bookshelf Reading Nook Ideas: 9 Cozy Builds for a Small Space
No bay window, no reno budget, no friendly landlord required. You need one empty corner, a corner bookshelf, and a chair that…
 DIY
Read →
DIY
Read →
Floating Shelf Ideas Around a Reading Chair That Actually Frame Your Seat
Picture 4 pm light, a linen throw over the arm of your chair, and one warm bulb glowing off a wood shelf…