
Cottage Garden Path Ideas That Wander, Bloom, and Hold Up to Real Feet

Most cottage garden path ideas fall apart in the same place: the moment you actually have to move dirt. So this one opens with a tape measure instead of a mood board.
Eighteen inches is the narrowest strip a person will walk without turning their shoulders. Every dreamy overgrown path you have saved is quietly obeying a number like that, even where it looks like happy chaos.
You might be renting. You might have a six foot strip beside the driveway, a budget closer to $150 than $2,800, and a landlord who would notice a trench. Good. Ten ideas follow, ordered from cheapest to most permanent, each with the real width, spacing, or price attached.
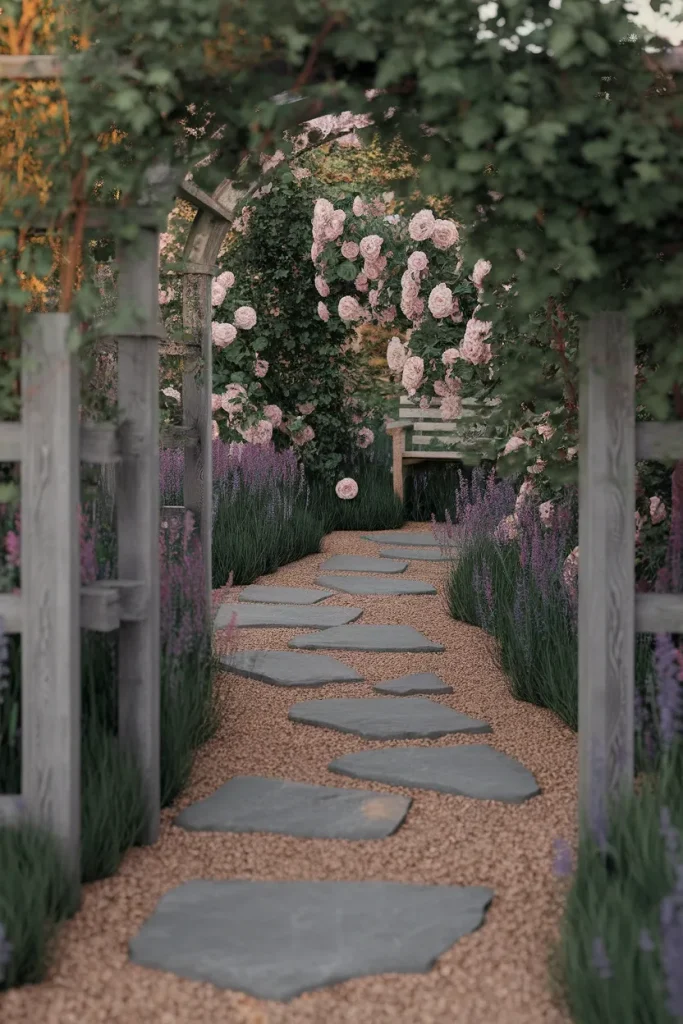
Start With Width, Because Stone Choice Cannot Fix a Skinny Path
A path that is too narrow reads as a mistake no matter how pretty the flagstone is. Your feet will tell you first, because you will start walking on the border plants instead.
Here is the scale professional installers work from, and it is worth taping out on your grass before you buy anything:
| Path width | What it actually does |
|---|---|
| 18 inches | Absolute minimum. One person, sideways at the pinch points. |
| 24 inches | Functional. Fine for a back border path you use alone. |
| 30 inches | One person, comfortably, carrying a watering can. |
| 36 inches | The standard. Choose this if you are unsure. |
| 48 inches | Two people side by side. Front door paths want this. |
The elbow rule: stand in the middle of your planned route and stick both elbows out. That span, roughly 36 inches on most adults, is your target for any path you will use daily. Anything narrower is a secondary path, and secondary paths should look deliberately narrow, with plants crowding in, so the narrowness reads as intent.
Now double check one thing. Cottage borders grow into the path by the second summer. Salvia flops. Lady’s mantle sprawls. If you build to 30 inches, you own a 22 inch path by August, and you will resent it while carrying groceries.
Failure mode: building the path to the width of the materials you already bought instead of the width your body needs.
Curve It Once, Not Three Times
A cottage path curves. That much every result on page one agrees on. What none of them say is how much.
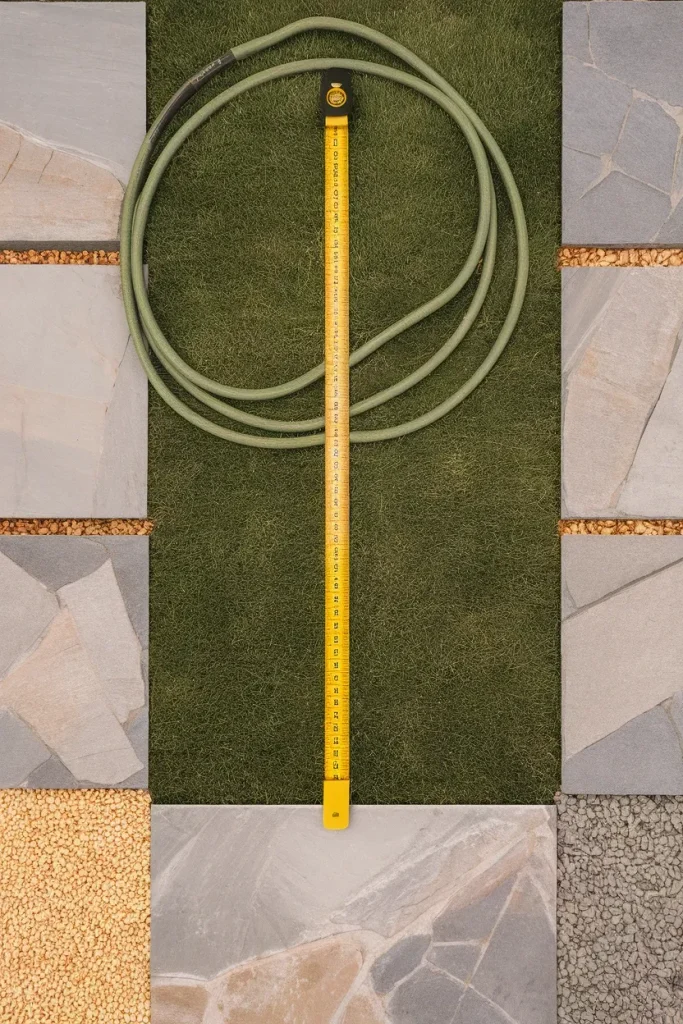
One generous S curve across the length of a small yard looks intentional. Three wiggles across the same distance looks like the installer was avoiding a sprinkler head. In a yard under about 30 feet deep, use a single arc and let one plant group be the reason for it: a hydrangea, a rose, a birdbath the path bends around.
Lay a garden hose on the grass and leave it there for two days. Walk it in real shoes, in the dark, carrying something. The hose will tell you where the curve is wrong far more honestly than a sketch will.
Failure mode: curving for looks alone. If the shortcut across the lawn gets worn into a dirt streak within a month, the curve lost and the path needs to move.
Pea Gravel With a Cut Stone Spine
Gravel is the cheapest honest cottage surface, and it is the sound of the thing as much as the look. Gravel underfoot is the loudest surface in a quiet yard, which is either the point or the problem depending on your neighbors.
Straight pea gravel has one weakness: it shifts under a chair leg and under a wheelbarrow. The fix is a spine. Run a single line of cut stone slabs or reclaimed pavers down the center of the gravel run, wide enough for one foot, and the path stops rolling out from under you at the exact spots you use most.
Budget it honestly. Pea gravel runs about $4 to $7 for a 0.5 cubic foot bag, and a bag that size weighs roughly 48 pounds, so a small car does about six bags per trip. Bulk changes everything: $25 to $67 per cubic yard, averaging near $46. A 200 square foot gravel path lands around $310 nationally for materials.
Failure mode: skipping edging. Loose gravel with no restraint migrates into the lawn, then into the mower, and the path edge blurs into nothing by the second spring.

Reclaimed Brick That Looks Borrowed From an Older House
Reclaimed brick is the fastest way to make a new path look like it predates you. Color variation is the whole trick, so avoid a uniform pallet from a big box store and hunt salvage yards, architectural reclaim lots, and marketplace listings from demolition crews.
Lay it in a running bond and let the curve break the pattern rather than cutting every brick to fit. The half bricks and odd wedges along the outside of the curve are what makes it read as old rather than manufactured.
Set brick on 2 inches of compacted base and 2 inches of sand at minimum. Sweep polymeric sand into the joints if you want it tight, or plain sand if you want moss and thyme to move in.
Failure mode: salvaged brick that was originally interior brick. Softer interior brick spalls and crumbles after a few freeze cycles, so ask what the brick was doing before it came out.
Flagstone Steppers and the 24 Inch Rule
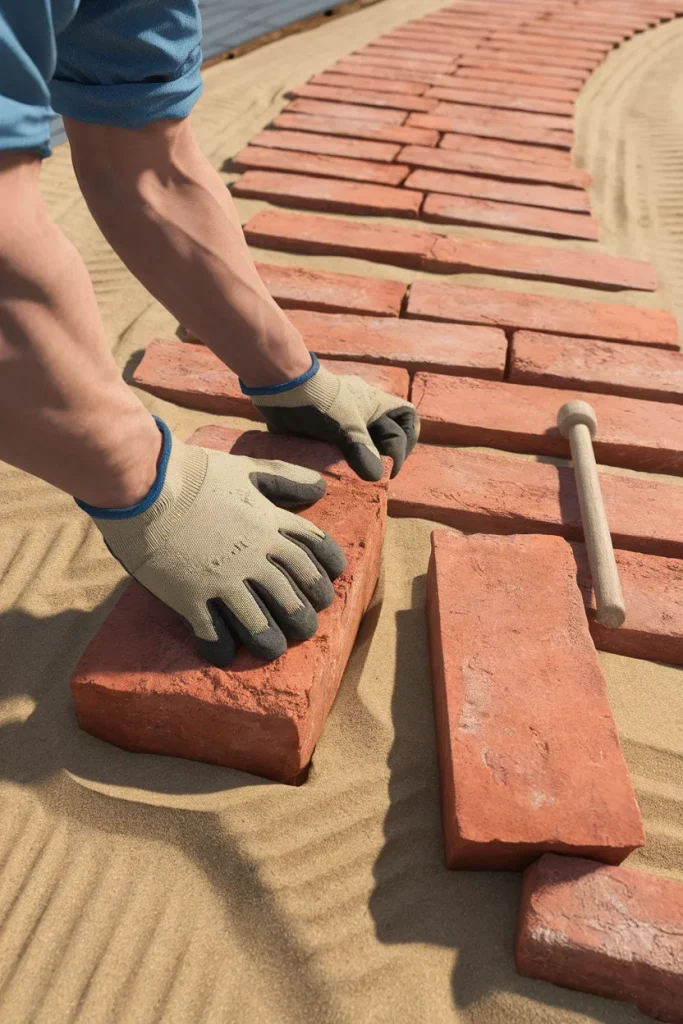
Steppers through a lawn or a groundcover are the least work of any real path, and the spacing is where most people go wrong.
Set stones 24 inches center to center. That is the standard interval that fits an average adult stride, and it means the reach never registers as a reach. Leave 3 to 6 inches of gap between the stone edges. A quick field trick: lay a scrap 2×4 flat between two stones as you set them and you get a consistent 4 inch space every time, no measuring.
Sink each stone so its top sits flush with or slightly below the grass line. Excavate about 4 inches, add 2 inches of sand, seat the stone, and check it does not rock. A stone that rocks at installation will rock forever, only muddier.
Irregular flagstone reads more cottage than sawn squares. Buy one pallet, spread the whole thing out on the lawn before setting anything, and place the ugliest stones where the borders will swallow them.
Failure mode: spacing to your own long stride. Everyone shorter than you will hop down your path, and you will notice it every single time.
Plant the Cracks So the Path Softens Itself
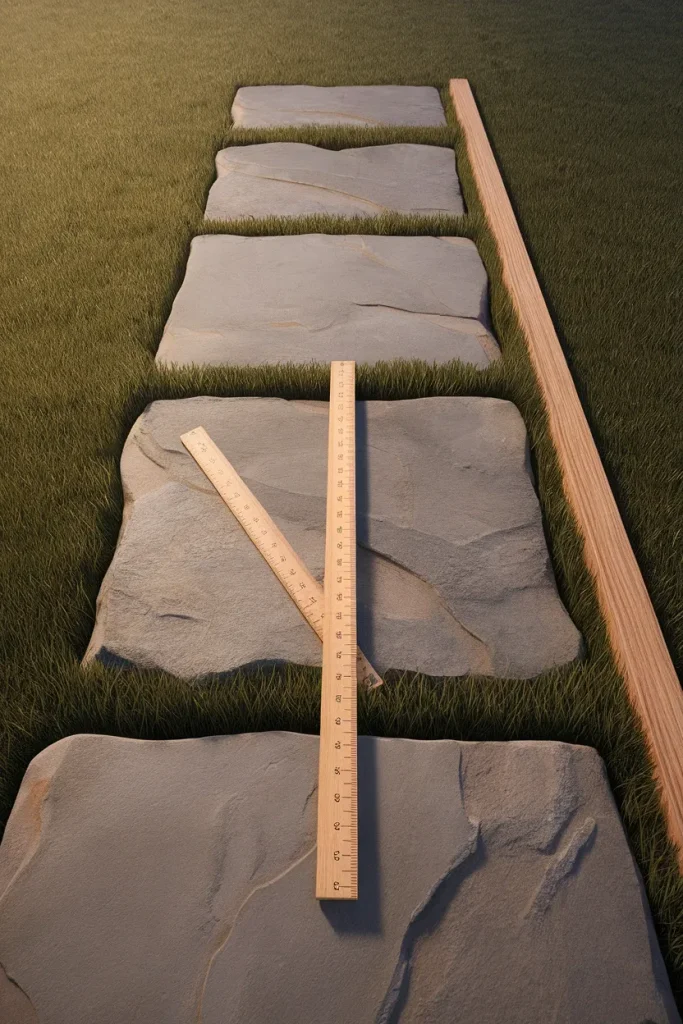
A brand new path looks brand new. Plants in the joints are what age it in one season.
Creeping thyme is the workhorse. NC State Extension lists Thymus serpyllum as hardy in zones 4a through 9b, growing just 2 to 3 inches tall with a 3 to 12 inch spread, wanting full sun of 6 or more hours and sharp drainage, blooming pink and lavender from June through September. Crushed underfoot it smells green and slightly medicinal, which is a small daily reward for the work.
Thyme is not your only option, and the difference between the options is how much walking they survive. The University of Washington’s Miller Library groups the reliable candidates in its reference notes on groundcover plants that tolerate foot traffic, and the distinction it draws matters: creeping thyme genuinely withstands foot traffic, brass buttons (Leptinella) is a solid alternative, and Roman chamomile handles only light traffic. Put chamomile along the edges and keep thyme in the middle where the shoes land.
Plan roughly one plug per 6 inch joint section and give them a full season before you expect coverage.
Failure mode: planting crack plants in shade. All three of these want sun, and in shade they thin out, go leggy, and hand the joints to moss and weeds instead.

Let the Borders Flop Over the Edges
The line between path and planting should be broken in at least three places. A crisp continuous edge reads formal, and formal is the opposite of what you are building.
Choose two or three sprawlers and repeat them down the run: lady’s mantle, catmint, hardy geranium, lamb’s ear, or low sedum. Repetition is what separates a designed cottage border from a plant collection.
Before you buy any of it, check what actually survives your winter. Punch your zip code into the USDA plant hardiness zone map, the 2023 version published by the USDA Agricultural Research Service, and buy to that number rather than to the tag on a shelf in a store that ships nationally. A zone 5 yard planted with zone 7 catmint is an expensive annual.
Leave the self seeders alone the first year. Foxglove, forget me not, and nigella dropping into the gravel is the whole aesthetic arriving free.
Failure mode: edging the border to a perfect line every two weeks. That maintenance habit is actively deleting the look you are paying for.

The No Dig Path a Renter Can Lift Out on Move Out Day
Nothing in the top ranking results speaks to renters, which is strange, because a huge share of the people saving these images do not own the dirt.
You can build a real cottage path with zero excavation. Here is the order that works:
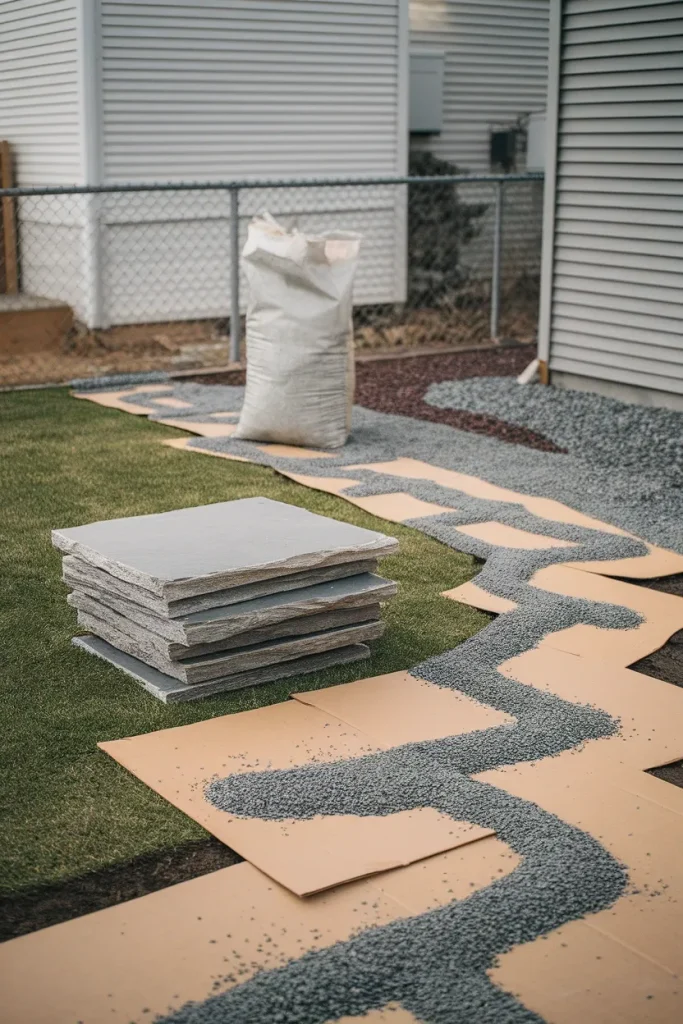
- Kill the grass without chemicals. Cardboard, overlapped by 6 inches, watered until soaked. Six to eight weeks under cover and the sod is gone.
- Lay a physical border you can pick up. Flexible steel or aluminum edging staked, not buried, or a double row of loose brick set on edge.
- Add 2 to 3 inches of surface. Pea gravel, decomposed granite, or shredded bark, straight onto the cardboard.
- Drop steppers on top, not into, the surface. Thick flagstone at 2 inches or more sits stable on a gravel bed without a sand base.
- Keep every receipt and photo. Documented reversibility is what makes the landlord conversation short.
On move out, the gravel rakes into bags, the stones stack on a hand truck, and the cardboard has long since composted into what is now noticeably better soil than the rest of the yard.
Failure mode: thin steppers on loose gravel. Under 1.5 inches thick, a stepper rocks and eventually cracks. Buy thick, buy fewer.
Hang a Seat at the Halfway Pause
A path with one destination is a hallway. A path with a pause in it is somewhere you actually spend time.
Widen the route to about 48 inches at one point, roughly two thirds of the way along, and put something to sit on there. A hammock chair or reading swing hung from a mature limb or a freestanding A frame turns a walkway into a place to get lost in a book for forty minutes. If you are working out the hanging hardware, weight ratings, and clearances, the swing chair reading nook setups guide covers the indoor and outdoor versions of that problem.
Give the seat a hard surface underneath. Pea gravel under a chair leg is a genuine nuisance, so set a single 24 inch flagstone pad where the seat swings, or you will re-level that spot every week.
Failure mode: hanging a swing over a path narrow enough that the swing blocks it. Swing plus path needs the full 48 inches, measured with the seat pushed forward.

Give the Path Somewhere Worth Arriving
Here is the gap in nearly every cottage path article on page one: they treat the path as decoration and never ask where it goes. A path that ends at a fence is a design that failed quietly.
The destination does not need to be a structure. A single armchair under an arbor works. So does a bench in an alcove of tall grasses, a bistro table for two, or a floor cushion and an ottoman on a covered slab.
What the destination does need is shade, a dry seat, and some defense against mosquitoes at dusk, because otherwise it is a photograph rather than a place. Those three constraints are exactly what the covered patio reading nook ideas guide is built around, and they apply identically at the end of a garden path.
Sight line matters more than size. Standing at the start of the path you should be able to see the destination, or see just enough of it that you want to walk down and find out. Half hidden beats fully visible.
Failure mode: building the seating area first and running a path to it afterward. The path ends up straight and functional, and straight is the one thing a cottage path cannot be.
Light It So the Path Works After Dinner
Cottage garden path lighting is one of the highest volume long tail phrases in this cluster, and most people solve it badly by lining the edges with identical solar spikes at even intervals. Runway lighting is the enemy of atmosphere.
Three fixtures, placed with intent, beat twelve placed evenly:
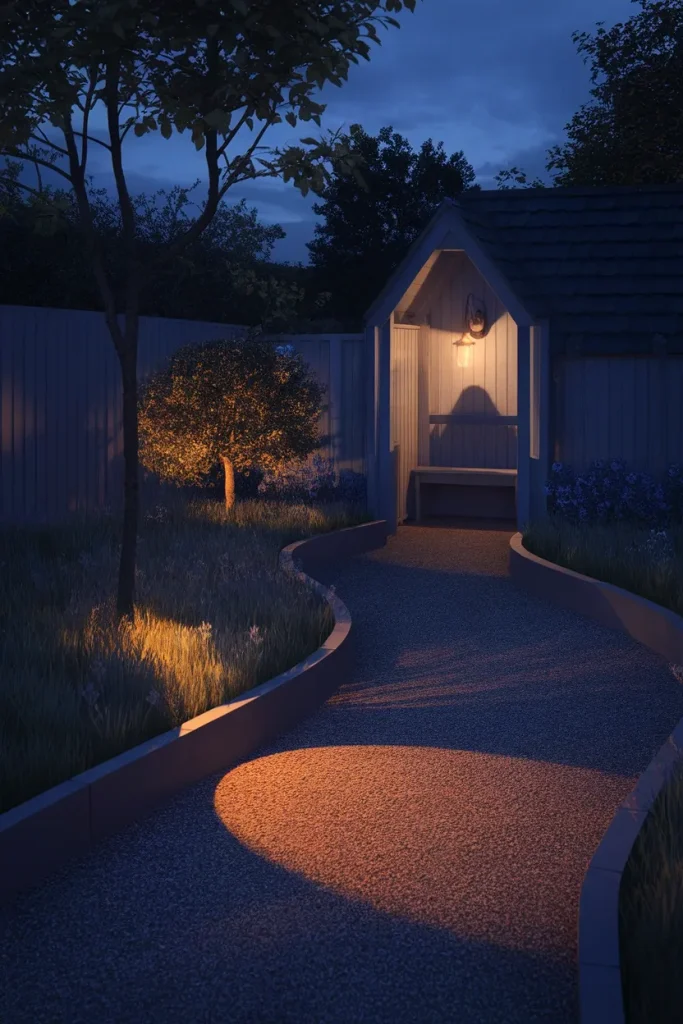
- One low wash at the first curve, so the shape of the path is legible from the back door.
- One uplight into a tree or a tall shrub at the midpoint, which lights the path by bounce rather than glare.
- One warm pool at the destination, ideally a plug-in sconce or a weatherproof floor lamp on the covered seat, not a spike light.
Stay at 2700K across all of it. Cooler bulbs turn green foliage gray and make the whole yard read like a parking area. String a run of fairy lights through the arbor if you want sparkle, but keep them on the same warm temperature as everything else.
Failure mode: solar spike lights under a tree canopy. They charge badly, dim by 10pm, and fail unevenly, which is worse than no lighting at all.
Cottagecore Without the Costume
Cottagecore as an aesthetic goes wrong outdoors the same way it goes wrong indoors: too many small decorative objects, not enough repetition.
Three rules keep it grounded. Repeat one material rather than mixing four. Repeat one bloom color at least five times along the run. Let one thing be genuinely old, a salvaged gate, a chipped urn, a weathered bench, and let everything else be quietly new.
The same restraint carries into the house, and if you want the interior version of this look, the cottagecore styling guides work through it room by room.
Skip the mushroom statues. One is a wink, six is a theme park.
Failure mode: buying the styling props before the path is built. The objects end up arranged around a path shape that does not exist yet.
What a Cottage Garden Path Actually Costs
Real ranges, US retail, materials only, for a path roughly 3 feet wide and 20 feet long (about 60 square feet):
| Surface | Material cost estimate | Effort | Lifespan feel |
|---|---|---|---|
| Shredded bark | $40 to $90 | Lowest | Refresh yearly |
| Pea gravel, 2 to 3 inches deep | $95 to $185 | Low | Top up every 2 to 3 years |
| Decomposed granite | $120 to $240 | Medium | Firmer than gravel, needs edging |
| Flagstone steppers, 12 stones | $180 to $420 | Medium | Effectively permanent |
| Reclaimed brick, full coverage | $250 to $600 | Highest | Gets better with age |
Gravel math to check against your own quote: pea gravel runs $25 to $67 per cubic yard, averaging near $46, or $25 to $53 per ton. Bagged at 0.5 cubic feet costs $4 to $7 per bag, which works out considerably more expensive per volume than bulk delivery once you pass about 40 bags. Regional pricing swings widely, and delivery adds roughly $10 to $25 per ton plus a per mile fee, so treat these as a sanity check rather than a quote.
The cheapest genuinely good looking option is bark or gravel with a real edge. The most expensive mistake is a cheap surface with no edging, because you pay for it twice.
Five Ways a New Path Goes Wrong
Front loaded, worst first:
- No edge restraint. Everything else on this list is recoverable. This one erases the path.
- Built too narrow. By the second August the borders have eaten 6 to 8 inches and you are walking single file through wet foliage.
- Woven landscape fabric under gravel. Weed seed germinates in the gravel above the fabric anyway, and the roots then thread through the weave so the weeds cannot be pulled cleanly. Cardboard breaks down and feeds the soil instead.
- Steppers set on soil with no base. They sink unevenly, hold water, and become the ice hazard of the yard.
- A path to nowhere. Covered above, and it is the one nobody notices they made until the path has been in for a year.
Cottage Garden Path Ideas Frequently Asked Questions
What is a good layout for a cottage garden? Start with the route people already walk, then plant to it. A single curving path with deep borders on both sides, roughly 3 feet of path to 3 or 4 feet of planting on each side, gives the density that defines the style. Repeat three or four plants down the whole run rather than planting one of everything.
What are some ideas for paths in a cottage garden? Pea gravel with a cut stone spine, reclaimed brick in a running bond, irregular flagstone steppers at 24 inch centers, shredded bark for a woodland feel, and a no dig gravel path over cardboard for renters. Mixing two of these, such as steppers set into gravel, usually looks more established than one material alone.
What are some ideas for a cottage stone pathway? Irregular flagstone in mixed sizes reads far more cottage than uniform sawn squares. Set the stones 24 inches center to center with 3 to 6 inch gaps, sink them flush with the soil line, then plant creeping thyme or brass buttons into the joints so the stone edges disappear by the second season.
What is the cheapest option for a garden path? Shredded bark over cardboard is the lowest cost real path, roughly $40 to $90 in materials for a 3 by 20 foot run. Pea gravel is the next step up at about $95 to $185 for the same size at 2 to 3 inches deep, and it lasts considerably longer between refreshes.
How wide should a cottage garden path be? Thirty six inches if you use it daily and 48 inches if it leads to a front door or if two people walk it together. Twenty four inches is workable for a back border path used alone. Eighteen inches is the absolute floor, and it will feel tight the moment plants fill in.
What plants can I grow between path stones? Creeping thyme is the most walkable option, hardy in zones 4a through 9b at 2 to 3 inches tall in full sun. Brass buttons (Leptinella) is a good alternative, and Roman chamomile works where foot traffic is light. All three want sun and sharp drainage, so shaded joints are better filled with moss.
Can I build a cottage garden path if I rent? Yes, if you build it to come apart. Cardboard instead of excavation, staked edging instead of buried edging, loose gravel or bark as the surface, and thick steppers resting on top rather than set into a sand base. Photograph the yard before you start, and the whole path bags up in an afternoon when you move.
One Last Thing Before You Buy Anything
Go put a garden hose on the grass right now and leave it there. Walk it tomorrow morning with coffee, and again after dark. The route will change at least once, and it is far cheaper to move a hose than to move 40 bags of gravel.
Once the line is settled, the only real decision left is where the path stops. Pick that spot first and make it somewhere you would sit for an hour with a book. Everything else on this page exists to get you there.
Keep reading
More cozy nook ideas
 Garden Nooks
Read →
Garden Nooks
Read →
Container Gardening Ideas for Small Cottage Gardens That Fit a Rental Patio
One anchor pot, two mid-size pots, three little ones. That’s the whole cottage garden, and it fits on a patio smaller than…
 Garden Nooks
Read →
Garden Nooks
Read →
Raised Garden Bed Ideas for a Cottage Garden (Without the Tidy Box Look)
No English manor, no in ground borders, no landlord who’ll let you dig up the yard. You can still get the raised…
 Outdoor
Read →
Outdoor
Read →
Wildflower Garden Ideas That Look Romantic, Not Neglected
Most wildflower garden ideas skip the part that decides whether yours works, which is the math. Half a pound of seed covers…
One Comment