
Reading Nook Closet Conversion: How to Turn Any Closet Into a Cozy Nook

There is a moment most book lovers know well. You walk past the same cluttered closet in your hallway or your kid’s bedroom for the hundredth time, and suddenly you see it differently. Not as a graveyard for forgotten coats and broken vacuum attachments, but as the exact shape and size of the little hideaway you have been pinning for months. That quiet click in your brain is the beginning of a reading nook closet conversion, and honestly it might be the best decision you make in your home this year.
I have watched friends transform awkward hallway closets, unused guest room wardrobes, and even weird angled cupboards under the eaves into the coziest corners in the house. The secret is that closets already do most of the work for you. Three walls, a defined ceiling, a sense of enclosure. You are basically building inside a frame that is begging to become a little reading cave.
Here is the thing though. Most people get halfway through, run out of budget, lose patience with the paint, and end up with a bench that is too tall, lighting that makes their eyes ache, and a cushion that slides off every time someone sits down. So before you rip off that bifold door, let’s walk through how to actually do this properly.
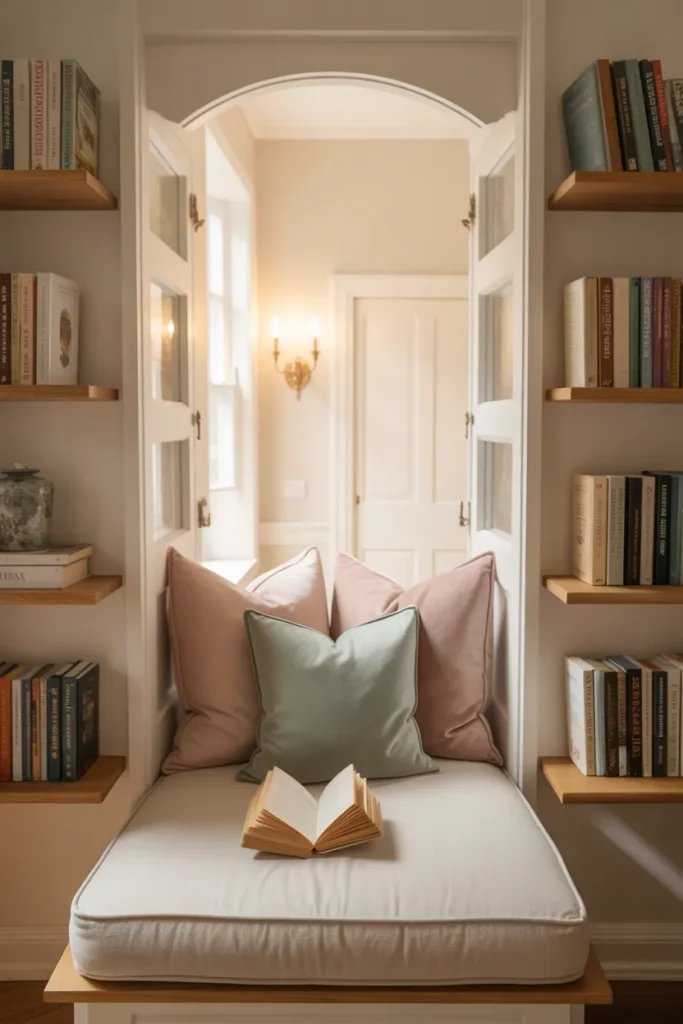
Why a Closet Is the Perfect Spot for a Reading Nook
Before you spend a single dollar, it helps to understand why this works so well. Closets give you something a regular corner of a room never will, which is enclosure on three sides. That sense of being tucked in, almost hidden, is exactly what the brain associates with safety and rest. It is the same reason kids build pillow forts and why window seats feel so dreamy. You are basically hacking your own nervous system into calming down the minute you sit inside.
Closets also tend to be spaces you have already given up on. The clothes migrated to a dresser, the coats found hooks in the entryway, and now it is just a black hole of junk. Converting it means you are not losing any functional space, you are reclaiming it. That is a very different feeling from squeezing a nook into your already busy living room.
Step One: Pick the Right Closet (Not Every Closet Will Work)
Not every closet is a good candidate, and pretending otherwise is how projects go sideways. Measure yours first. You want a minimum interior depth of around 24 inches for a seated nook, though 30 to 36 inches is much more comfortable if you actually want to stretch out your legs or curl sideways. Width should be at least 30 inches for an adult, or 24 inches for a child’s space.
Ceiling height matters too. If your closet has a sloped ceiling or built-in shelving at head height, you will be fighting the space instead of working with it. Walk-in closets are the dream because you can add a proper bench, bookshelves on the side walls, and still have room to sit up straight. But a standard reach-in closet can absolutely work if you plan for it.
Check the floor. Is it carpeted, laminate, or bare subfloor? Is there electricity running nearby for lighting? Does the closet share a wall with a bedroom where sound might travel? These small questions save you from big headaches later. For smaller tricky spaces, some of the same principles apply to under stairs reading nook ideas, which is the closest cousin to a closet conversion.
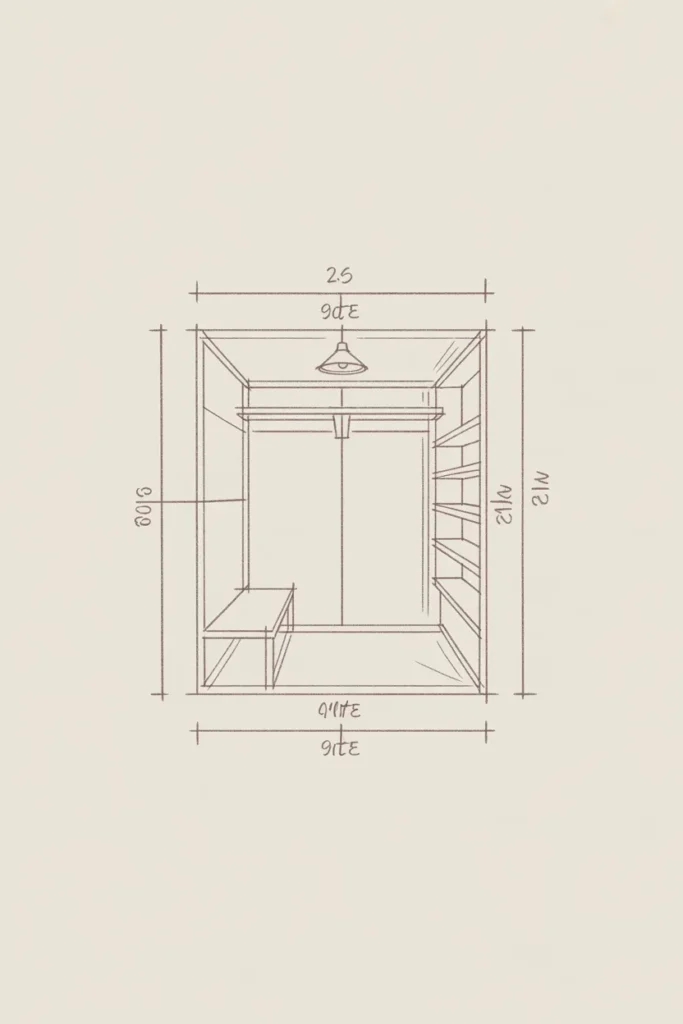
Step Two: Clear It Out and Start Fresh
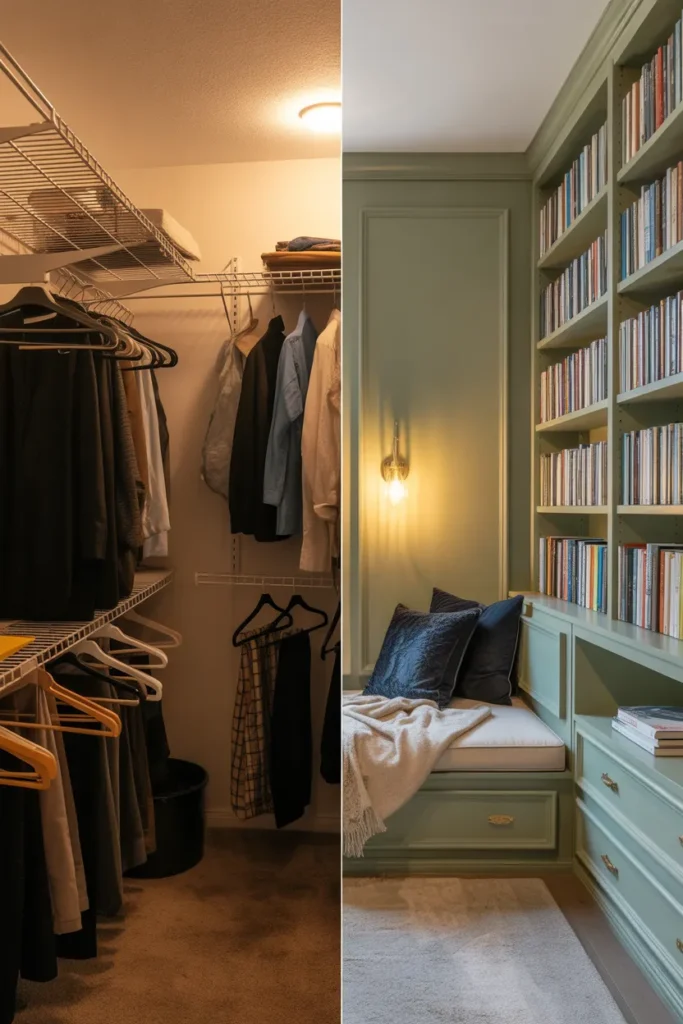
This part is tedious but non negotiable. Pull everything out, and I mean everything. The wire shelving, the hanging rod, the plastic bins full of things you forgot you owned. Patch every hole with spackle, sand it smooth, then hit the walls with a fresh coat of paint. Darker moody colors like deep forest green, dusty navy, or warm terracotta tend to photograph beautifully for Pinterest and feel cocoon like in person. If you want something brighter and more airy, soft whites and pale warm beiges work just as well.
A lot of people skip painting the ceiling of the closet and then wonder why the space still feels unfinished. Paint it. Sometimes in the same color as the walls for a fully enveloped look, sometimes in a lighter shade to add a touch of height. Trust me, this one tiny decision changes everything.
Step Three: Build or Buy the Seat
Here is where the project actually starts looking like a reading nook. You have three realistic options.
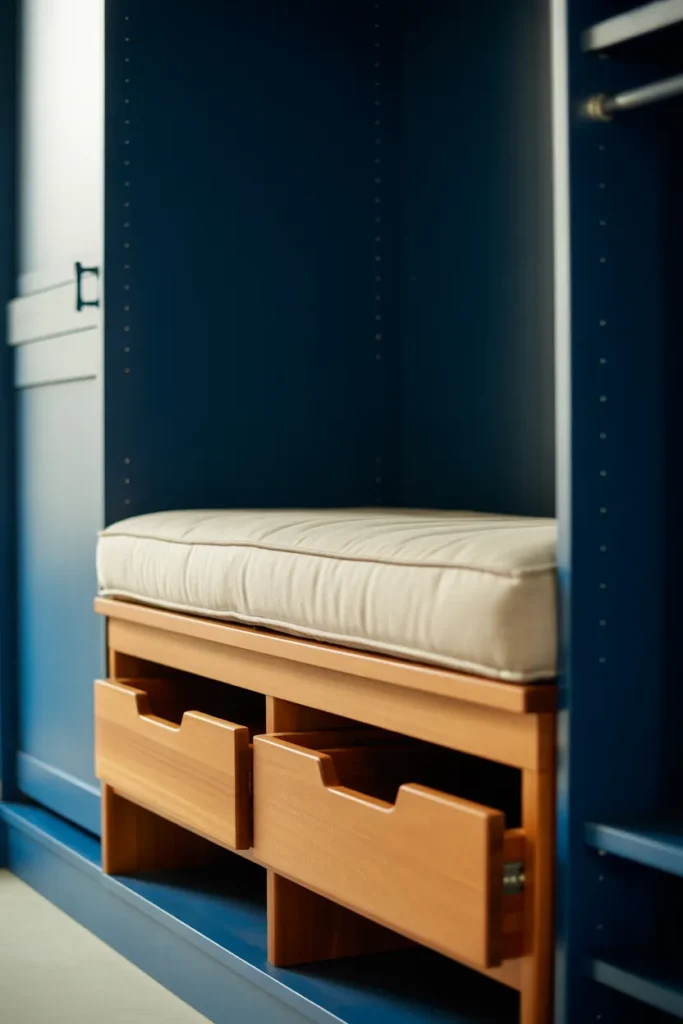
A built-in bench is the most popular choice and honestly the most satisfying. It involves screwing 2x4s into the studs around the three walls at seat height, usually around 16 to 18 inches off the ground, then laying a plywood top across them. You can add storage drawers underneath, or leave the front open for baskets of books. There are beautiful step by step walkthroughs over at Making Manzanita’s closet into reading nook tutorial if you want detailed measurements and materials lists.
A freestanding bench or loveseat is the easier path for people who rent or who do not want to drill into walls. IKEA has several options that fit closet widths almost perfectly, and a cushion with a throw transforms them instantly. If you are going this route, there are some genuinely clever IKEA reading nook hacks that use existing pieces in ways IKEA never intended.
A floor cushion setup is the budget option and weirdly my favorite for kids. A thick foam mattress or two large floor cushions, a pile of pillows against the back wall, and a sheepskin rug. Done. It takes fifteen minutes and costs almost nothing.
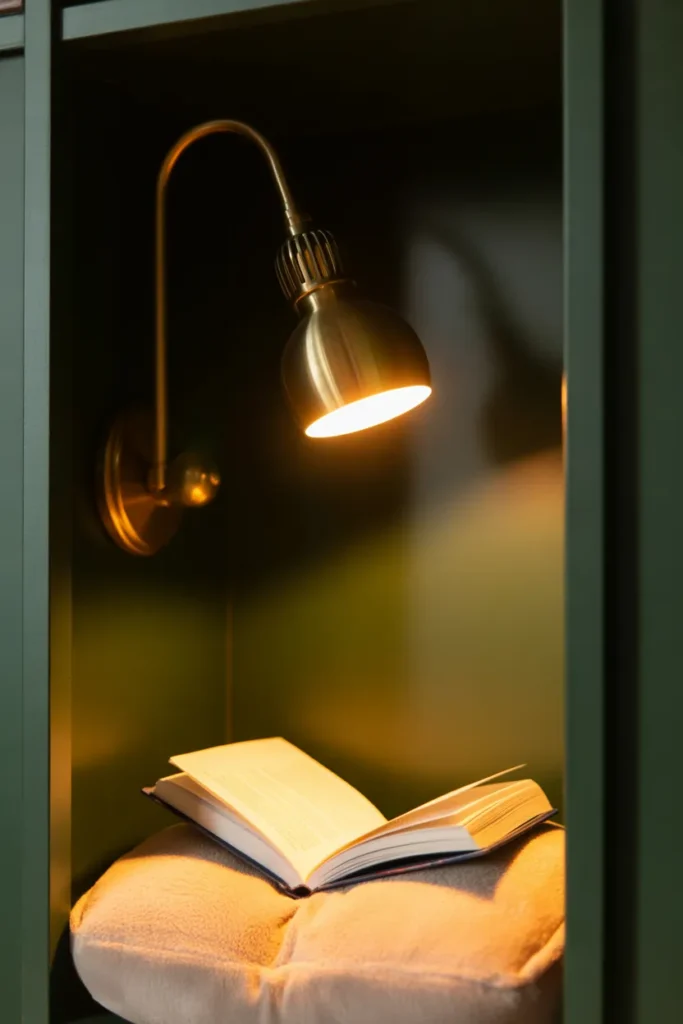
Step Four: Lighting Is Where Most Nooks Fail
I cannot stress this enough. You can get the bench perfect, nail the paint color, pile on the cushions, and still end up with a reading nook nobody actually reads in. Why? Because the lighting is wrong.
Closets usually have one dim overhead bulb or none at all. For reading, you need layered light. One warm overhead source for general glow, and one focused task light close to where the book will be. A small swing arm sconce mounted on the back wall is perfect. Battery operated puck lights work if you cannot run electricity. Fairy lights on a dimmer add mood but should never be your primary light source unless you enjoy squinting.
Go for warm white bulbs, somewhere between 2700K and 3000K. Cool daylight bulbs belong in garages and bathrooms, not in cozy nooks. If you want to go deeper into this, the full breakdown on reading nook lighting ideas covers every setup from hardwired sconces to plug-in pendants.
Step Five: Storage That Actually Looks Good
The whole point of a reading nook is the books, so how you store them matters visually as much as practically. Floating shelves on the side walls of the closet are the cleanest solution. Stagger them at different heights so the whole wall does not look like a library catalog. Book ledges, the shallow kind with a front lip, let you display covers facing out, which is gorgeous for Pinterest photos and makes it easy for kids to pick what they want.
If your closet is deep enough, install bookshelves from floor to ceiling on both side walls with the bench floating between them. This is the absolute dream setup. Tall, enveloping, library vibes. Remodelaholic has a great closet reading nook tutorial that shows this exact layout with wood paneling on the back wall for extra texture.
Do not forget under seat storage. Drawers, pull out bins, or open cubbies with woven baskets all work. This is where blankets, extra pillows, and the overflow books go.
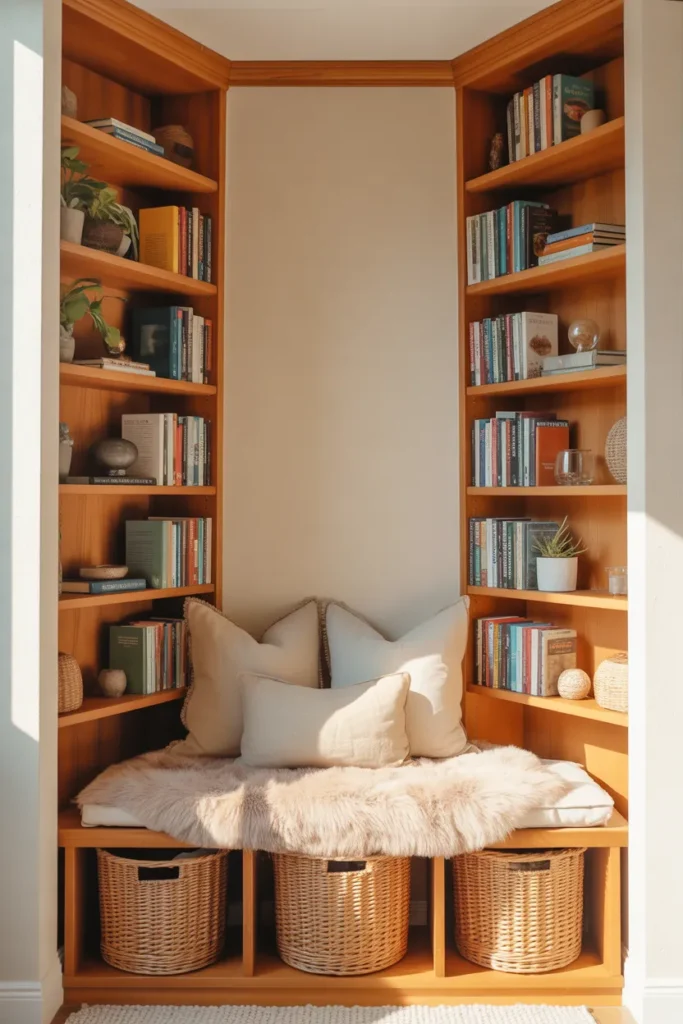
Step Six: Soft Layers and Styling
This is the fun part and the part most people rush. Start with the cushion. It should be at least 3 inches thick, upholstered in something you want to touch, preferably washable. Linen, brushed cotton, or a sturdy textured weave all hold up better than slippery velvet.
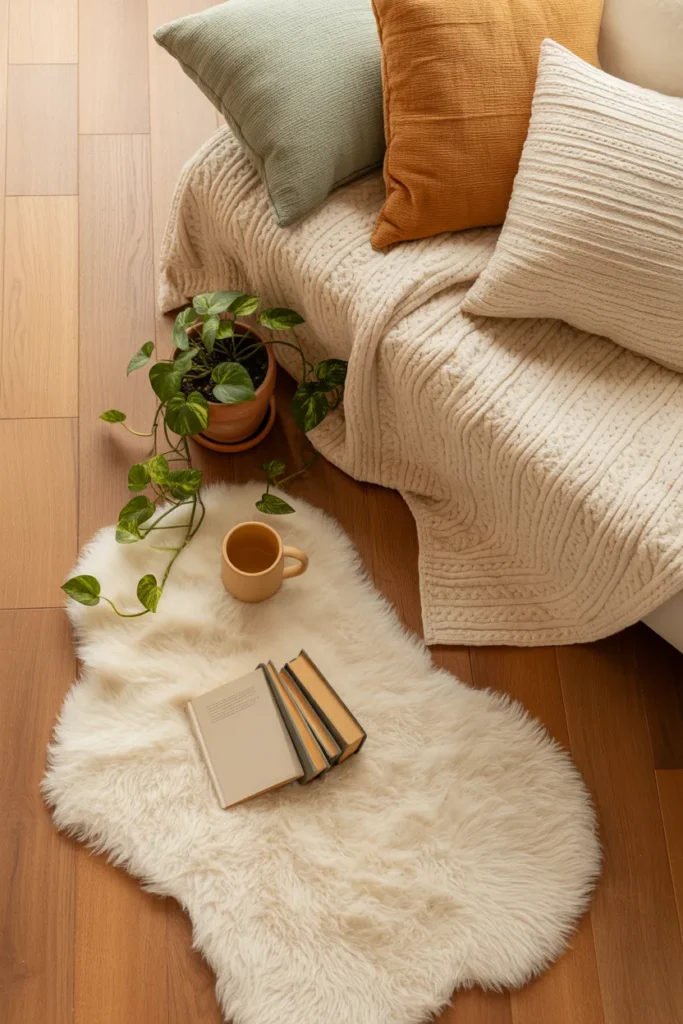
Throw pillows are where personality shows up. Mix textures and sizes, but keep your color palette tight. Three colors maximum for a grown up nook, or go full rainbow for a kid’s space. A chunky knit throw blanket folded at the end of the bench adds the final cozy layer.
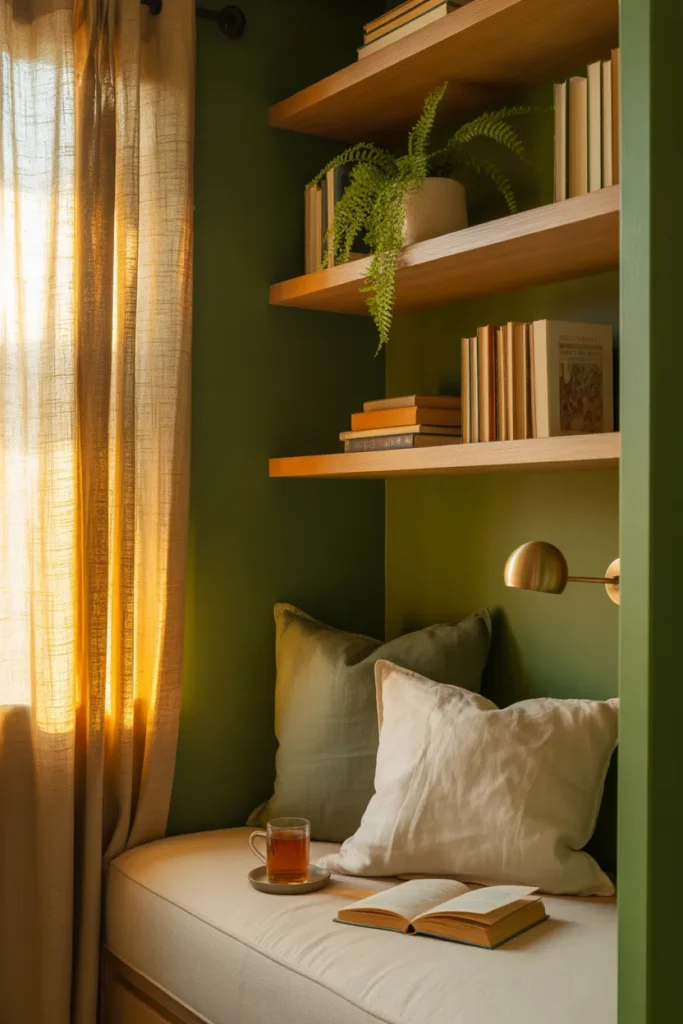
A small rug or sheepskin on the floor warms up the whole space, especially if you have hard flooring. Tiny styling touches matter too. A ceramic mug on a narrow side shelf, a trailing plant, a small framed art print. These are the details that make strangers on Pinterest save your pin.
Step Seven: Decide on Doors, Curtains, or Fully Open
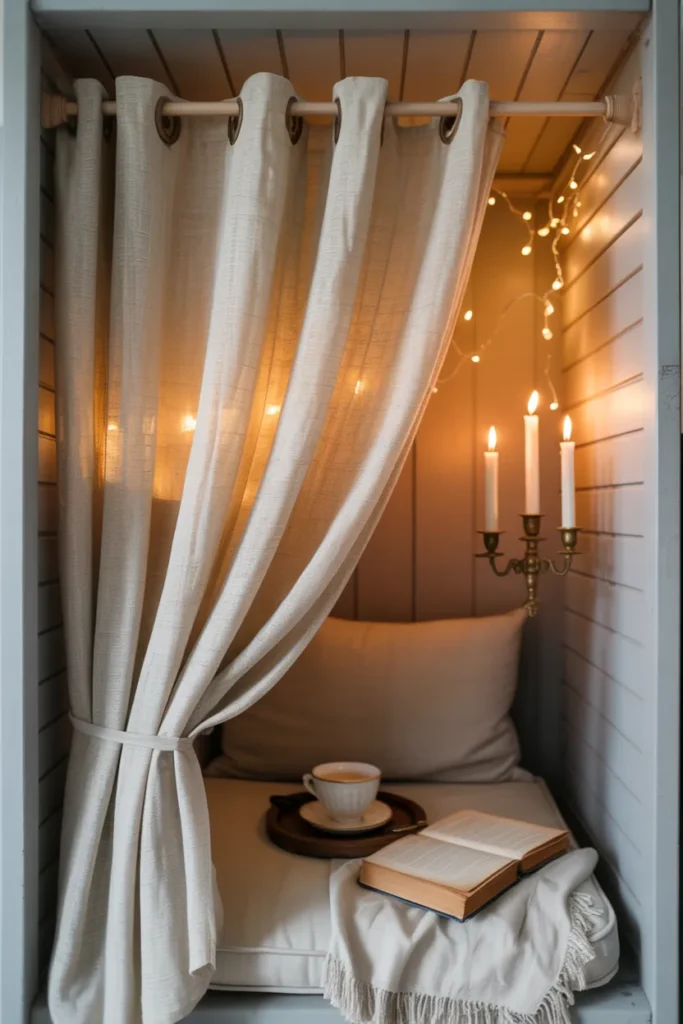
This is a small choice that shapes the entire feel of your nook. Removing the doors completely and framing the opening with trim or an arched cutout makes the nook feel like a built-in architectural feature. Leaving the original bifold doors lets you hide the space when guests come over, which some people love. Replacing the doors with a curtain on a tension rod or simple brass rod gives you the best of both worlds: open when you want it, tucked away when you want to nap.
Linen curtains in a neutral color are the Pinterest favorite for a reason. They soften the hard edges of the closet opening and add a slightly romantic, slightly dramatic feel. If you want a more dramatic look, velvet or a heavy weave in a deep color brings instant dark academia energy.
Kid Versus Adult Closet Nooks: What Changes
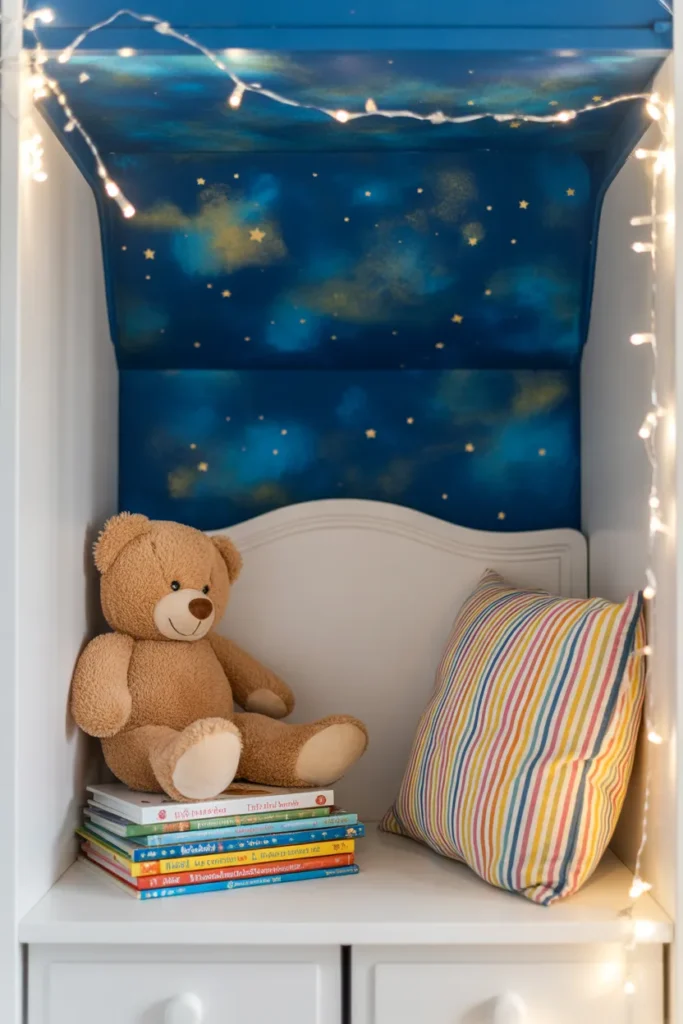
If you are building this for a child, the rules shift slightly. Bench height drops to around 10 to 14 inches. Safety comes first, which means no glass, no heavy items on high shelves, and any lighting should be low voltage or LED. Fabric teepees, fairy lights, and themed paint (a starry night ceiling, a painted Narnia style wardrobe door) all work beautifully.
For adult nooks, you can go moodier and more minimal. Think dark painted walls, one beautiful brass sconce, a single excellent chair or bench cushion, and a tight edited book collection. The goal is a retreat, not a playground.
Budget Breakdown: What This Actually Costs
People always want real numbers, so here is an honest range. A minimal DIY closet nook using floor cushions, existing paint, and a clip on light can come together for under 100 dollars. A mid range build with a simple wood bench, a custom cushion, floating shelves, and a plug in sconce sits around 250 to 500 dollars. A fully built-in version with drawers, shiplap, hardwired lighting, and custom upholstery can run 800 to 1500 dollars depending on materials.
The biggest money savers are using leftover paint, sourcing pillows and blankets secondhand, and building the bench yourself instead of buying one. The biggest worth-it splurges are good lighting and a proper cushion.
Common Mistakes to Avoid
A few things I see over and over that kill otherwise great nooks. A bench that is too deep, leaving no back support. A cushion that is too thin, so the wood digs into your legs. Overhead lighting that is too bright and too cool toned. Too many competing patterns on the pillows. Storage that looks cluttered instead of curated. And the big one, not actually using the nook once it is built because it ended up in a high-traffic or noisy part of the house.
Pick a quiet corner. Make it comfortable enough to actually fall asleep in. Light it warmly. Add just enough styling to feel intentional, not staged. That is the whole formula.
Final Thoughts on Your Closet Reading Nook
A reading nook closet conversion is one of those rare home projects that delivers way more than it costs. You reclaim space you had already written off, you give yourself or your kids a tiny sanctuary that encourages slower quieter moments, and you end up with a corner of your house that genuinely makes you happy every time you walk by it.
Start small. Measure first. Paint everything including the ceiling. Layer your lighting. Invest in the cushion. Add books last, because nothing makes a nook feel finished faster than actual spines on the shelves. And then go sit in it with a cup of tea and finally read the novel that has been sitting on your nightstand for four months.
That is the whole point, after all.
Frequently Asked Questions
How much space do I need to turn a closet into a reading nook? A minimum of 24 inches deep by 30 inches wide works for a seated nook, but 30 to 36 inches of depth is far more comfortable. Walk-in closets give you the most flexibility.
Do I need to remove the closet doors? Not necessarily. You can remove them for an open built-in look, keep them to hide the nook when not in use, or replace them with a curtain for the most flexible option.
What is the best lighting for a closet reading nook? Layered warm lighting around 2700K to 3000K. A wall sconce for focused reading light plus a small overhead or fairy light for ambient glow is the ideal combination.
Can I build a closet reading nook on a budget? Yes. A basic version with floor cushions, existing paint, and a clip on light can be done for under 100 dollars. Mid range builds typically land between 250 and 500 dollars.
Is a closet reading nook safe for kids? Absolutely, as long as you keep bench heights low, use LED or battery operated lights, avoid glass decor, and secure any wall mounted shelves into studs.
Keep reading
More cozy nook ideas
 Nook Ideas
Read →
Nook Ideas
Read →
10 Dog Nook Ideas You’ll Want to Curl Up In
Warm light from one floor lamp, a chair turned away from the TV, and your dog asleep on a bolster bed beside…
 Nook Ideas
Read →
Nook Ideas
Read →
21 Window Sill Reading Nook Ideas for Adults
Most apartment window sills are deep enough for a candle and not much else. By October the glass breathes cold on your…
 Home Library & Bookshelves
Read →
Home Library & Bookshelves
Read →
12 Ideas for Built-In Bookshelves Around the Fireplace for Book Lovers
Thirty-two inches between uprights. Six inches of bare masonry around the firebox. Twelve inches of shelf depth. Get those three numbers right…
One Comment