
How to Make a DIY Coffee Table That Feels Cozy, Not Cluttered

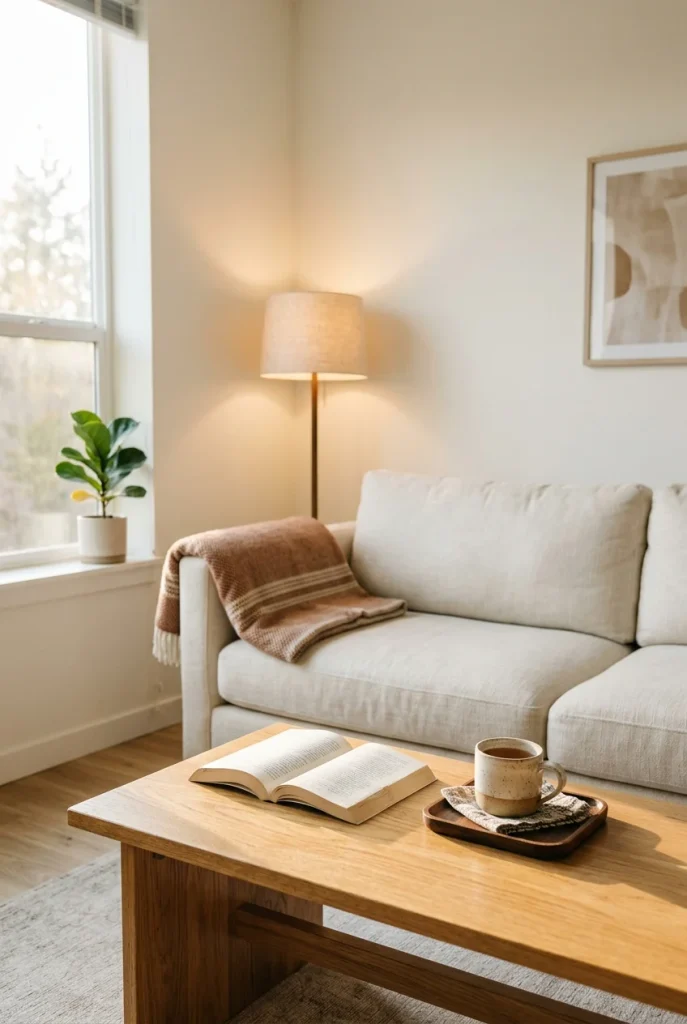
Most DIY coffee table plans hand you a cut list on line one. That is why so many finished tables end up a little too tall, a little too close to the couch, and buried under mail by week three.
Three numbers fix that before you buy a single board: 60, 4, and 16.
This build takes an afternoon. It needs three cuts, or zero cuts if you want the no-saw version, and it is written for a real apartment living room instead of a garage shop. You will size the table to your own sofa, pick wood that survives mugs and feet, assemble it in an order that kills wobble, finish it without filling your studio with fumes, and then style the top so it stays clear.
No table saw. No landlord permission. Let’s get your numbers first.
1. Start With the Fit Check, Not the Cut List
Here is the whole first step: get a tape measure and write down three numbers. Everything after this is just carpentry.
Width. Designers put the table at half to two-thirds the length of the sofa. Sixty percent sits right in the middle and is the number I would build to. An 84 inch sofa wants a top around 48 to 50 inches.
Height. Measure your sofa’s seat cushion height, then stay within 4 inches of it in either direction. Most sofas land at 17 to 19 inches, which is why so many coffee tables are 16 to 18 inches tall.
Gap. Leave 14 to 18 inches between the sofa and the table edge. Sixteen is the comfortable middle. Anything tighter and your shins find it in the dark. Anything wider and you lean to reach your drink.
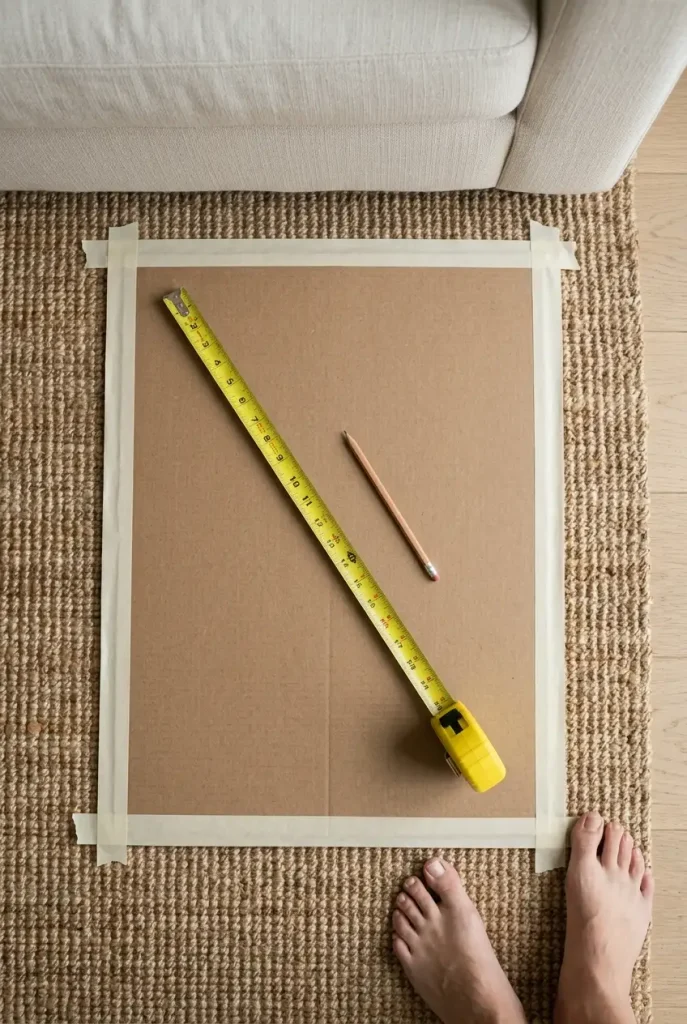
Now do the part almost nobody does. Cut a scrap of cardboard to your width and depth, tape it to the floor, and live with it for one full day. Walk the room. Sit down. Reach for a mug. If you have a narrow room, check the walkway around it too, because 30 to 36 inches of clear path is the standard, and these small living room layout ideas go deeper on fitting real furniture into a real floor plan.
Cardboard is free. Lumber is not.
Build the top to 60% of your sofa length. Keep the height within 4 inches of the seat cushion. Leave 16 inches of shin room.
Get these three right and the table disappears into the room. Get one wrong and it feels like furniture in the way.
2. Pick the Build That Matches Your Tools
You do not need a workshop to make a diy coffee table. You need to be honest about what you own.
Three real paths, and they are all legitimate:
| No-saw build | Three-cut build |
|---|---|
| Store cuts your boards free at the lumber desk. You bring a drill. | You own a circular saw or a miter saw and can cut straight. |
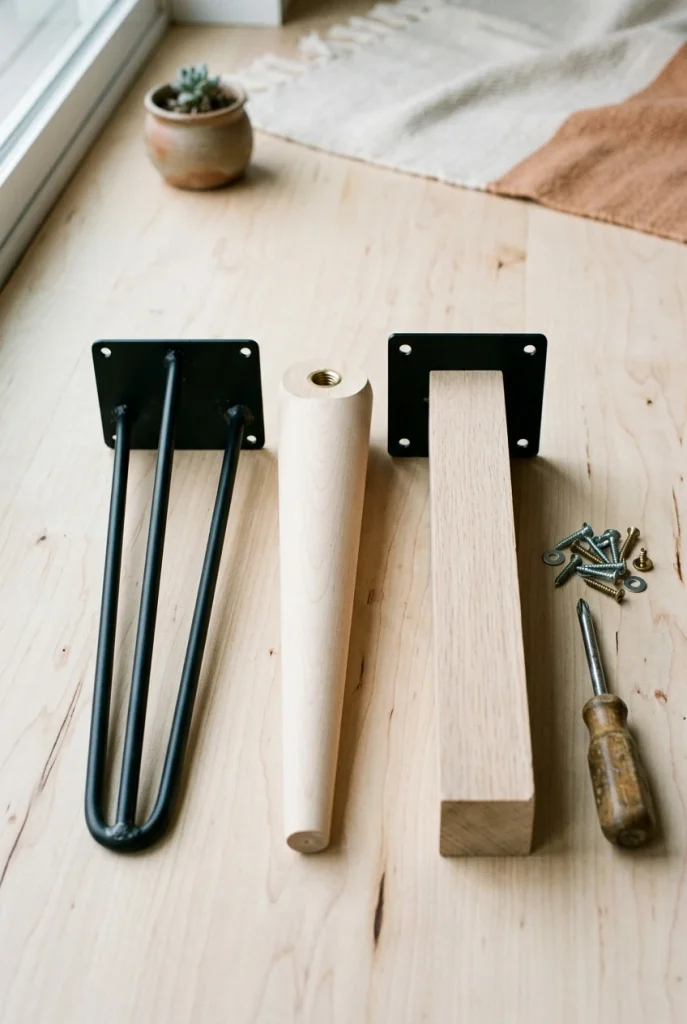
| Screw-on legs or bolt-on hairpin legs, 16 inch. | Built leg frame, glued and screwed. |
| One evening. Apartment friendly, almost no dust. | One afternoon plus finish time. Needs a balcony, patio or hallway. |
| Trade-off: you are locked into the store’s cut accuracy. | Trade-off: a bad cut is yours to fix. |
If you are a beginner, take the no-saw build and spend the saved effort on the finish. A well-sanded simple table beats a complicated one with rough edges every time.
3. The Wood That Survives a Living Room
Feet go on coffee tables. So do wet glasses. Pick for that, not for the photo.
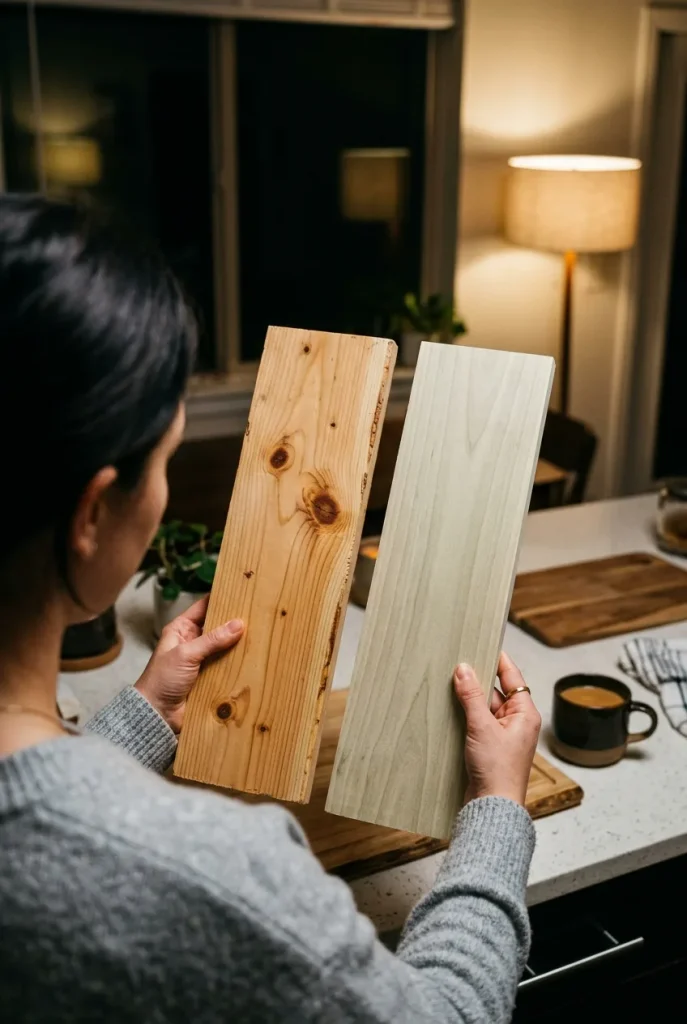
For a 2×4 coffee table, pine is the default and it is fine. Just know what you are signing up for: a dropped remote leaves a dent, and stain soaks unevenly into the soft grain unless you use a pre-stain conditioner first.
Two small things that matter more than species. Sight down every board in the store and reject anything that curves, because a twisted board fights you at the glue-up and wins. And keep the grain running the long way on your top, so the wood expands across the width where nobody notices instead of pushing your joints apart.
4. A Build List You Can Price Before You Shop
Here is the whole shopping list for the no-saw version, sized to a 48 inch top.
| Piece | What to buy | Price it yourself |
|---|---|---|
| 🪵 Top | Four 2x4x8 boards, or one half sheet of 3/4 in birch ply | per board, in store |
| 🦵 Legs | Set of four 16 in hairpin or screw-in legs | per set of 4 |
| 🧴 Glue and screws | Wood glue, 1 1/4 in screws | one bottle, one box |
| 🪣 Finish | Water-based poly, 120 and 220 grit paper | one quart covers this twice over |
| Total | Four line items, one cart | check before you commit |
I am not going to print a fake total, and here is why. Lumber is a traded commodity that moves every quarter. The US framing lumber national average sat at $915.88 per thousand board feet in July 2026, down about 2 percent year over year, while plywood products jumped roughly 11 percent in that same quarter. A number I typed today would be wrong by the time you read it.
So do this instead: build the cart online with your real quantities, look at the subtotal, and decide. That takes four minutes and it is the only honest total there is.
5. The Assembly Order That Prevents a Wobble
Order matters more than skill here. Do it in this sequence and a wobble is almost impossible.
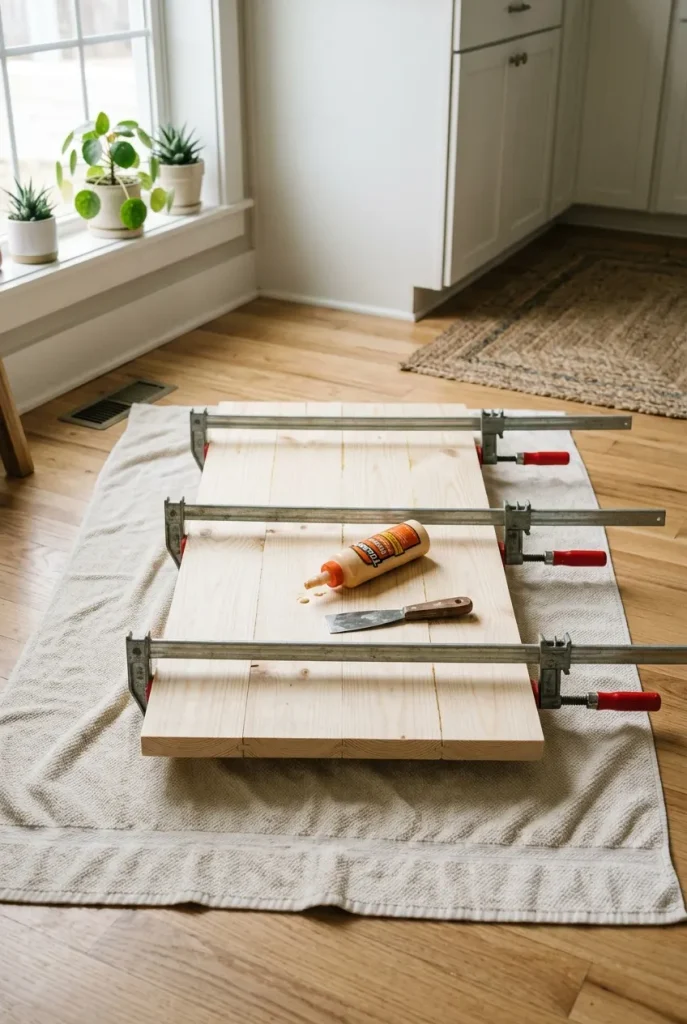
Dry fit the whole top with no glue. Push the boards tight and look for daylight between them. Fix gaps now.
Glue the long edges, clamp across the width, and leave it alone. Clamp for about an hour, then give it a full day before you stress the joint.
Scrape squeeze-out with a chisel or an old card once it turns rubbery. Do not smear it with a wet rag.
Flip the top face down on a towel. Mark your leg positions about 2 inches in from each corner, then drill pilot holes.
Attach legs, stand it up on a floor you know is flat, and check. Shim the one short leg with a stick-on felt pad.
That squeeze-out rule in step 3 is the one people learn the hard way. Wet glue wiped with a rag looks clean and dry, then it seals the grain, and when you stain it later you get a pale ghost patch exactly where the rag went. Scraping beats wiping.
6. Finishing It in an Apartment, Without the Fumes
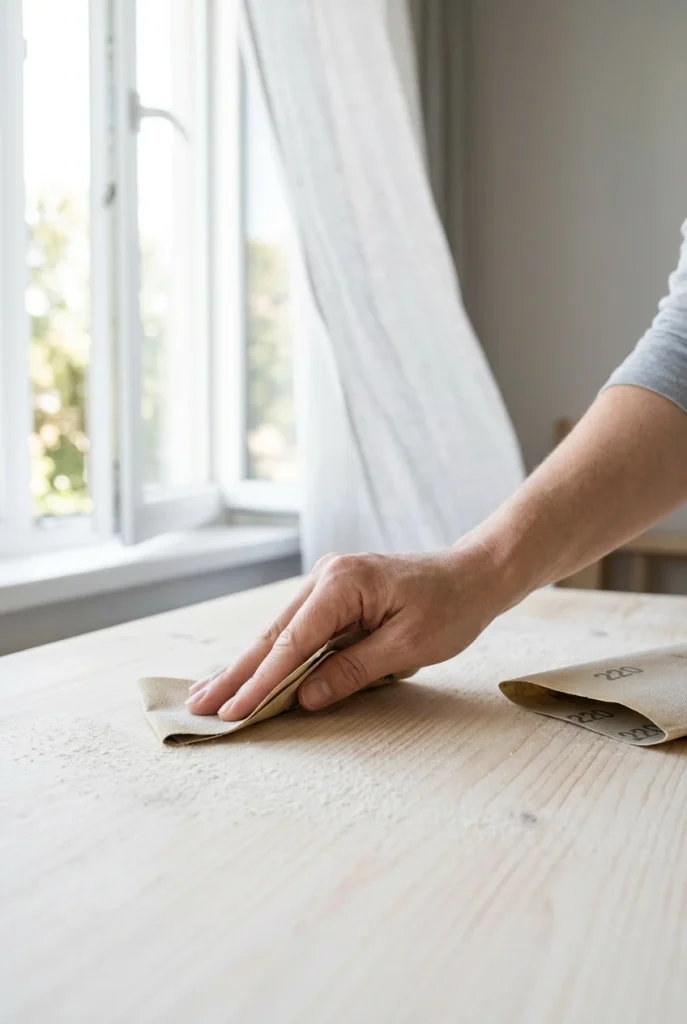
Sanding is boring and it is the difference between homemade and handmade. Work through 120 grit to flatten, then 220 grit to smooth, always with the grain. Run your palm over it with your eyes shut before you stop, because your hand finds ridges your eyes miss.
Then the part people rush. Wipe the whole top with a damp cloth, let it dry, and sand lightly again. Water raises the grain, and knocking it down once means your finish lands smooth instead of fuzzy.
For a small apartment, use a water-based polyurethane. Three thin coats beat one thick one, every time.
⚠️ Watch Out
Safety note: anchor tall furniture to the wall, keep candles and cords away from fabric, and use a licensed electrician or contractor for hardwired lighting, ceiling mounts, or anything structural.
That matters here because finishes are not neutral. The EPA notes that levels of many organic compounds run consistently higher indoors than outdoors, and that during and for several hours after jobs like paint stripping, indoor levels can spike far above background.
Its guidance on volatile organic compounds and indoor air is worth two minutes before you open a can. Open the windows, run a fan pointed out, follow the label, and finish on a balcony or in a hallway if you have one. If anyone in the home is pregnant, asthmatic or very young, talk to a doctor before working with solvent-based products indoors.
7. Design the Clutter Out Before You Style It In
A clear coffee table is not a discipline problem. It is a design problem. Junk lands on the top because the room gave it nowhere else to go.
So build the “somewhere else” into the table.
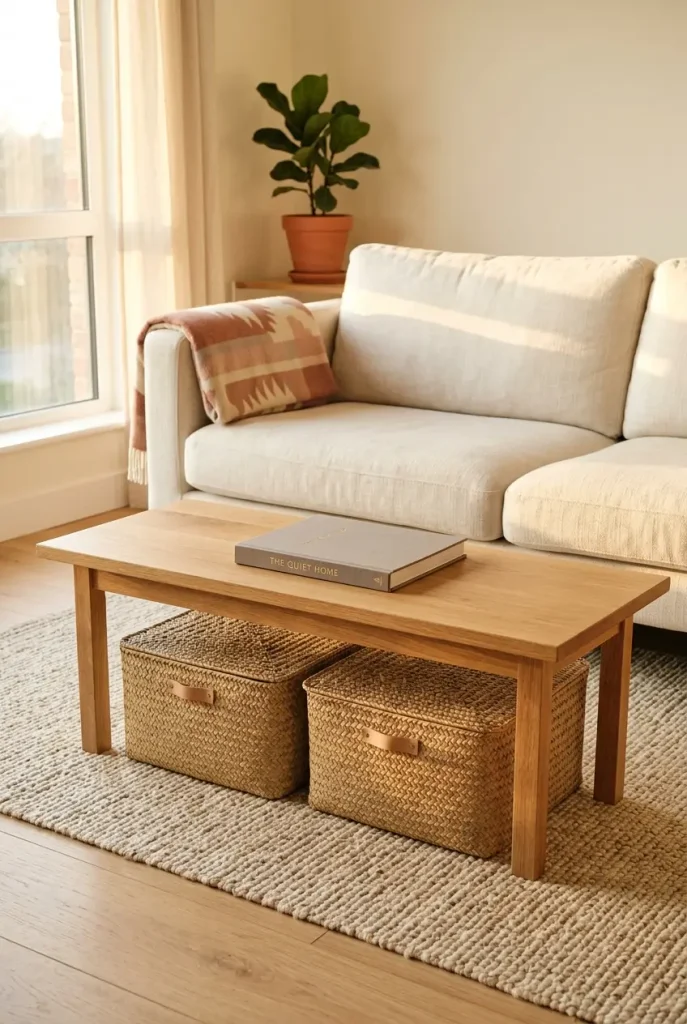
Leave 10 to 12 inches of clear air under the top and slide two lidded baskets in.
Give remotes, chargers and coasters one assigned home each.
Add felt pads under everything that scrapes.
An open lower shelf, which becomes a visible junk drawer in a week.
A glass top, which shows every fingerprint by noon.
Going deeper than 22 inches, which puts the middle out of reach.
The under-table basket is the whole trick. Mail, controllers and the throw you never fold all get a landing spot that is not the surface people look at. If you want to see how that plays out in different styles, these coffee table ideas for a small living room show the same principle in rooms that are already furnished.
8. Style the Top With the One-Third Rule
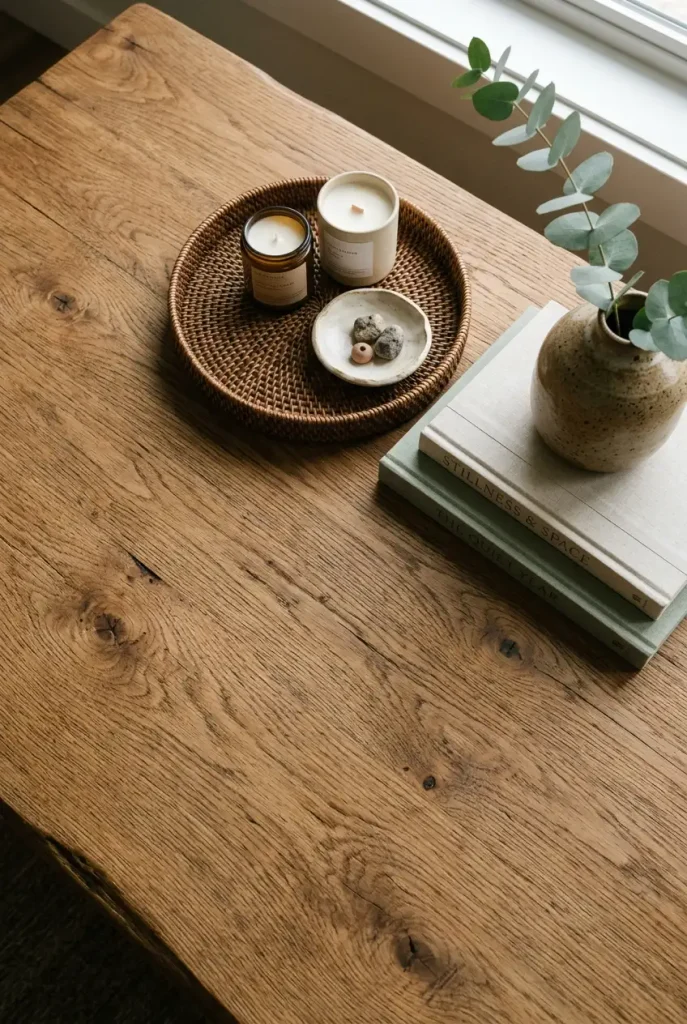
Cover about a third of the surface and stop. That is it. Two-thirds stays empty, and the empty part is what makes the table read as calm rather than crowded.
The four-item top
Group the four in one corner or one third, never spread evenly across the whole top. Even spacing reads as a display. A cluster reads as a life.
One sensory note worth more than any styling tip: felt pads change how the room sounds. A ceramic mug set down on bare wood is a hard knock. On a felt-backed coaster it is nothing at all, and a quiet room feels calmer than a loud one, even when it looks identical.
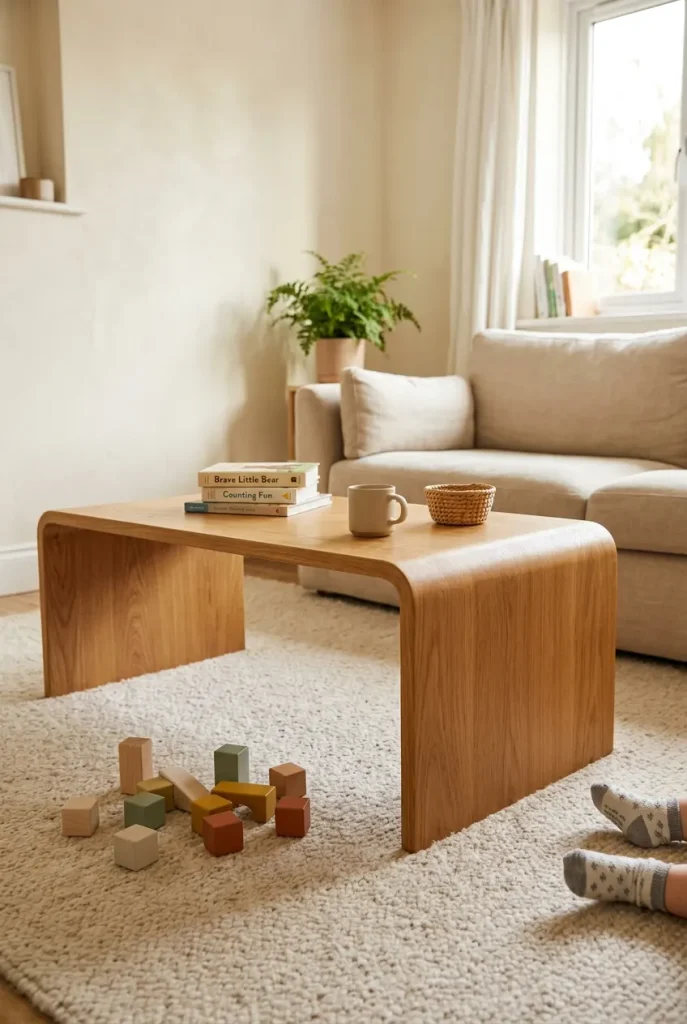
9. If Kids Share the Room
A coffee table sits exactly at toddler head height, which changes a few choices.
Three changes. Round every corner and edge with sandpaper until it feels soft under your thumb, not just less sharp. Skip glass entirely. And keep the top low and wide rather than tall and narrow, because a wide base does not tip when a two year old pulls up on it.
If your build turns into a storage tower or you pair the table with a tall bookcase, anchor that unit to the wall. The CPSC has run its Anchor It furniture tip-over campaign for a decade now, and anti-tip straps leave a hole about the size of a pinhead, which no landlord has ever noticed.
10. When a Table Is the Wrong Answer
Sometimes the honest fix is not building one at all.
A full size table wedged into a 9 foot room. You turn sideways to get past it and it holds three things you never use.
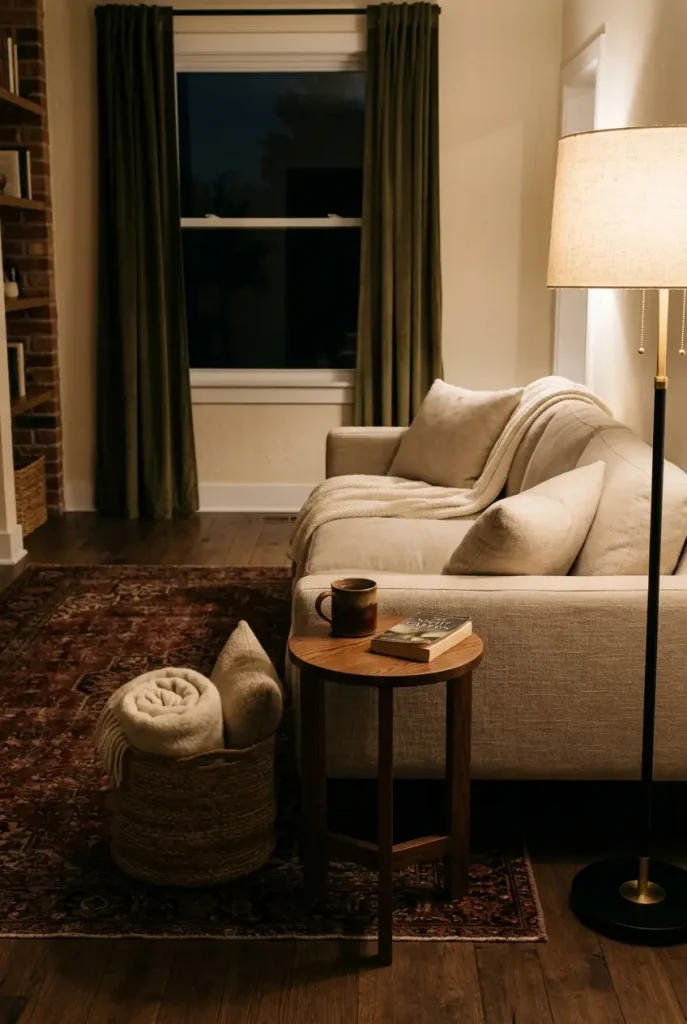
One small side table at the sofa arm, plus a floor basket. The walkway opens back up to 36 inches.
If your room cannot give you 30 inches of walkway with a table in it, the table is losing. Swap to a narrow side table at arm height, or a sturdy ottoman with a tray on top, which gives you a surface and a footrest and folds away as neither. These small side table picks for a reading corner cover the sizing for that swap.
Building the right small thing beats building the wrong big thing.
Frequently Asked Questions
How tall should a coffee table be?
Match it to your sofa. Measure the top of the seat cushion, then build within 4 inches of that height in either direction. Most sofa seats sit at 17 to 19 inches, which puts most coffee tables at 16 to 18 inches. A table much lower than the cushion makes you stoop, and a much taller one blocks your sightline across the room.
How far should a coffee table be from the couch?
Leave 14 to 18 inches between the sofa edge and the table edge. Sixteen inches is the comfortable middle: close enough to set a mug down without standing, far enough that you are not knocking your shins every time you sit. Then check the walkway around the rest of the table, where 30 to 36 inches of clear path is the standard.
What size coffee table works with a sectional?
Measure the longest single run of the sectional and use that as your sofa length, not the total footprint. Build the top to roughly 60 percent of that run. With an L shape, pull the table toward the long side rather than centering it in the corner, so both seats can reach it. A round or square top usually works better than a long rectangle here.
Is it cheaper to build a coffee table than to buy one?
Usually yes, but the gap is smaller than blogs claim, and lumber prices move. The US framing lumber average was $915.88 per thousand board feet in July 2026, and plywood rose about 11 percent that quarter. Build your exact cart online before you decide. What you reliably get by building is the size you actually need, which is the part a store cannot sell you.
What wood should a beginner use for a coffee table top?
Pine is the usual starting point: it is the least expensive, it cuts easily, and it is forgiving. Accept that it dents. If you plan to paint, poplar is harder and smoother. If you want a dead flat top with no warping, 3/4 inch birch plywood with edge banding is the easiest of the three, and it skips the whole glue-up step.
How do you stop a DIY coffee table from wobbling?
Most wobble comes from the floor, not the build. Set the finished table on a surface you know is flat and rock it gently. If one leg lifts, stick a felt pad under it and add a second if needed. If the wobble moves around as you turn the table, the leg mounting points are off: loosen all four, sit the table flat, and retighten while the weight holds it level.
What should you put on a coffee table?
Cover about a third of the surface and leave the rest bare. Four items is plenty: a tray to gather the small things, one tall item like a candle or a stem of greenery, a stack of two books, and one soft item such as a coaster set. Group them in one area instead of spreading them evenly, which reads as a display rather than a home.
Build the One That Fits
The tape measure does most of the work here. Sixty percent of your sofa, within 4 inches of the seat height, 16 inches of shin room, and a third of the top left clear. Everything after that is glue, patience and two grits of sandpaper.
Start with the cardboard on the floor tonight. If it still feels right tomorrow morning, buy the boards.
Save this to your DIY board so the three numbers are with you at the lumber desk.
Keep reading
More cozy nook ideas
 Living Room
Read →
Living Room
Read →
20 Coffee Table Ideas That Make a Small Living Room Feel Warmer
Your coffee table is probably holding two remotes, a charging cable, yesterday’s mug, and a candle nobody has lit since spring. That…
 Living Room
Read →
Living Room
Read →
Vintage Living Room Decor That Reads Thrifted Cottage, Not Thrift Store
No estate sale connections. No reno budget. No landlord who says yes to paint. Vintage living room decor still works in a…
 Living Room
Read →
Living Room
Read →
Floral Sofa Living Room Ideas That Read Cottage, Not Dated
Your floral sofa isn’t the problem. The three beige things sitting around it are. That’s the whole diagnosis. A floral sofa living…