
Cottage Kitchen Open Shelving That Looks Collected, Not Cluttered

Three pine boards, a set of rails, and one wall that is not directly across from your stove. That is most of what cottage kitchen open shelving actually asks of you, and a documented ten-foot install came in right around $100 in materials.
The part nobody tells you is that the wall you pick matters more than the shelf you buy. Put the same stack of white ironstone above a range and it turns faintly greasy in about three weeks. Put it on the opposite wall and it stays clean enough to eat off.
So this is not another gallery of kitchens you cannot reproduce. Below you get the load formula, the real spacing numbers, a dust map, a full cost breakdown, and a no-drill version for anyone whose lease says do not touch the walls.
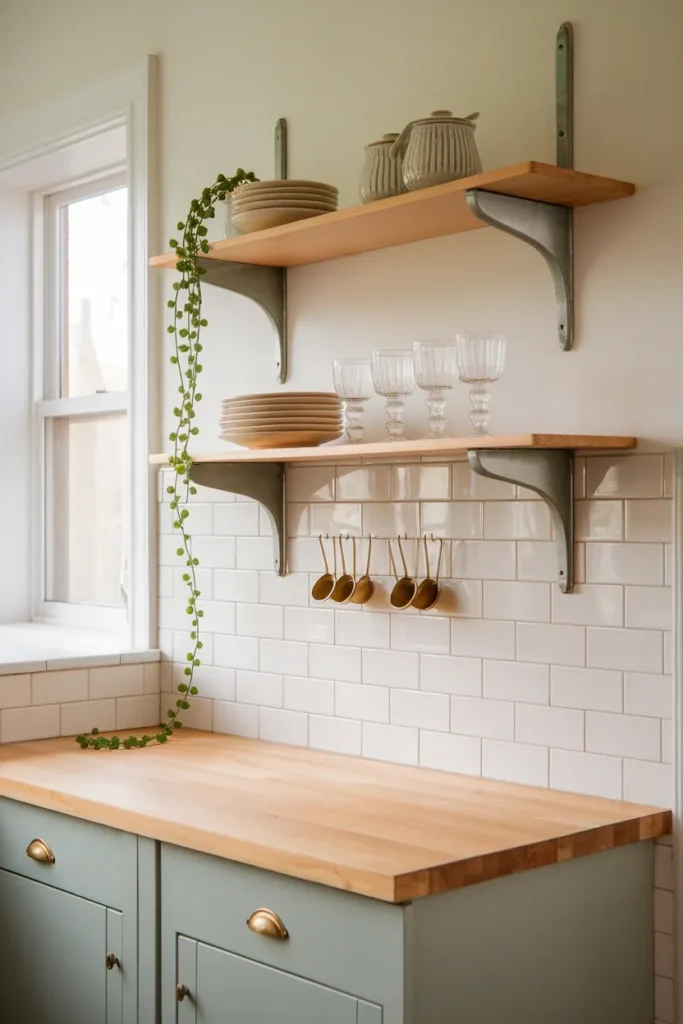
Start Here: The 60/30/10 Shelf Rule
If you take one thing from this page, take this. Most open shelving fails because people style it like a bookshelf in a catalog instead of loading it like a kitchen they cook in.
Here is the split that keeps a cottage shelf looking lived in rather than staged:
60% everyday dishes you touch daily. Dinner plates, bowls, mugs, drinking glasses. These earn their spot because your hands reach for them, which means they never sit long enough to collect much of anything.
30% pretty and useful. A stoneware crock holding wooden spoons, a stack of linen napkins, a small cutting board leaned upright, a bowl of lemons that you will actually squeeze.
10% pure decoration. One trailing pothos. One small framed thing. A single brass candlestick. That is the whole allowance.
Flip that ratio and you get a display case that needs dusting every Saturday. Keep it and your shelves stay in rotation, which is the cottage look in the first place: a kitchen that clearly gets used.
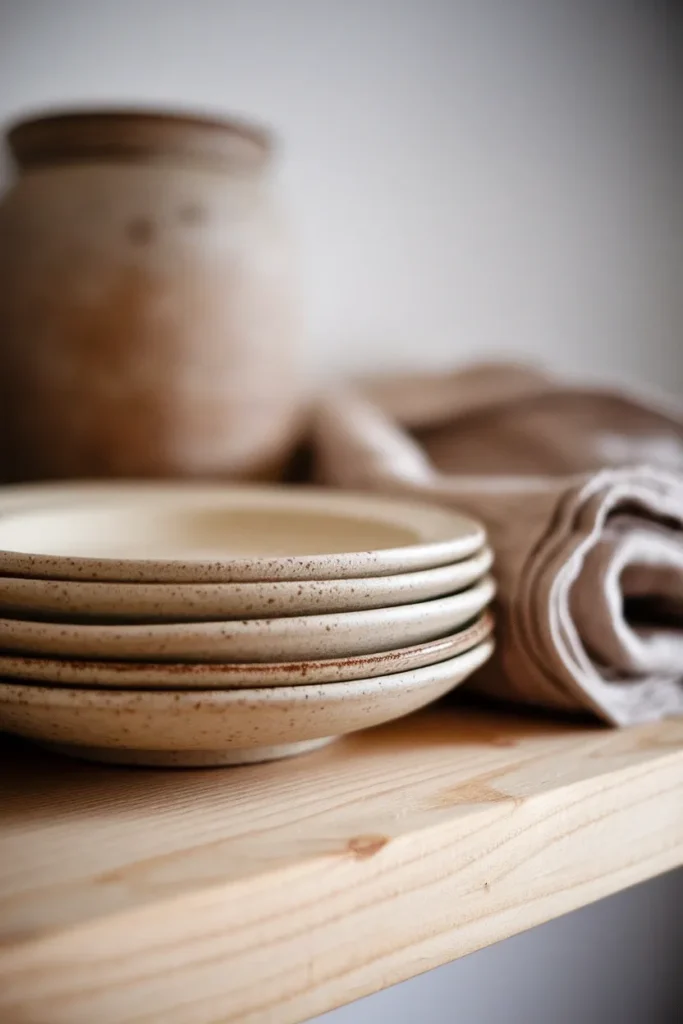
One quick honesty note on the trade-off. Open shelves do ask you to keep your dishes coordinated, because everything is visible. If your everyday plates are four different patterns from four different phases of life, budget $40 to $60 for a single set of white or cream stoneware before you build anything.
Cottage or Farmhouse? The Shelf Details That Split Them
People use these two words as if they mean the same thing, and then wonder why their kitchen reads as neither.
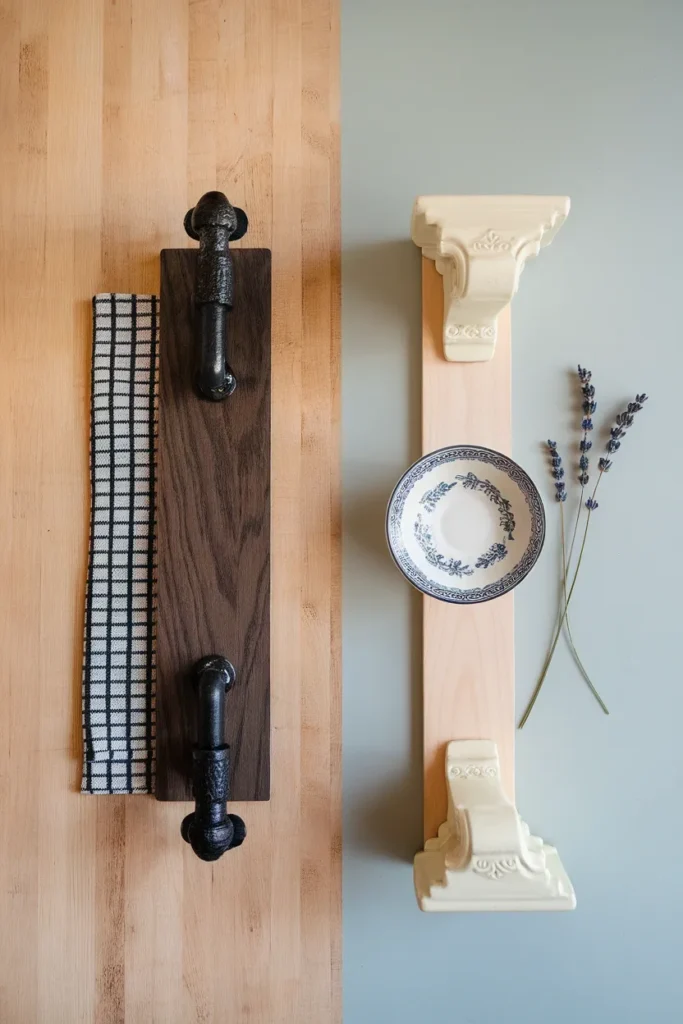
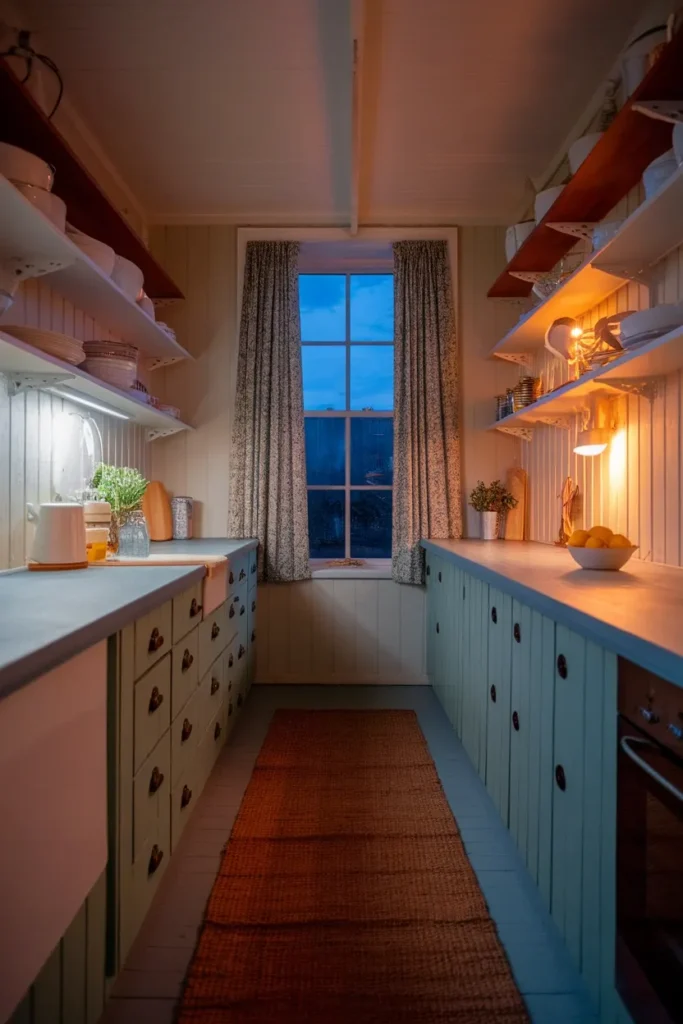
Farmhouse shelving runs heavy: thick chunky boards, black iron brackets, a lot of contrast, often a shiplap backdrop. Cottage shelving runs lighter and older. Thinner boards, painted or softly aged wood, brackets in white or wood rather than black iron, and a color story built from cream, sage, soft blue, and butter instead of black and white.
The tell is the hardware. Swap black iron pipe brackets for simple white corbels or a wooden plate rail lip, and a farmhouse shelf becomes a cottage shelf without you touching anything else.
Cottage also allows more pattern. A row of blue-and-white transferware, a stack of mismatched vintage saucers, a cafe curtain in a tiny floral below the counter. Farmhouse tends to strip pattern out. Cottage collects it.
Pinterest data backs up which direction is moving right now. In the Pinterest Spring Trend Report 2026, “dark cottagecore kitchen” searches were up 915%, “village kitchen ideas” up 825%, and “grandma core kitchen” up 545%, while “rustic farm kitchen” grew a comparatively slower 410%. Cottage is not just holding, it is accelerating.
If you want the same treatment applied beyond the kitchen, our guide to cottagecore home decor room by room carries the palette into the rest of the house so your kitchen does not read as a one-room theme.
The Numbers: Depth, Spacing, and Height That Actually Work
This is where most posts go vague and say “whatever looks right.” Here are real dimensions from a real install, plus the engineering limits that keep a shelf from bowing.
| Measurement | Working number | Why |
|---|---|---|
| Shelf depth | 11 to 12 in | Fits a dinner plate flat with clearance. Deeper starts hitting your head at the counter |
| Board thickness | 1.5 in | Reads chunky enough for cottage, stiff enough to resist sag |
| Bottom shelf above counter | 17 to 18 in | Clears a stand mixer and a tall pitcher |
| Vertical gap between shelves | 12 to 15 in | 13 in is a proven sweet spot for stacked plates plus glasses |
| Bracket count | 3 brackets on a 46 in shelf | Two on a span that long invites a visible dip |
The sag math is worth knowing because it decides your bracket spacing. A loaded kitchen shelf weighs roughly 20 to 40 pounds per running foot. The eye starts noticing deflection at about 1/32 inch per running foot, which is under a tenth of an inch across a three-foot shelf. Wood also creeps, so a shelf that looks fine on install day will sag around 50% further over time. A safe target is 0.02 inch of sag per foot or less.
Practical translation: on a 1.5 inch pine board, keep bracket spacing at or under 32 inches and put a third bracket in the middle of anything longer than 36 inches. Skip that middle bracket and you will see the dip within a year, usually right where the plates stack.
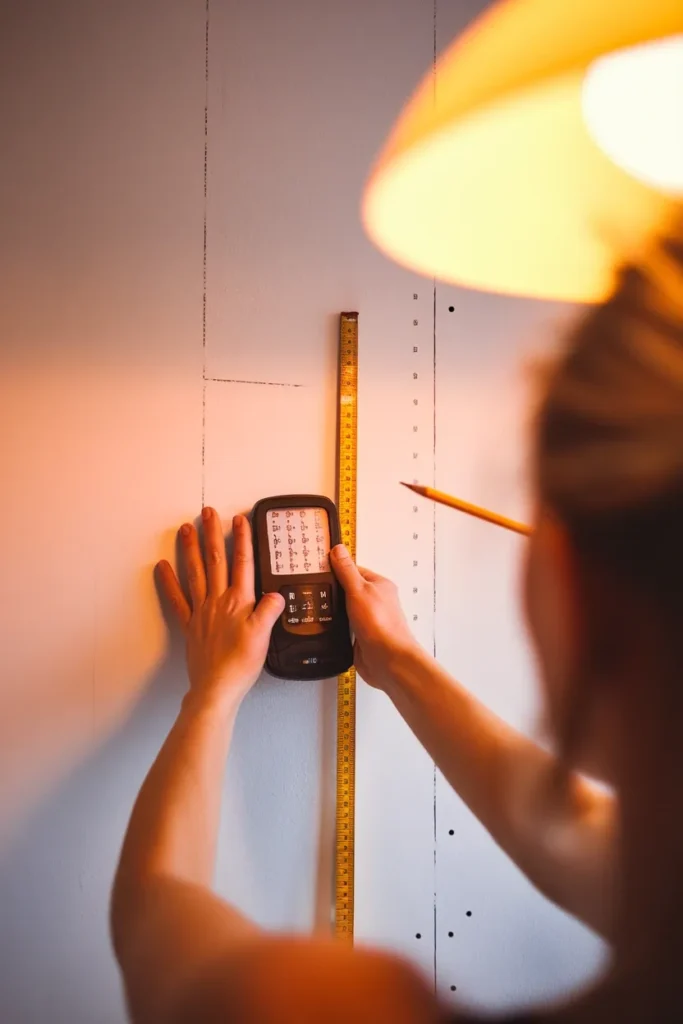
Hit your studs. US framing is typically 16 inches on center, which lines up conveniently with a three-bracket layout on a 46 inch shelf. Drywall anchors alone are not rated for a shelf carrying 40 pounds of stoneware, and the failure mode is not subtle.
For clearances around the rest of the kitchen, the NKBA kitchen planning guidelines are the standard US designers plan to, and worth a look before you commit to a wall.
What Actually Lives Up There
Ten things that earn a spot on cottage kitchen open shelving, front-loaded with the highest-value one.
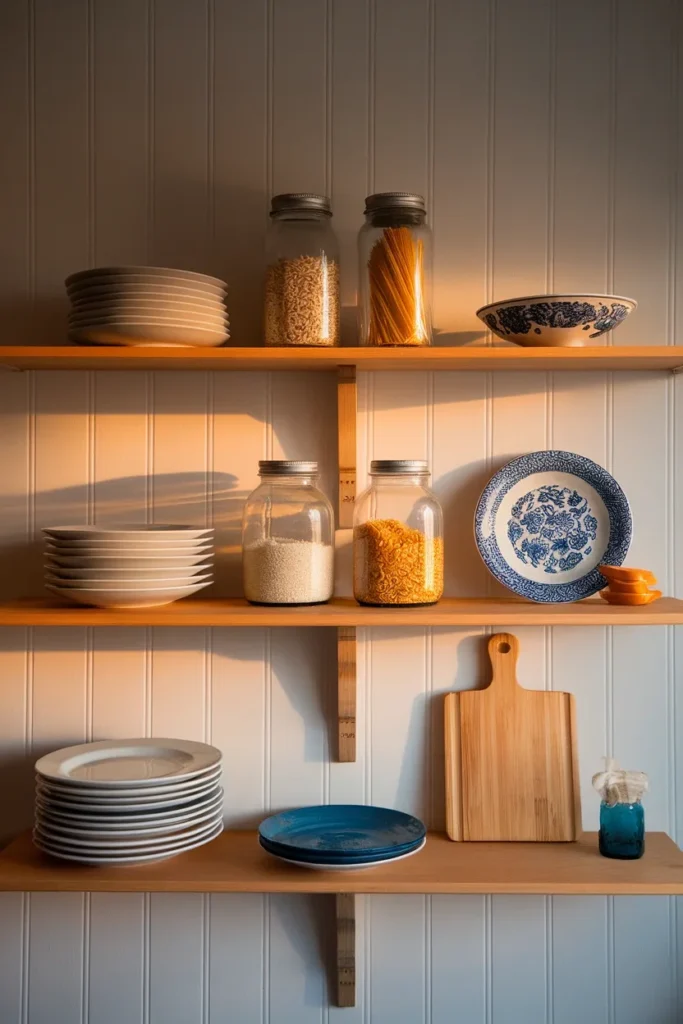
1. Your everyday white or cream dinner plates, stacked in a column of six to eight. Highest impact, lowest effort, and they get washed constantly so dust never wins. Start here.
2. Clear or ribbed drinking glasses, in one row, all the same. Glass reads as light rather than clutter, so a full row still feels airy.
3. A stoneware crock of wooden spoons. Non-negotiable cottage marker. Also genuinely useful within arm’s reach of the range.
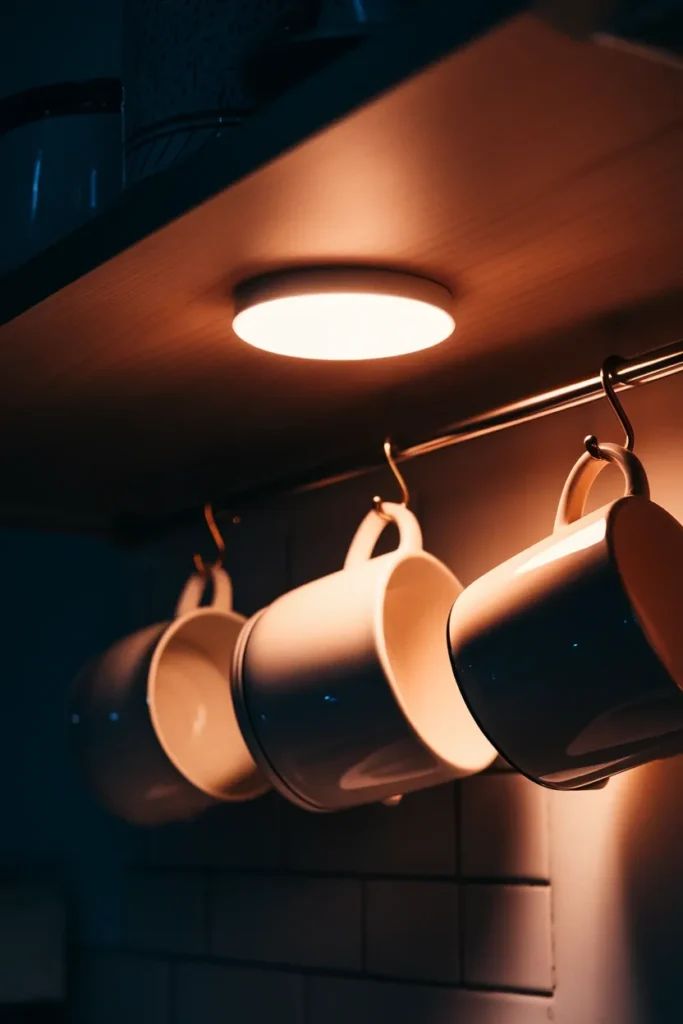
4. Mugs on small brass cup hooks under the shelf lip. Frees the shelf surface and adds a second visual layer.
5. Vintage transferware or blue-and-white saucers, leaned upright at the back. This is your pattern moment. Two or three, not twelve.
6. A small wooden cutting board leaned against the wall. Adds a warm vertical against tile.
7. Glass jars of dry goods, but only three, and only the pretty ones. Rice, dried pasta, split peas. Lentils and oats look like a pantry audit.
8. One trailing plant, positioned at the end of the top shelf. Pothos or string of pearls. The trail softens the hard horizontal line.
9. A stack of folded linen napkins or a small linen tea towel. Softness is what most open shelving is missing.
10. A single bowl of whatever is in season. Lemons in winter, peaches in August. Cheapest styling in the kitchen and it changes every few weeks.
What does not go up there: plastic anything, the blender, mismatched tupperware, spice jars with commercial labels, and more than one framed sign with a word on it.
If your kitchen is small enough that these shelves have to work harder than they look, our small space storage ideas that stay tidy cover the storage half of the equation without sacrificing the look.
The Dust Map: Which Wall Will Betray You
Here is the question everyone actually has, and the answer is not yes or no. It is where.
Someone ran a three-week side-by-side test across different zones of one kitchen. The results were not evenly distributed at all.
| Shelf location | Condition after 3 weeks | Verdict |
|---|---|---|
| Directly above the stovetop | Visibly dusty and greasy | Avoid, or use for items washed daily |
| Beside the fridge, high traffic door | The dustiest zone tested, with lint accumulation | Avoid |
| Near a frequently opened window | Visible dust plus airborne grit | Use with caution |
| Wall opposite the cooking zone | Less than moderately dusty, minimal buildup | Best placement |
| Tucked-away corner, out of the traffic path | Items stayed largely clean | Excellent |
The takeaway that changes plans: open shelving is not inherently high-maintenance. Open shelving above a range is high-maintenance. Move the same shelves to the opposite wall and the maintenance problem mostly evaporates.
If your only available wall is the stove wall, you still have options. Keep only daily-use dishes there, since anything that cycles through the dishwasher every day never accumulates a film. Save the crocks, the leaned saucers, and the linen for a cleaner zone.
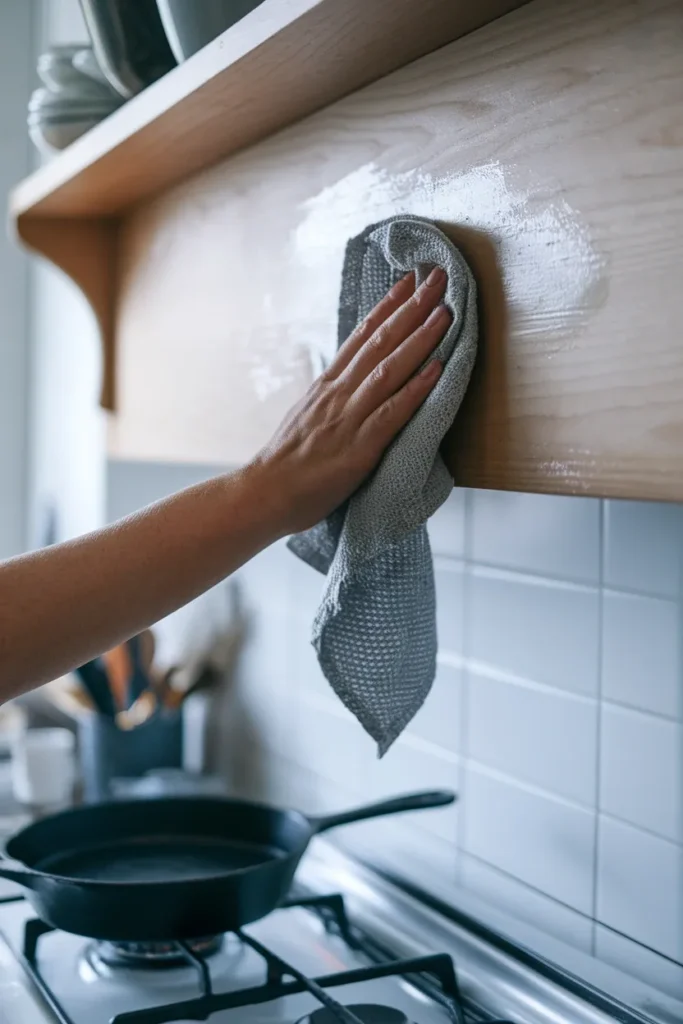
The failure mode if you ignore this: grease is not dust. It does not wipe off with a dry cloth. Six months of range-adjacent cooking film on an unsealed pine shelf turns sticky and yellows the wood, and at that point you are sanding, not cleaning. Seal any shelf within four feet of a range with a wipeable finish before you install it.
The Renter Version: No Drill, No Landlord Email
Every kitchen shelving guide assumes you own the wall. Most of you do not.
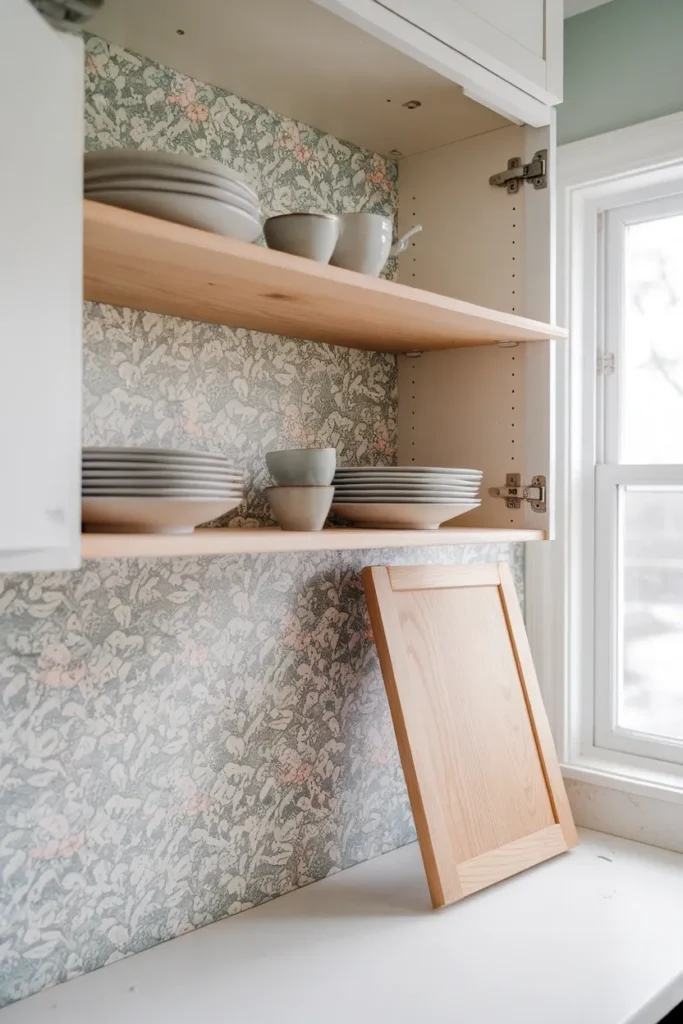
The best documented no-drill method is smarter than a tension rod. Instead of mounting anything, you remove your existing upper cabinet doors, then build chunkier shelf boards cut to the same dimensions as the cabinet’s existing interior shelves and set them on the cabinet’s own shelf support pegs. Same holes, same hardware, zero new damage. The finished project ran about $200 including plywood, 1×3 lumber for the chunky front edge, wood glue, filler, sandpaper, and stain.
Two moves make it read as intentional rather than as cabinets with the doors off:
Line the back. Peel-and-stick wallpaper on the interior back panel gives the shelves a finished backdrop. A faux-plaster, small floral, or beadboard-look pattern does the most work for cottage.
Fatten the front edge. A 1×3 glued and nailed to the front of a plywood shelf takes it from builder-grade thin to the chunky 1.5 inch profile that reads as cottage. This single detail is the difference between “renovated” and “removed.”
Store the doors and hinges somewhere safe, labeled, and screw them back on the week you move out. Twenty minutes of work and your deposit is untouched.
Other genuinely no-drill options worth knowing: a freestanding baker’s rack against a blank wall, a rolling cart in the corner with two shelves styled the same way, or a wall-leaning ladder shelf. None of these are cheating. They deliver the same open, collected look with the same styling rules.
More reversible upgrades in this vein live in our rental apartment decor ideas without holes, which covers the walls, floors, and lighting you are allowed to change.
Light Them, or They Disappear at 5 PM
Open shelving photographs beautifully at 10 AM and vanishes into a gray blur after sunset. Overhead ceiling light casts everything on the shelf into its own shadow, which is exactly backward.
Three fixes, cheapest first.
Stick-on LED puck lights under each shelf. Battery or USB rechargeable, no wiring, renter-safe, and they light the surface below rather than the shelf above. Around $20 to $30 for a set of three.
A plug-in picture light mounted above the top shelf. Cord runs down the wall and tucks behind a corner. Adds a warm downward wash and reads slightly old-house, which suits cottage.
A plug-in wall sconce beside the shelf run. The most cottage of the three. Swing-arm styles in aged brass or white porcelain fit the look, and no electrician is required.
Bulb temperature does more than fixture choice here. Stay at 2700K warm white. At 3000K a cream kitchen starts looking clinical, and at 4000K your cottage kitchen looks like a break room. Put the whole run on a plug-in dimmer for about $15 and the shelves shift from task light at dinner prep to lamp-lit at nine.
LEDs are the right call for shelf lighting on cost grounds too. Per Department of Energy guidance on LED lighting, residential LEDs use at least 75% less energy and last up to 25 times longer than incandescent bulbs, and they run cool, which matters for a fixture sitting a few inches from your dishes.
What It Actually Costs
Real receipts from a documented install covering just under ten feet of wall with three shelves.
| Item | Quantity | Cost |
|---|---|---|
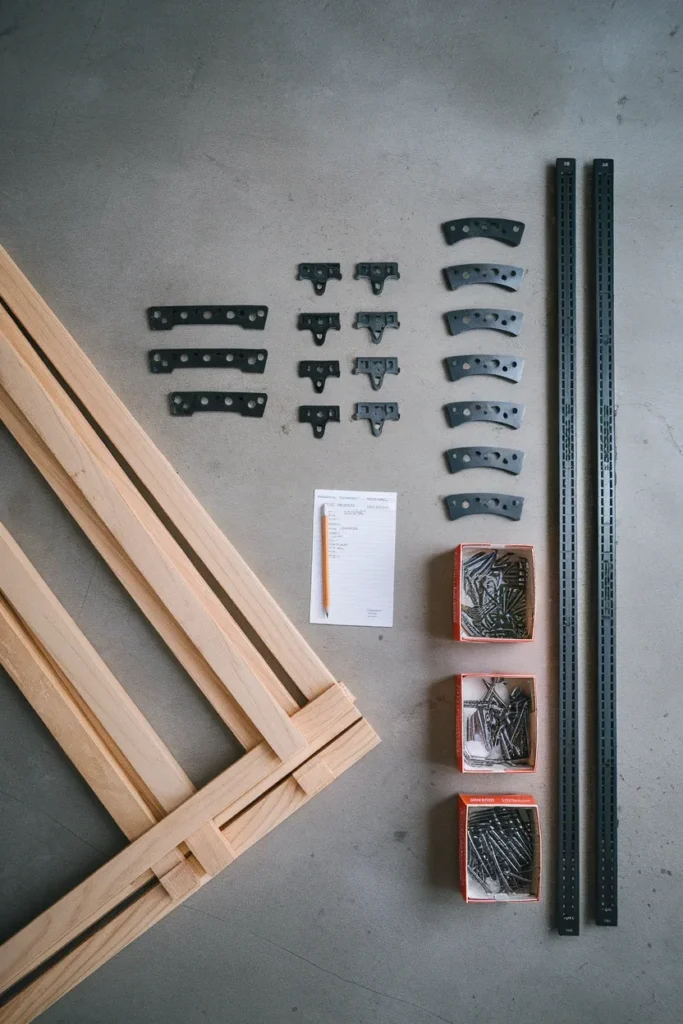
| Double-bracket rails, 48 in | 4 at $6.98 | $27.92 |
| Adjustable brackets | 12 at $3.78 | $45.36 |
| 1×12 pine boards (two 10 ft, one 6 ft) | 3 | ~$26.00 |
| Screws, two lengths | as needed | on hand |
| Total | ~10 linear feet | ~$99 |
That works out to about $33 per shelf, or roughly $10 per linear foot.
For comparison, the renter no-drill version documented above came in near $200, which is higher because it uses plywood plus finish lumber plus stain plus wallpaper. It buys you full reversibility.
Budget notes that will save you money. Pine is the cheap option and it is fine, but it dents, so seal it. Poplar costs a little more and paints beautifully if you want white or sage shelves. Skip live-edge and thick butcher block slabs unless you already have them, since a two-inch oak slab can cost more than the entire pine build above for a single shelf.
Where to spend the extra $30 if you have it: brackets. Thin stamped-steel brackets flex under a real dish load and telegraph every bit of that flex into the board.
Five Mistakes That Make Open Shelving Look Cluttered
Spacing everything evenly. Objects at identical intervals read as a store display. Group in twos and threes with real gaps between clusters.
Filling every inch. Leave roughly a quarter of each shelf empty. Negative space is what makes the styled parts read as chosen rather than crammed.
Everything the same height. A shelf of items all six inches tall is a flat line. Mix a tall crock, a mid stack of plates, and a low bowl.
Ignoring the back wall. A shelf against builder-beige drywall will always look unfinished. Paint the recess a shade darker, add beadboard, or run peel-and-stick pattern behind it.
Too much of one material. All wood and stoneware turns muddy. Cottage needs at least one cool note: glass, white ceramic, or a bit of aged brass.
Frequently Asked Questions
Do open kitchen shelves get dusty and greasy? It depends almost entirely on placement. In a three-week test, shelves above a stovetop went visibly dusty and greasy, and shelves beside a frequently opened fridge collected the most buildup of any zone. Shelves on the wall opposite the cooking area stayed close to clean over the same period. Everyday dishes that cycle through the dishwasher never accumulate enough to notice regardless of placement.
How deep should cottage kitchen open shelves be? 11 to 12 inches. That holds a dinner plate flat with room to grip it, and it stops short of the depth where you start knocking your head while working at the counter. One documented real install used 11.25 inches.
How far above the counter should open shelving go? 17 to 18 inches from the countertop to the underside of the first shelf. That clears a stand mixer and a tall pitcher. Space additional shelves 12 to 15 inches apart, with 13 inches being a proven working number.
Do floating shelves need to hit studs? For kitchen loads, yes. A loaded shelf carries roughly 20 to 40 pounds per running foot, and drywall anchors alone are not rated for that. US wall studs are typically 16 inches on center. Use three brackets on any shelf longer than 36 inches.
Can renters install open shelving without drilling? Yes. Remove your upper cabinet doors, cut new thicker shelf boards to match the cabinet’s existing shelf dimensions, and rest them on the cabinet’s own support pegs. Add peel-and-stick wallpaper to the back panel. No new holes, fully reversible, roughly $200. Store the doors and reinstall before you move out.
Is open shelving still in style in 2026? In the cottage direction, it is growing rather than fading. Pinterest’s Spring Trend Report 2026 recorded “dark cottagecore kitchen” up 915%, “village kitchen ideas” up 825%, and “grandma core kitchen” up 545% year over year. The version losing momentum is the stark all-white minimalist take, not the collected cottage one.
Is open shelving cheaper than kitchen cabinets? Substantially. A documented ten-foot, three-shelf install using rails, brackets, and 1×12 pine came to about $99 in materials, roughly $10 per linear foot. Upper cabinets for the same run cost multiples of that even at stock pricing.
Where to Start This Weekend
Pick the wall first, not the shelf. Stand in your kitchen and find the surface furthest from your range, ideally one you can see from wherever you eat. That wall decides everything else.
Then measure one thing: the height from your countertop to the ceiling. If you have 40 inches or more, you have room for two shelves at 17 inches and 13 inches. If you have less, one shelf is the right answer and it will look better than two crammed shelves.
Buy the boards, hit the studs, and load it 60/30/10.
If your next project is the corner beside the kitchen, our cottagecore home decor room by room picks up the same palette and carries it through the rest of the house.
Keep reading
More cozy nook ideas
 Living Room
Read →
Living Room
Read →
Cabin Living Room Checklist: Everything to Decide Before You Start
No log walls, no stone hearth, no lake outside the window. You can still build a cabin living room in a regular…
 Bedroom
Read →
Bedroom
Read →
English Cottage Bedroom Checklist: Everything to Decide Before You Start
You saved forty pins of floral quilts and sloped ceilings, then looked up at your own bedroom: beige walls, one window, a…
 Nursery & Teen Rooms
Read →
Nursery & Teen Rooms
Read →
25 Teen Boy Bedroom Ideas That Feel Grown-Up, Not Childish
If his room still has the race car lamp and the glow-in-the-dark stars, and the door has started staying shut, he’s telling…