
12 Home Coffee Station Ideas on a Budget

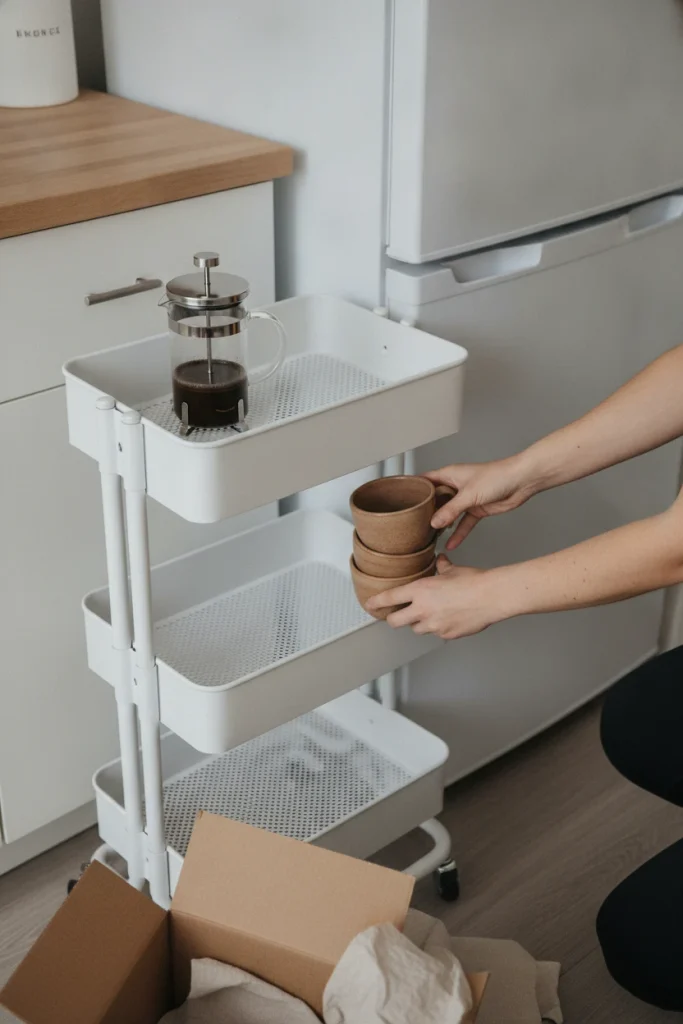
Three IKEA pieces, about $52, and one free afternoon. That’s the whole first build on this list, and it rolls.
Maybe your coffee setup right now is a brewer pushed up against the toaster, plus a sugar jar you move every time you wipe the counter. Small kitchens, leases that say no drilling, and tight budgets all make home coffee stations feel out of reach. None of them have to stop you.
Every idea below comes with something you can use today: a real US price checked in October 2026, a measurement that matters, or a renter-safe option listed first.
You’ll get a rolling cart build, a simple counter layout called the 3-Zone Coffee Counter, smarter places to hang mugs, and the storage spot that keeps beans tasting fresh. There’s also one fix most coffee bar posts skip: what happens when two hot appliances share an outlet.
Pick one idea or stack three. Your mornings get easier either way.
1. The $52 Rolling Cart Coffee Station
Fifty-two dollars at IKEA covers the three pieces that do the heavy lifting here. Everything else is stuff you already own.
- Cart: the small RÅSKOG utility cart, 11 x 15 x 24 inches. It slides into the gap beside a fridge or at the end of a counter.
- Brewer: the 34 oz UPPHETTA French press. No plug means the cart can park anywhere.
- Jar: a 1.9 quart KORKEN jar for sugar cubes or tea bags.
| Piece | What to buy | Price |
|---|---|---|
| 🛒 Cart | IKEA RÅSKOG utility cart, 11 x 15 x 24 in | $29.99 |
| ☕ Brewer | IKEA UPPHETTA French press, 34 oz | $16.99 |
| 🫙 Jar | IKEA KORKEN jar with lid, 1.9 qt | $4.99 |
| Total | Mugs, spoons, and kettle you already own | $51.97 |
IKEA US prices checked October 2026. Prices change, so confirm before you shop.
One honest trade-off: a French press needs hot water, so this build counts on the kettle or microwave you already have.
Load heavy things low. Each shelf on the small cart is rated for 9 lb, which is plenty for a press and four mugs. A stack of stoneware plates on top is too much. No tools, no holes, and it rolls out with you when the lease ends, the same no-drill thinking behind these no-drill reading nook ideas for renters.
2. Match the Brewer to Your Morning, Not the Photo
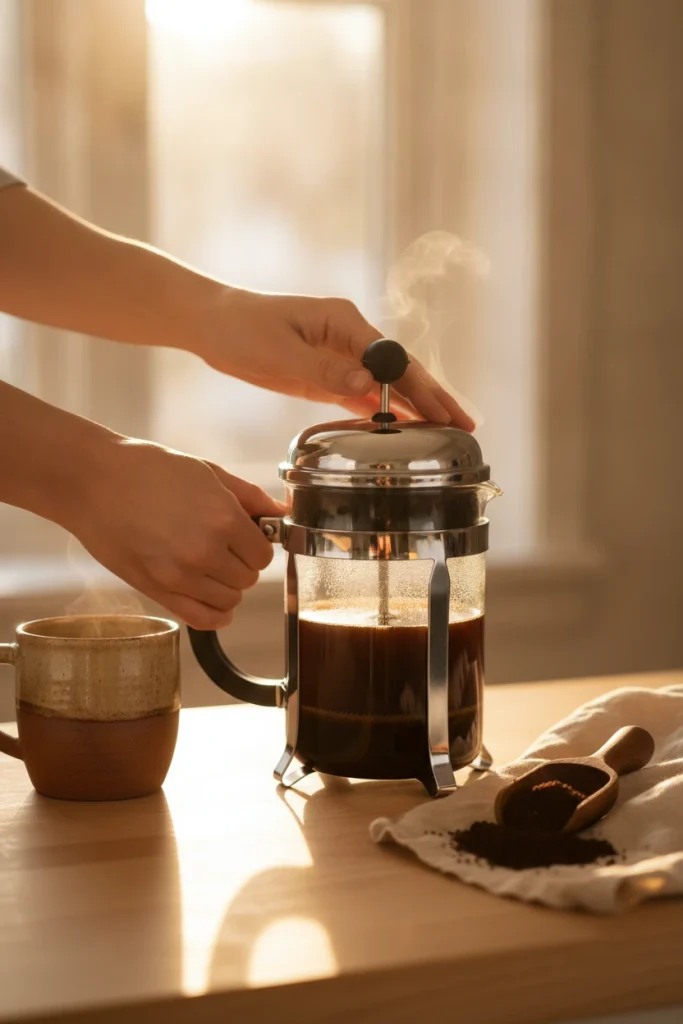
Your brewer sets the rules for the whole station. It decides if you need an outlet, how much counter you give up, and how many cups you get before work.
Price: $11.99 (13.5 oz) or $16.99 (34 oz), IKEA UPPHETTA
Outlet: not needed
Best for: one or two cups, slow mornings
Trade-off: you heat the water separately
Price: $49.97, Mr. Coffee 12 Cup Programmable at Walmart
Outlet: needed
Best for: a full pot for two or more people
Trade-off: more counter space and more power
Prices checked October 2026.
A press costs less, runs quiet, and fits on a cart. A drip maker with a delay timer wins if you set it up at night and want coffee waiting at 6 a.m. That Mr. Coffee also shuts itself off after four hours, which matters if you leave for work in a rush.
Pick the one you’d still use on your worst Tuesday.
3. Use the 3-Zone Coffee Counter Layout
Most coffee corners fail in the same spot. There’s nowhere to set the mug down while you pour, so the sugar jar gets shoved, the spoon lands in a puddle, and the filters end up behind the toaster.
The fix is to split your counter into three zones and give each one a single job.
The 3-Zone Coffee Counter
Left-handed? Run it right to left.
Now your hands move in one direction every morning: brew, pour, grab. Nothing gets moved twice, and the drips stay in one zone that’s easy to wipe.
Here’s a tip that sounds silly and works: put a strip of painter’s tape around the Pour zone for a week. Once the habit sticks, peel it off.
4. Keep Beans Out of the Clear Glass Jar
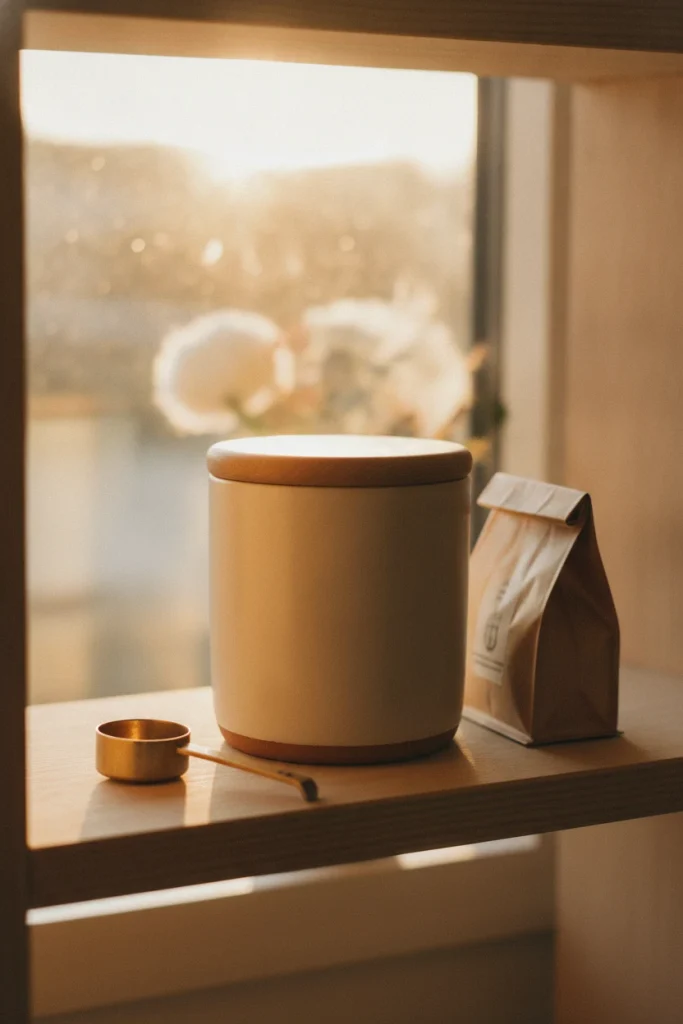
Clear jars full of beans on a sunny shelf show up in a lot of coffee station photos. It’s an easy look to copy because it photographs so well. It’s also one of the worst places for coffee.
According to the National Coffee Association’s storage guidance, beans lose flavor to air, moisture, heat, and light. Clear canisters let that light straight in. A cabinet right next to the oven or dishwasher is just as rough on them.
| Where beans live | Stays fresh for | Use it when |
|---|---|---|
| 🌑 Opaque airtight canister, cool cabinet | 1 to 3 weeks | You finish a bag in about two weeks |
| 🧊 Fridge | About 2 weeks | Rarely worth it, since it doesn’t beat a dark cabinet |
| ❄️ Freezer, airtight | 3 to 4 months | You buy in bulk. Pull out a week’s worth at a time. |
Freshness windows from the National Coffee Association.
Buy only one to two weeks of beans at a time, and grind just before you brew if you can.
Save the clear KORKEN jar from idea 1 for sugar cubes. Light can’t hurt those.
5. Turn a $12 Spice Rack Into a Syrup and Mug Shelf
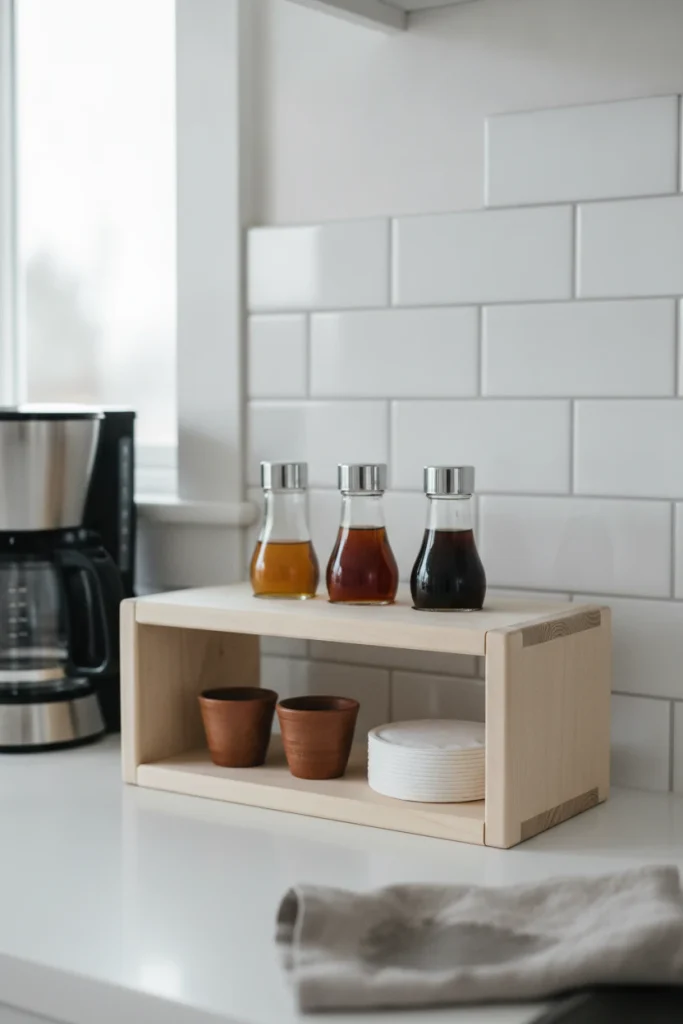
Spice racks were never only for spices. IKEA’s BEKVÄM rack in aspen costs $11.99. It’s 15 3/4 inches wide and 3 7/8 inches deep, and its front rail stops small bottles from sliding off.
Set it up in three moves:
- Stand it flat on the counter against the backsplash, right above your Park zone. No hardware needed.
- Put the tallest syrup bottles in back, with espresso cups or a short stack of filters in front.
- If you own your place, screw it to the wall over the counter and get that strip of counter back.
Bare wood soaks up syrup drips fast. Wipe sticky rings the same day, or rub on a coat of food-safe oil before you load it.
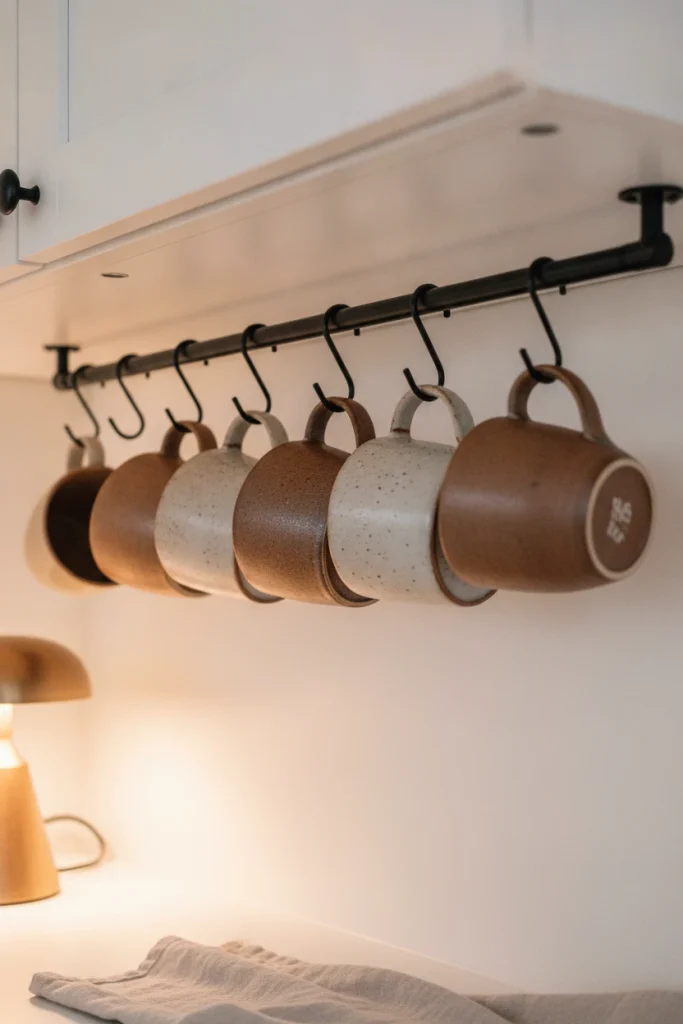
6. Hang Mugs and Free Up a Whole Cabinet Shelf
Mugs eat cabinet space fast. Hang the everyday ones where you can see them, and that shelf can hold beans and filters instead.
Renter route first: a spring tension rod across a narrow alcove or a gap between upper cabinets holds a row of S-hooks without a single hole. An over-the-door hook rack on a pantry door works too.
Mugs stacked two deep in the cabinet, handles knocking, and the one you want is always in the back.
Daily mugs hang in one row on S-hooks, and the freed shelf holds beans, filters, and the backup sugar.
Owner upgrade: IKEA’s HULTARP rail is 31 1/2 inches long and costs $12.99. Mount it under an upper cabinet or along the backsplash, then add S-hooks. Leave a little space between hooks so handles don’t clink every time you grab one.
Bonus: guests can find a mug without opening three doors.
7. Give the Brewer and Kettle Their Own Outlet
Electric kettles and drip coffee makers both heat water fast, and that takes a lot of power. Run both off one crowded power strip and you’re asking for a tripped breaker, or worse.
Quick checks before you plug in:
- Plug the brewer straight into a wall outlet whenever you can.
- If you need a power strip, use one with built-in overload protection. That’s one of the U.S. Fire Administration’s appliance safety tips, along with never overloading outlets or strips.
- Keep cords out from under rugs and away from the sink edge.
- Read the watts printed on the base of each appliance. If the breaker trips when both run, take turns: boil first, then brew.
⚠️ Watch Out
Safety note: anchor tall furniture to the wall, keep candles and cords away from fabric, and use a licensed electrician or contractor for hardwired lighting, ceiling mounts, or anything structural.
A drip maker with auto shutoff covers the mornings you rush out the door and forget it’s on.
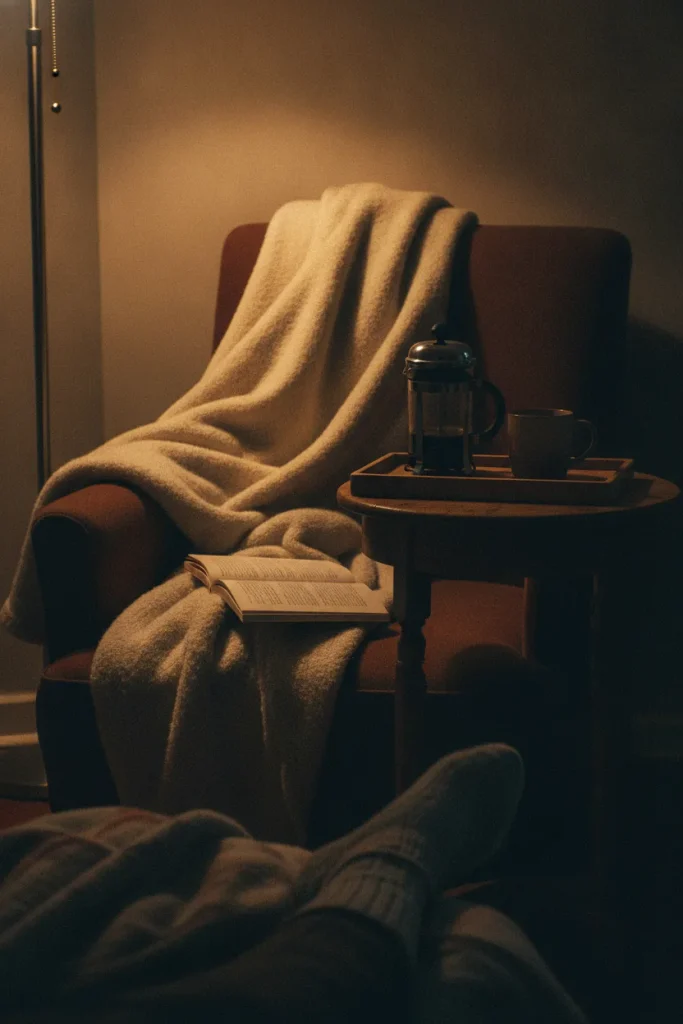
8. Set Up a Coffee Corner Beside Your Reading Chair
Reading and coffee belong in the same corner. Most coffee station posts keep everything in the kitchen. A small tray setup next to your favorite chair means the second cup happens without getting up mid-chapter.
Use the arm’s-length rule: set a side table close enough that your hand finds the mug without leaning, roughly within 18 inches of the chair arm.
Match the tabletop to the height of the chair arm so you reach across, not down.
Set the small 13.5 oz French press and one mug on a wood tray, so the whole kit lifts away in one move.
Add a lamp with a warm 2700K bulb and aim it at the page, not the cup.
You’ll hear the soft clink of the mug on the tray instead of the scrape of a chair. Keep the press on the side away from your books, and pick a mug with a wide, heavy base.
If that corner doesn’t exist yet, these tiny reading nook ideas for small rooms start with nothing more than a chair and a lamp.
9. Hide the Whole Station Behind a Cabinet Door
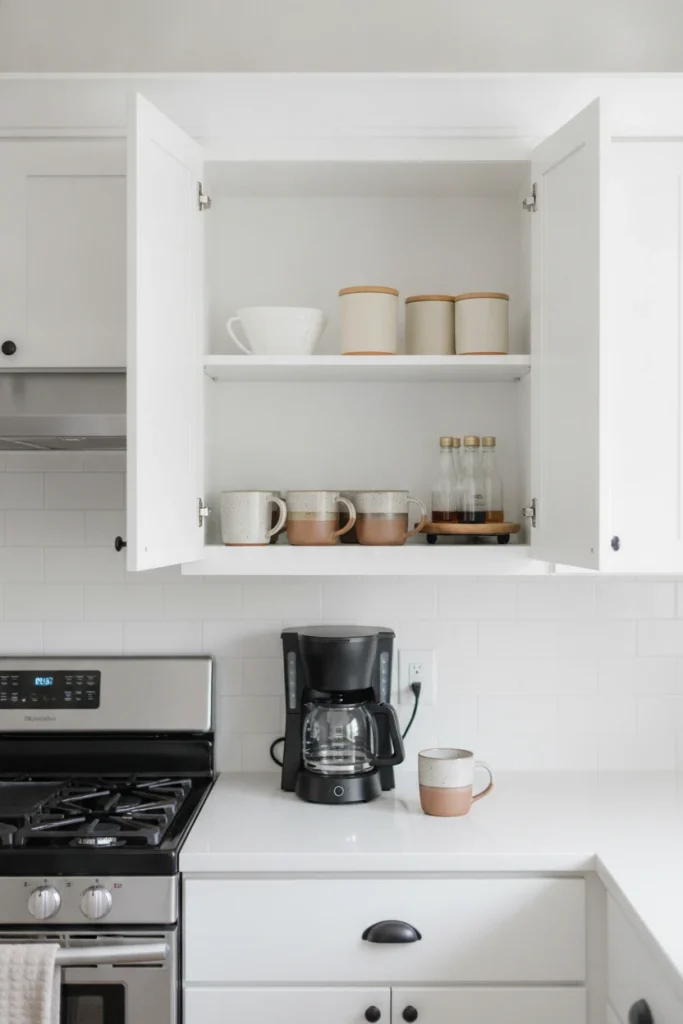
Behind a cabinet door is the best home for a small coffee station when your counter is already full. Clear one upper shelf near an outlet for mugs, beans, and filters, and keep the brewer on the counter right below it.
Pick the cabinet closest to the outlet.
Group by task: mugs on one shelf, beans and filters on the next.
Add a small turntable so syrups never hide in the back.
Brewing with the door shut, since trapped steam can swell cabinet edges over time.
Deep back corners where mugs vanish.
The cabinet over the dishwasher or oven for beans.
Pull the brewer forward before you start it, then slide it back when it cools.
Shut the door at night and the counter goes back to being just a counter.
10. Light It for 6 a.m., Not for the Photo
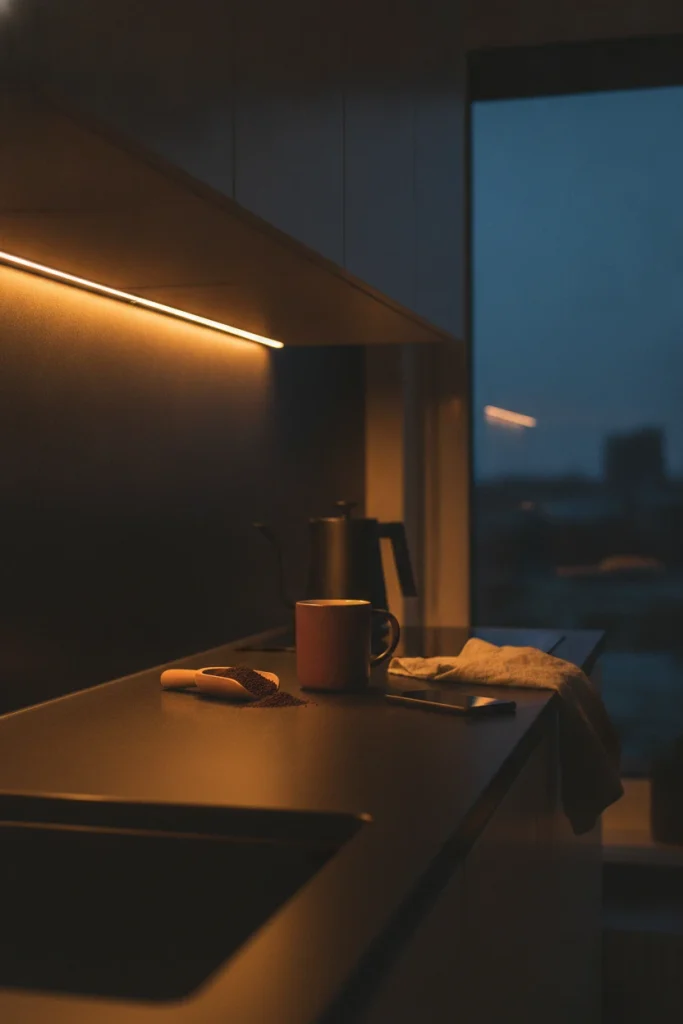
Six a.m. is when lighting matters most at a coffee station. Overhead kitchen lights feel harsh that early, and the scoop gets lost in the shadow under the upper cabinets.
Warm 2700K light at counter height shows you the scoop and the mug without the glare of the big overhead fixture.
Renter-safe options come first here. Plug-in under-cabinet LED bars and battery puck lights stick on with no wiring at all. For something on the wall, the fixtures in these plug-in wall sconces for reading nooks work just as well over a coffee cart, with a paintable cord cover to tidy the cord.
That low amber glow in a quiet kitchen is the cozy part.
Put the switch where your hand lands first, so the light is on before the kettle is.
11. Run a 10-Minute Sunday Coffee Reset
Every coffee station gets sticky. Syrup rings, grounds in the cart basket, a sugar jar down to three cubes. Ten minutes once a week keeps it looking like the day you set it up.
The Sunday Coffee Reset
Ten minutes on Sunday beats a crusty filter basket on Monday.
12. Build One Swap Tray for Guests and Every Season
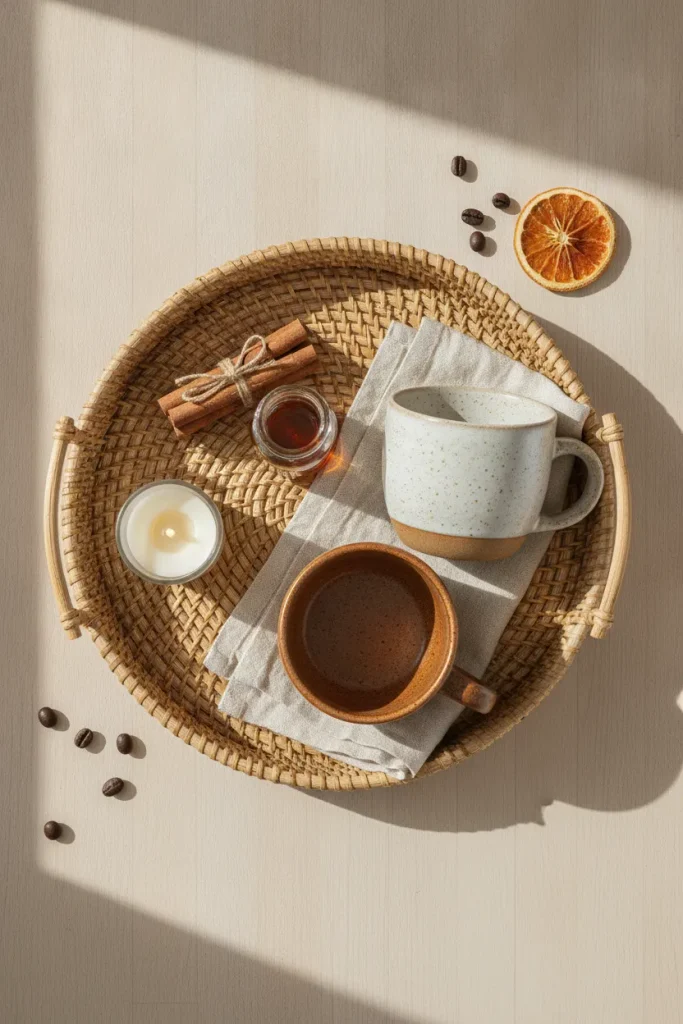
Seasons give a coffee station an easy reason to change without new furniture. Keep one woven rattan or wood tray on the cart or counter, and swap only what sits on it.
- ▸Fall: cinnamon sticks, a small jar of maple syrup, a speckled mug.
- ▸Winter: cocoa packets, peppermint sticks, a lidded jar of mini marshmallows.
- ▸Spring: a tea sampler, a honey jar, a bud vase with one stem.
- ▸Summer: a cold brew pitcher, an ice cube tray, reusable straws.
- ▸Guests: extra mugs, a small creamer, and decaf next to the regular.
The base stays put and only the tray changes, so a whole new look takes minutes.
Skip real candles next to paper filters and dish towels. A battery tea light gives you the same glow.
Home Coffee Station FAQ
What should be included in a home coffee station?
Start with three things: a brewer, a way to store coffee, and an open spot to set your mug while you pour. After that, add only what your routine uses every day, like filters, sugar, spoons, and a few mugs. Hold off on decor until the basics work. A small plant is nice, but it shouldn’t take the space your mug needs.
Does a coffee station need to be in the kitchen?
No. It needs an outlet if your brewer plugs in, a surface that can handle drips, and an easy trip to water. Dining room hutches, hallway carts, home offices, and reading corners all work. A French press setup only needs hot water, so it can live almost anywhere a kettle can reach.
How do you set up a coffee station on a countertop?
Line it up in the order you use it. Put the brewer closest to the outlet, keep an empty landing spot next to it for your mug, and park the beans, sugar, and spoons on the far side. That one-direction flow stops you shuffling jars every time you pour, and it keeps drips in one easy-to-wipe spot.
How much does it cost to set up a home coffee station?
You can start for about $52 with three IKEA pieces: a small RÅSKOG cart, a 34 oz UPPHETTA French press, and a KORKEN jar (US prices checked October 2026). Swap the press for a drip maker like the Mr. Coffee 12 Cup Programmable at $49.97 and the total lands near $85. The mugs and spoons you already own cost nothing.
How do you make a coffee bar in a small space?
Go vertical or go mobile. A narrow rolling cart tucks in beside the fridge, a tension rod or rail hangs mugs off the counter, and an upper cabinet can hold beans and filters behind a door. Keep only daily items out in the open. Anything you use once a month belongs in a drawer.
Where should you store coffee beans at a coffee station?
Keep them in an opaque, airtight container in a cool, dark spot. The National Coffee Association says air, moisture, heat, and light all dull flavor, and it suggests buying one to two weeks’ worth at a time. Keep beans away from the oven, the dishwasher, and any window that gets strong afternoon sun.
Start With the Corner You Already Have
You don’t need a remodel or a big budget to build home coffee stations that make mornings smoother. Start with the piece that fixes your biggest daily annoyance. In most small kitchens, that’s the cart in idea 1 or the 3-Zone layout in idea 3, because both work with the counter you already have.
After that, add one upgrade a week. Hang the mugs, move the beans into the dark, and give the brewer its own outlet. A month from now, the station mostly runs itself.
Save this list to your coffee or small space board so the prices and the 3-Zone layout are handy on your next IKEA run.
Keep reading
More cozy nook ideas
 Coffee Bar & Breakfast Nooks
Read →
Coffee Bar & Breakfast Nooks
Read →
20 Dining Nook Ideas That Turn Any Corner Into a Retreat
That empty corner by the kitchen, the one collecting a laundry basket and a stack of mail, is about five feet from…
 Coffee Bar & Breakfast Nooks
Read →
Coffee Bar & Breakfast Nooks
Read →
12 Breakfast Nook Ideas for Small Kitchens, Measured to Fit
No bay window. No spare room. Eight feet of wall between the fridge and the back door, and you still want somewhere…
One Comment