
How to Build a DIY Book Nook Shelf Insert in One Weekend

Three pieces of foam board, a string of warm lights, and one quiet afternoon. That’s the whole recipe for a DIY book nook shelf, the little lit-up diorama that hides between your books and turns a plain shelf into a secret window. You don’t need a kit, a workshop, or a single power tool. By Sunday night you’ll have a tiny world glowing on your shelf, and people will stop and stare at it.
Here’s what this guide gives you that the kit listings won’t: a real build order, a beginner path with no sharp tools, the exact measurements so it actually fits your shelf, and lighting that looks warm instead of cheap. Let’s build.
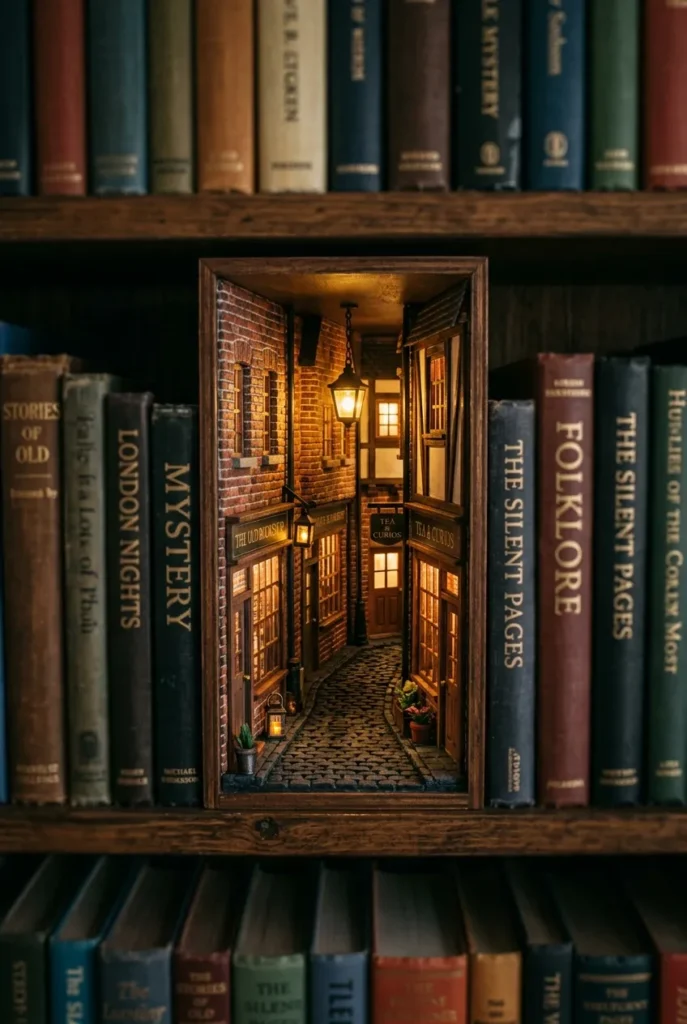
What a Book Nook Shelf Insert Actually Is (60-Second Version)
A book nook shelf insert is a slim diorama built to stand upright in the gap between books on a bookcase. From the front it reads like a hidden alley, a tiny shop street, or a secret room tucked into your shelf. People also call it a bookshelf insert, a book nook diorama, or a bookshelf diorama. Same thing.
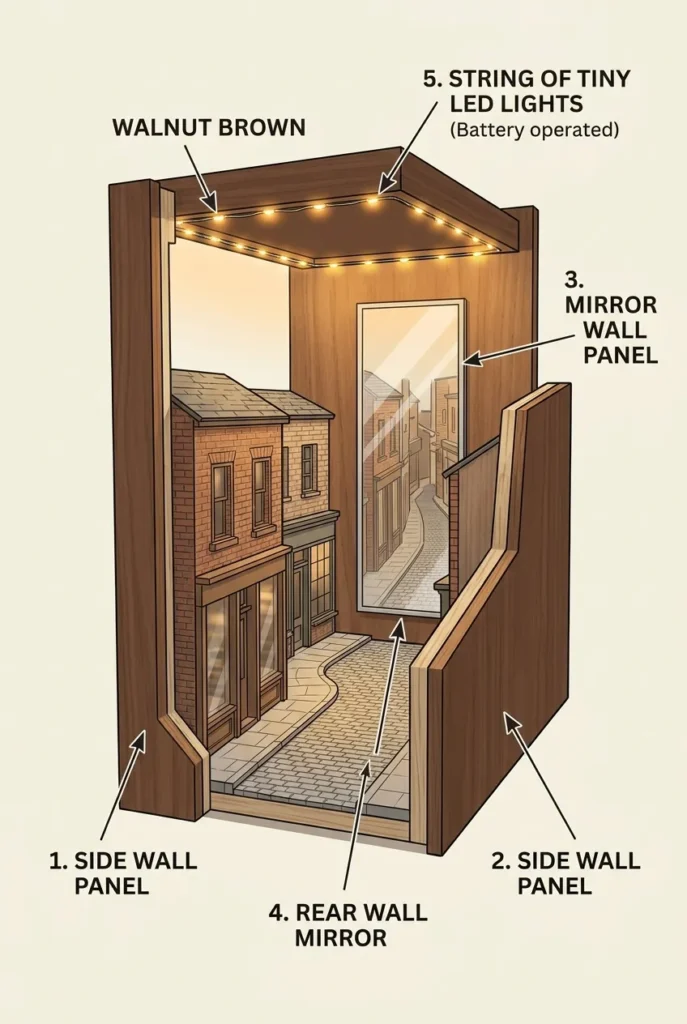
The magic is depth. A good insert is only 4 to 6 inches deep, but tricks like a back mirror and forced perspective make it feel like you’re looking down a long street. That mirror trick is the single most-searched upgrade for a reason: it doubles the apparent depth for about three dollars.
If you want the wider world of cozy shelf-and-corner projects beyond the miniature, our roundup of cozy book nook corners you can actually build walks through full-size versions of the same idea.
Cash the Promise First: Your 3-Piece Build List
Here’s the build in three pieces, exactly as the pin says. Read this first scroll and you already know what you’re making this weekend.
- The shell. Two side walls and one back wall, cut from foam board or thick cardboard. This is your box.
- The scene. The street, room, or alley you glue inside it: printed backdrop, layered cutouts, a few miniature props.
- The glow. A short string of warm LED fairy lights, tucked along the top so the source stays hidden.
That’s it. Everything below is just doing those three things well.
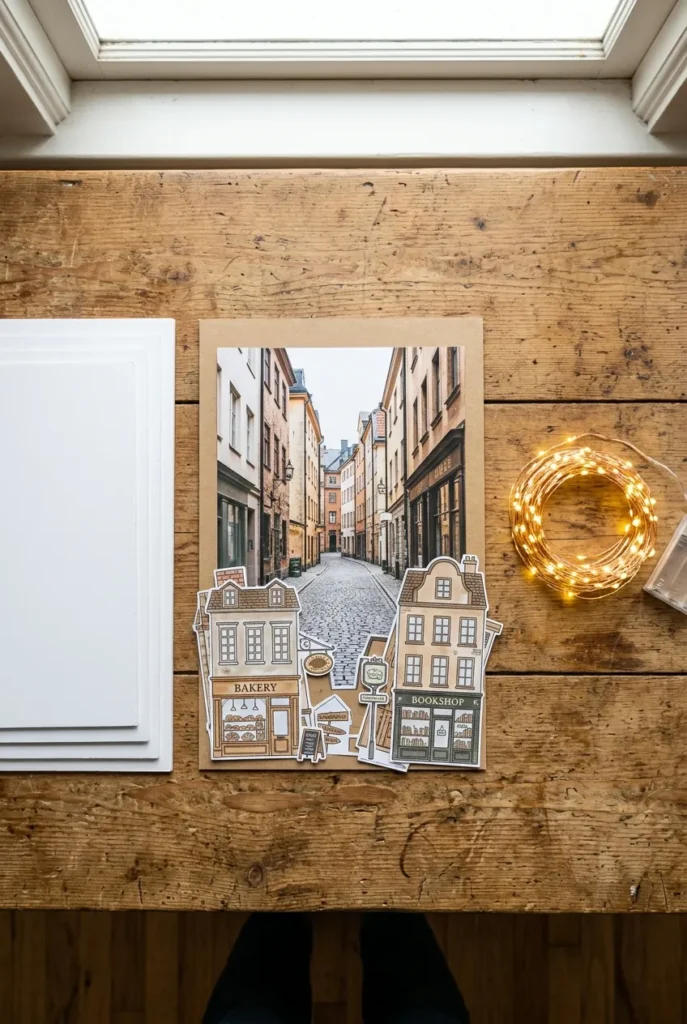
Materials and Tools (Two Paths: No-Knife and Classic)
You can build this two ways. Pick the lane that matches your comfort and your budget.
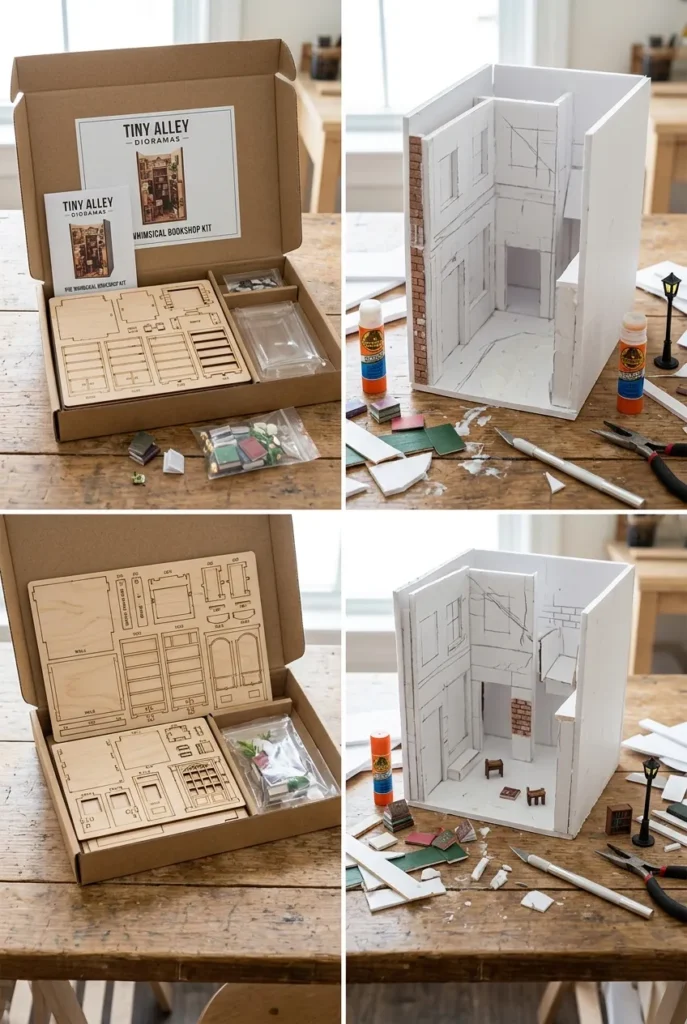
The no-knife, renter-friendly path uses pre-cut craft pieces, thick cardboard you tear and fold, and glue. No blades, no cutting mat, nothing that scares a first-timer or a small apartment. Great if you’ve never made anything like this.
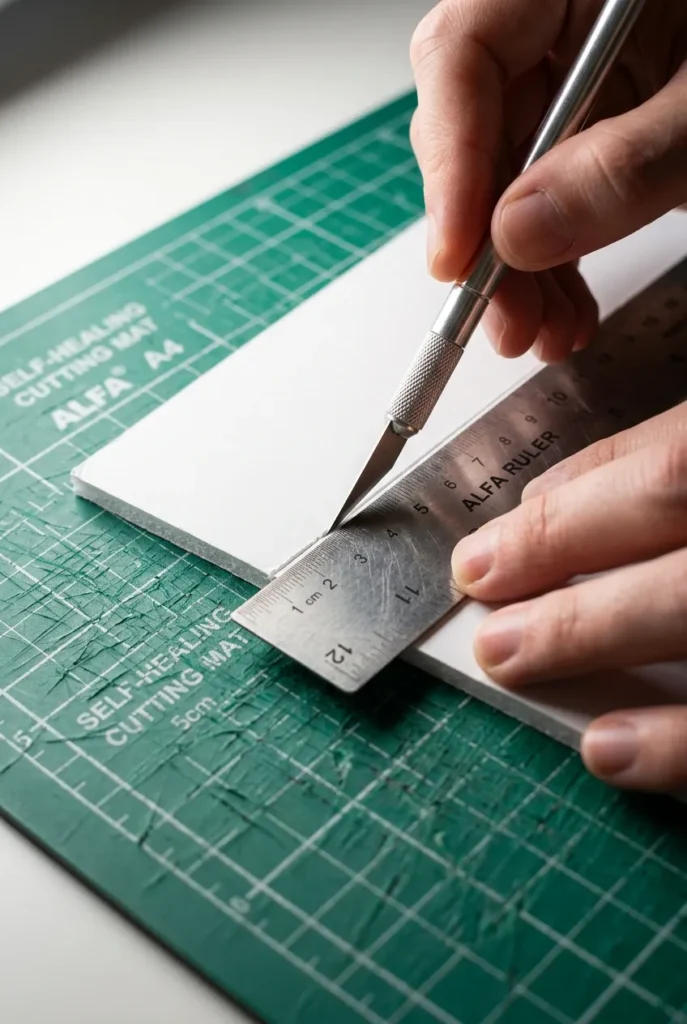
The classic path uses foam board and a craft knife for crisp edges and a more finished look. It costs a little more in patience, not money.
Core supplies for either path:
- Foam board or sturdy cardboard for the three walls
- A printed backdrop (free to print at home, or a themed one you buy)
- A small mirror, around 4 by 6 inches, for the back wall
- Warm white LED fairy lights, battery powered, 2700K
- White craft glue and a hot glue gun
- Acrylic paint in 2 or 3 colors plus a small brush
- Optional: basswood strips, tiny printed people, faux moss
If you go the classic route, treat the blade with respect. A sharp craft knife on a self-healing mat, light pressure, three shallow passes instead of one deep saw. The manufacturer’s own guidance from X-ACTO on knives and blades is worth a two-minute read before your first cut, especially the part about cutting away from your hand. For a fuller look at how these small builds scale up into shelving projects, our no-carpenter bookcase wall builds use the same plan-then-glue logic on a bigger canvas.
The Three-Number Fit Check (So It Actually Fits Your Shelf)
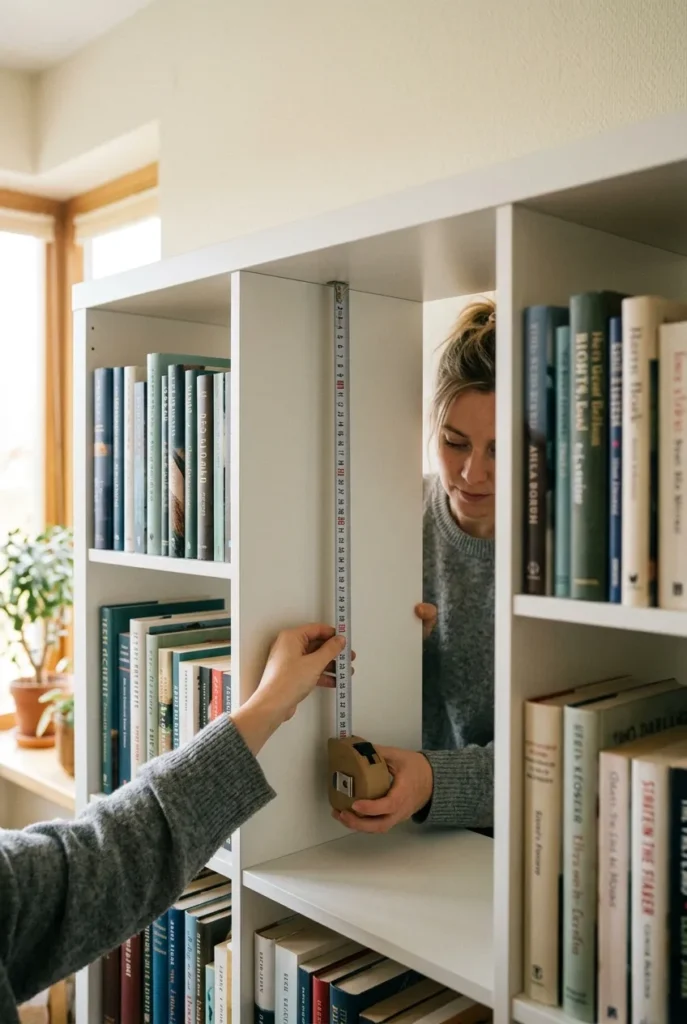
This is the step every kit skips, and it’s why so many homemade inserts end up too tall, too deep, or wobbling in a gap they don’t fill. Measure your shelf before you cut anything. You need three numbers.
| Measurement | What to measure | Typical shelf |
|---|---|---|
| Height | Inside gap, shelf floor to the underside above | 11 to 12 in (IKEA Billy) |
| Depth | Front edge to back wall of the shelf | 10 to 11 in |
| Width | How wide a slot you want the nook to fill | 4 to 9 in, your call |
Build the shell about a quarter inch shorter than your height number so it slides in without scraping. Keep the depth an inch shy of the shelf depth so the front sits flush, not jutting out. The width is the one creative choice: a narrow 4-inch nook looks like a hidden alley, a wider 9-inch one fits a whole tiny room.
Screenshot that table. It’s the difference between a nook that looks built-in and one that looks like it’s visiting.
Build the Shell: Walls, Floor, and the Mirror Trick
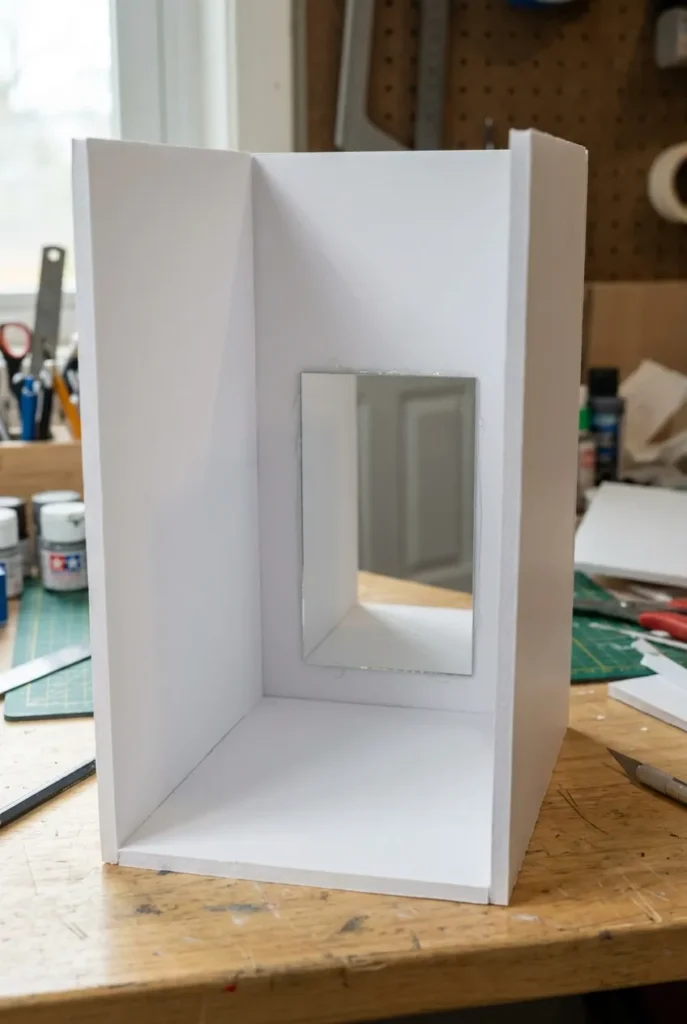
Glue your two side walls to the floor piece first, forming a tall narrow U. Let that set before you add the back. Patience here pays off; a rushed corner leans, and a leaning wall shows in every photo.
Now the back wall. Before you attach it, glue your small mirror to the center of it. When the scene reflects in that mirror, a 5-inch-deep box suddenly looks like a corridor running back twice as far. This is the forced-perspective shortcut that makes cheap builds look expensive.
Want even more depth? Angle your side walls in slightly toward the back, maybe half an inch narrower at the rear than the front. Your eye reads the taper as distance. It’s the same trick stage designers use, shrunk to fit a shelf.
Build the Scene: Backdrop, Layers, and Tiny Props
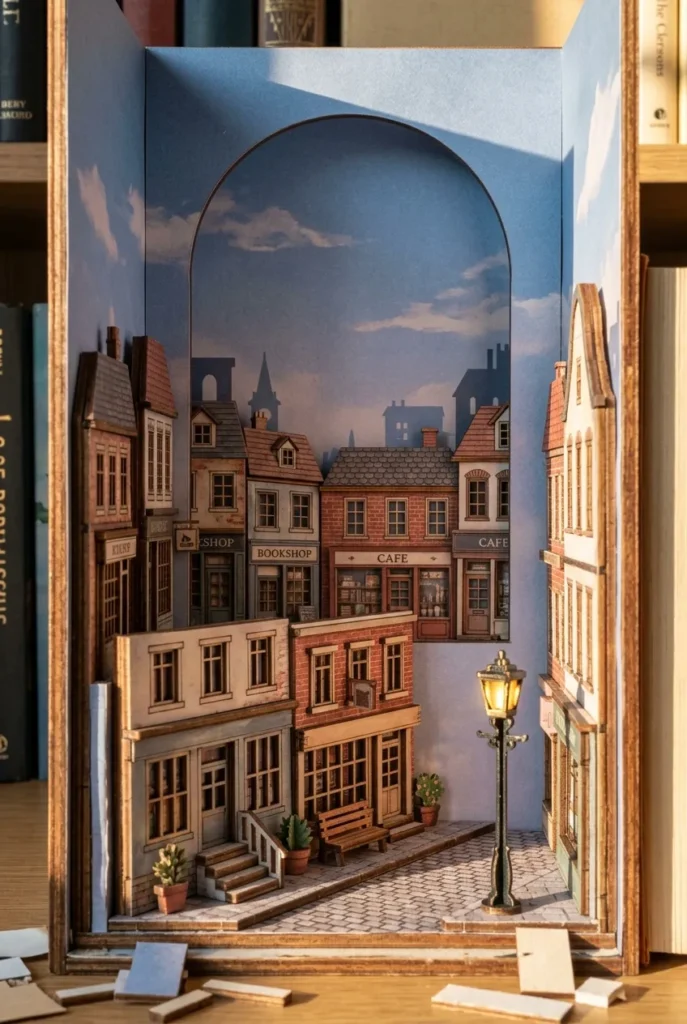
Depth comes from layers, not from one flat picture. Start with a printed backdrop glued to the mirror area or just in front of it: a painted sky, a far-off street, a forest clearing. Then build forward in planes. A row of building fronts here, an archway there, a lamppost closer still. Each layer you add an inch in front of the last makes the scene breathe.
Keep your scale honest. If your tiny door is an inch tall, your tiny window should match it. Mismatched scale is the fastest way to make a scene feel off, even when a viewer can’t say why.
This is where your theme lives, and the searches tell you what people want: a Hobbit-style round green door, an Alice in Wonderland checkerboard hall, a moody dark-academia library, a Harry Potter alley of crooked shops, a Coraline-style little garden. Pick the world you’d want to fall into. For the styling logic behind matching a build to a specific mood, our build-it-yourself reading bench with real plans and dimensions shows how measurements and aesthetic choices work together on a larger project.
Light It Right: Warm, Hidden, and Not Cheap-Looking
Lighting is what separates a craft-fair table from a tiny world. Two rules.
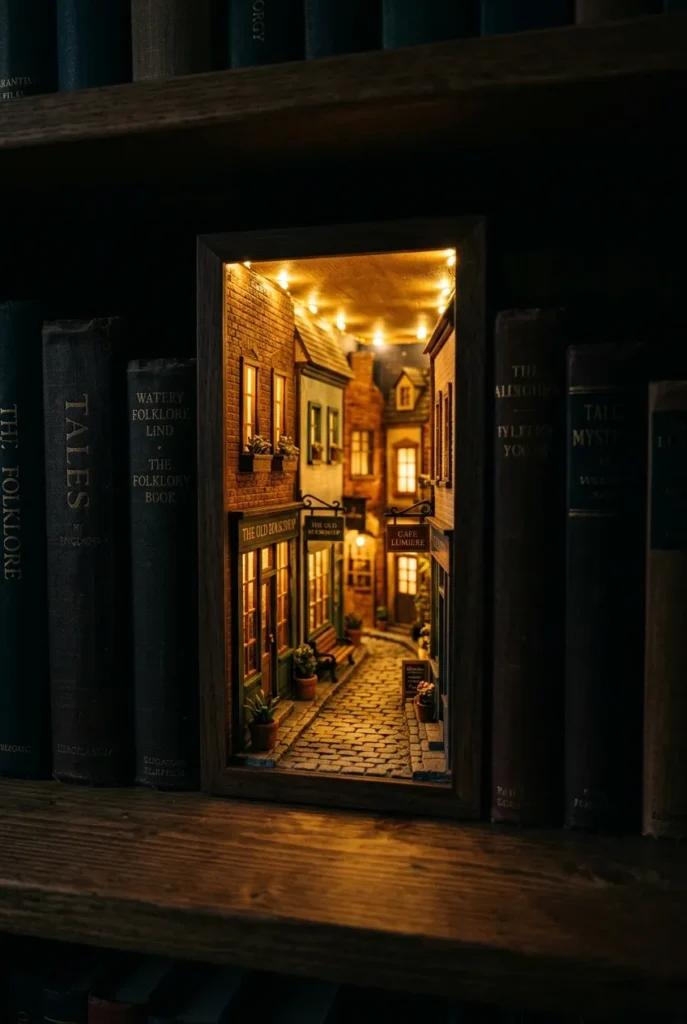
First, go warm. Use 2700K LED fairy lights, the same warm amber range as old incandescent bulbs and candlelight. A cool, bluish white will make your cozy alley look like a parking garage. Bulb manufacturers map this on a simple scale; the Feit Electric color temperature guide lays out why the 2700K end reads warm and restful while higher Kelvin numbers read clinical.
Second, hide the source. Run the lights along the very top front edge, behind a small lip or strip of card, so you see the glow and never the bulbs. A visible battery pack tucked at the back, taped flat, kills the illusion if it’s on show, so route it out the bottom or behind a building.
Skip the dimmer-style warm bulbs and your scene reads flat after dark. Get the warmth and the hiding right, and a four-dollar light string does the work of stage lighting.
Kit or Scratch Build? An Honest Call
If you searched this keyword, you’ve seen the kits: Rolife, Hands Craft, dozens on Amazon. Here’s the straight version.
A kit is the right pick if you want a guaranteed-to-fit result, laser-cut parts, and a relaxing paint-by-numbers evening. Expect roughly $30 to $60 for a decent one in 2025 to 2026. The trade-off: you build their world, not yours, and the fit is sized to a generic shelf, not your shelf.
A scratch build runs cheaper, often $15 to $35 if you already own glue and paint, and it bends to any theme or any shelf gap. The trade-off is time and a few wonky first cuts. Honestly, most people’s first scratch nook has one crooked wall. The second one doesn’t.
DIY Book Nook Shelf Frequently Asked Questions
What is a book nook shelf insert?
It’s a small upright diorama built to stand in the gap between books on a shelf. From the front it looks like a hidden alley, room, or street tucked into your bookcase.
How hard is it to make a DIY book nook?
Easier than it looks. If you can cut a straight line and use glue, you can build one. The no-knife path skips cutting entirely, so even a first-timer finishes in a weekend.
What materials do I need for a book nook?
Foam board or cardboard for the walls, a printed backdrop, a small mirror, warm LED fairy lights, glue, and a little acrylic paint. That’s the whole core list.
How much does a DIY book nook cost?
A scratch build runs about $15 to $35 if you own basic supplies. A store-bought kit usually lands around $30 to $60.
What size should a book nook be to fit my shelf?
Measure three numbers: the inside height, the shelf depth, and the width you want. Build a quarter inch shorter than the height and an inch shy of the depth so it slides in clean.
Do I need a kit, or can I build from scratch?
Either works. Kits give you laser-cut, guaranteed-fit parts and a set theme. Scratch builds cost less and match any shelf or any world you want.
How do you light a book nook?
Warm 2700K LED fairy lights, run along the hidden top edge with the battery pack tucked out of sight. Warm and hidden is the whole secret.
Your Tiny World Is One Weekend Away
You’ve got the build order, the fit numbers, the lighting trick, and a theme to chase. Pick your world, measure your shelf, and start with the shell. Which scene are you building first, the cozy alley or the secret library? Whatever you choose, build the shell tonight and you’ll be lighting it up by Sunday.
Keep reading
More cozy nook ideas
 IKEA Hacks
Read →
IKEA Hacks
Read →
20 IKEA Besta Ideas That Look Custom, Not Homemade
Four skinny legs, a gap at the wall, a cushion that slides off every time you lean back. That’s how most IKEA…
 DIY
Read →
DIY
Read →
12 Furniture Makeover Ideas for Beginners Who Have Never Painted a Thing
Your dresser is fine. It works, it holds socks, and it has looked exactly the same since the day you carried it…
 DIY
Read →
DIY
Read →
How to Make a DIY Headboard (Even If You’re Not Handy)
No saw. No garage. No conversation with your landlord. A DIY headboard is really just three things: one flat panel, something soft…