
How to Build a DIY Window Seat Reading Nook (With Real Measurements, Storage, and a Cushion Formula That Actually Works)

You walk past the same blank window every morning. There’s a lonely radiator under it, a stretch of dusty baseboard, and maybe a folded throw blanket draped on the sill because the cat keeps trying to nap there. The space is doing nothing for you, and you know it could be your favorite corner of the entire house.
This guide turns that wasted wall into a DIY window seat reading nook with hidden storage, a cushion that doesn’t go flat in three weeks, and a styled-out look that holds up on a Pinterest pin. We’re covering three build paths so you can pick the one that fits your skill level, your budget, and whether you own the place or rent it. Every measurement is in inches and feet, every cost is in dollars, and every step has been tested in a real home, not just sketched on graph paper.

Who This Guide Is For
This walkthrough is built for three reader types. Homeowners who want a permanent built-in with hidden storage and are comfortable using a circular saw or a miter saw. DIY-curious folks who want the built-in look without the lumber math, using IKEA cabinets as the base. And renters or commitment-shy decorators who want a window seat reading nook corner with zero drilling and zero damage to the walls.
If you fall into any of those camps, you’re going to find your path below. We’ve organized the article by execution difficulty, from full custom build down to the no-build renter version, so you can scroll straight to your level.
Where to Build a Window Seat (Picking the Right Spot)
Not every window earns a bench. The best windows for a reading nook share three traits: a sill height between 18 and 30 inches off the floor (anything taller and your seat ends up awkwardly low), at least 48 inches of horizontal wall space, and decent natural light without harsh western glare that’ll fade your linen cushion in one summer.
Bay windows are the dream candidate because the alcove geometry does half the work for you. Flat walls work too, especially if you flank the seat with bookcases for that built-in look. Avoid windows directly above an active radiator unless you’re ready to deal with a clearance problem (we’ll cover that in a minute).

The Three Paths: Custom Build vs IKEA Hack vs Renter Version
Before you buy a single 2×4, decide which path matches your situation. Here’s the real comparison nobody puts in one place.
| Path | Skill Level | Time | Cost Range | Storage? | Permanent? |
|---|---|---|---|---|---|
| Full Custom Build | Intermediate | 2 to 3 weekends | $250 to $600 | Yes, hinged lid or drawers | Yes |
| IKEA BESTÅ or KALLAX Hack | Beginner-friendly | 4 to 6 hours | $180 to $400 | Yes, cabinet doors | Semi-permanent |
| Renter No-Build Version | Anyone | 30 minutes | $80 to $250 | Optional baskets | No, fully removable |
Pick your path, then jump to the section below that fits.
Path 1: The Full Custom DIY Window Seat Build (With Hidden Storage)
This is the version that gets pinned 40,000 times. A built-in bench with a hinged lid, face-frame trim that matches your baseboards, and storage deep enough to hide every blanket you own.
Materials Needed for the Custom Build
For a window seat measuring 48 inches wide, 18 inches deep, and 18 inches tall (the most-pinned proportions), you’ll need:
- Two 2x4x8 studs for the base frame
- One 4×8 sheet of 3/4-inch plywood for the box
- One 4×8 sheet of 1/2-inch plywood for the lid
- One 1x4x8 poplar board for the face frame
- One 1x2x8 poplar board for the front lip
- One piano hinge, 48 inches long (Home Depot or Amazon, around $22)
- Wood glue, 2.5-inch and 1.25-inch wood screws, 18-gauge brad nails
- Wood filler, painter’s caulk, primer, semi-gloss white paint
- One pair of soft-close lid supports if you want a slow-drop hinge ($18 at Lowe’s)
Total lumber and hardware cost lands between $180 and $260 depending on whether you go birch plywood or pine.
Tools Used
Miter saw or circular saw with a straight edge, drill driver, brad nailer (or hammer and finish nails if you’re patient), level, tape measure, stud finder, sanding block in 120 and 220 grit, caulk gun, and a paint brush plus a 4-inch foam roller. A pocket-hole jig like the Kreg Jig R3 ($40) makes the frame joinery dramatically easier but is not strictly required.
Building the Frame
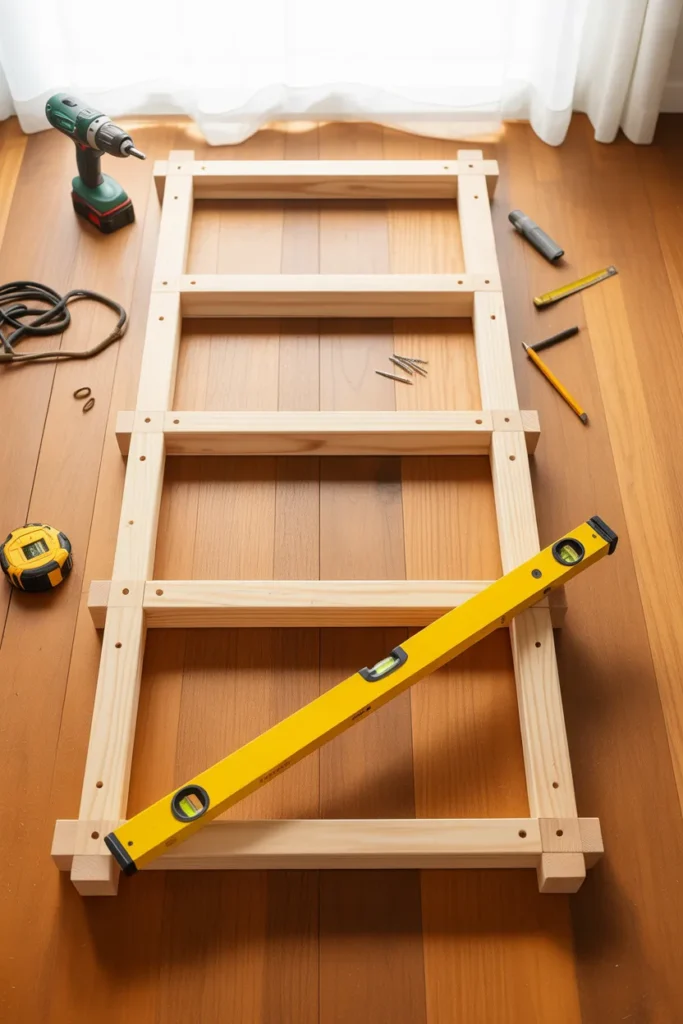
Mark the stud locations on the wall under the window. Cut your 2x4s into a base box: two pieces at 48 inches for the front and back rails, three pieces at 15 inches for the side and center supports (these run front to back). Screw the rectangle together on the floor first, then add the center support in the middle for weight capacity.
Lift the frame into position under the window, level it, and screw it directly into wall studs through the back rail using 3-inch screws. If your bench dead-ends into a side wall, screw into that stud too. This frame alone holds 400+ pounds when anchored correctly.
Building the Box and the Hinged Lid
Cut your 3/4-inch plywood into the box panels: a front panel at 48 by 14 inches, two side panels at 18 by 14 inches, and a bottom panel at 48 by 17 inches. Screw the box together and set it on top of the 2×4 frame, then nail it down through the bottom panel into the frame.
The lid is your hinged storage door. Cut the 1/2-inch plywood to 48 by 18 inches exactly. Attach the piano hinge along the back edge, screwing it into the back of the box. Add the soft-close supports on the inside left and right walls, and your storage compartment is done. You can fit roughly 5 cubic feet of blankets, books, and seasonal pillows inside.
Adding the Face Trim
This is the step that turns a plywood box into something that looks built-in. Cut the 1×4 poplar to wrap the front face of the bench at the bottom (this becomes a faux baseboard kick). Cut the 1×2 poplar to wrap the front top edge of the lid as a finished lip. Brad-nail both in place, fill the holes with wood filler, sand smooth, and caulk every seam where the bench meets the wall, the floor, and itself.
Painting, Caulking, and the Final Pass
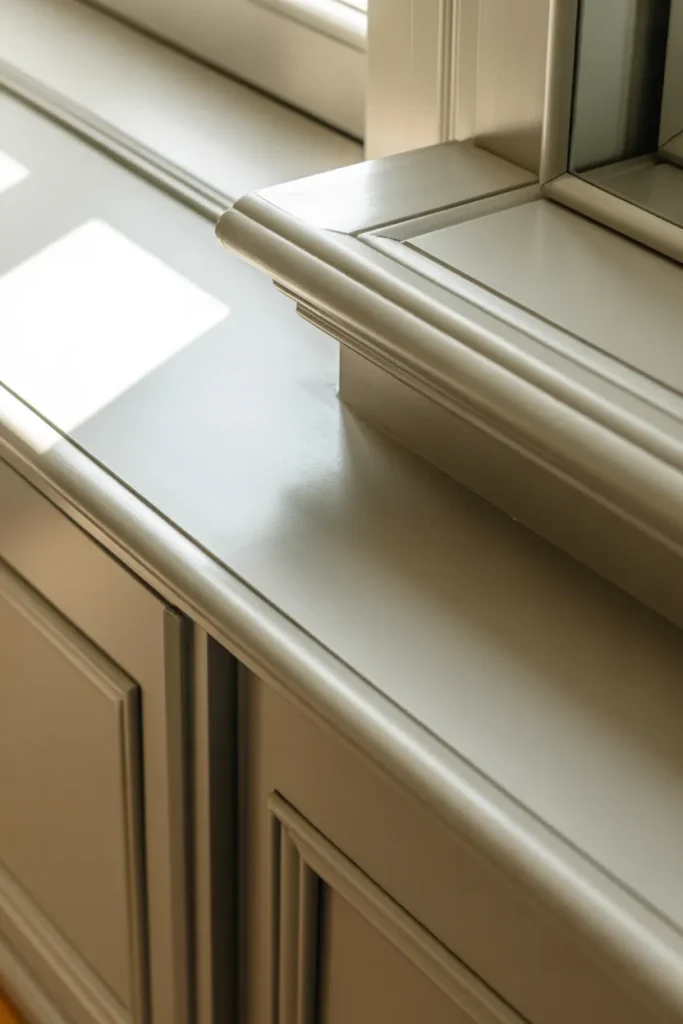
Prime first with a stain-blocking primer (Zinsser BIN works on knotty pine). Two coats of semi-gloss white, sanded lightly with 220-grit between coats. Caulk every gap one more time after paint, because new caulk over fresh paint is the difference between a built-in and a “DIY project.”
Path 2: The IKEA Window Seat Hack (BESTÅ or KALLAX)
If lumber math gives you a stress headache, IKEA already sold you a bench. You just don’t know it yet.
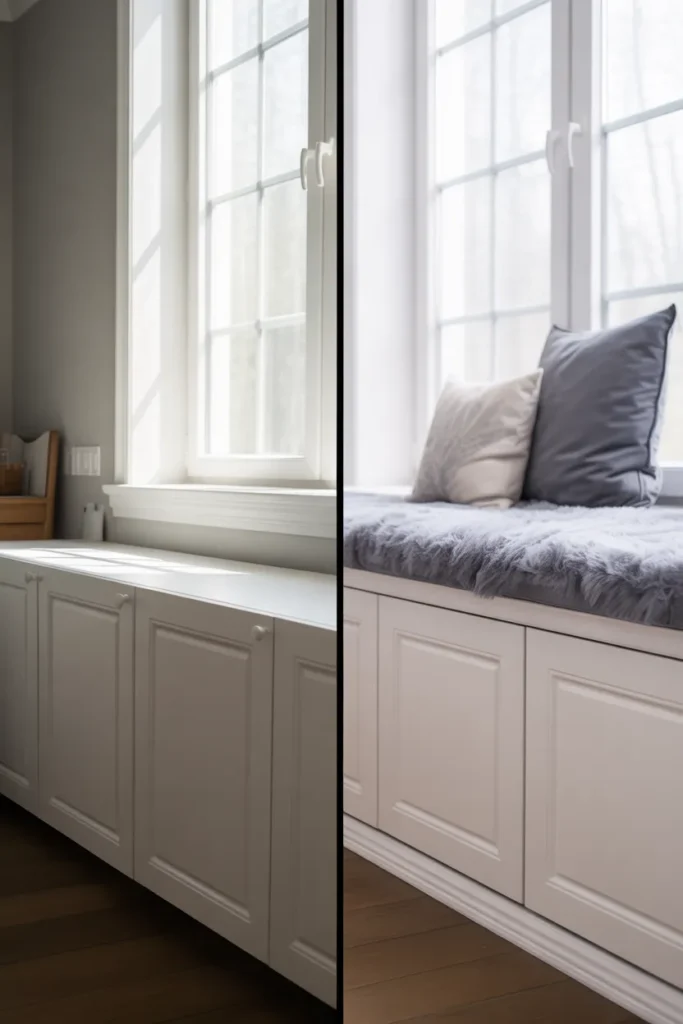
The cleanest hack uses two BESTÅ cabinets (the 23 5/8 inch wide, 15 inch deep, 25 inch tall units) placed side by side under the window. Total bench width: 47 1/4 inches. Total cost: around $200 for the two boxes, plus another $60 for fronts. Cabinet doors give you storage, and the height lands at a perfect reading-bench 25 inches.
The KALLAX version uses a single 2×4 KALLAX shelf laid horizontally on its side. Cubbies face outward, you slot in fabric bins from the Drona line ($5 each), and you’ve got a window seat reading nook with bookshelf storage built in. Total cost: around $90 for the unit and $40 for bins.
To make either hack look built-in, add a 1×4 poplar baseboard kick across the front bottom (paint to match your existing baseboards), and run a 1×2 trim along the top edge. Caulk the gap between the cabinet sides and the wall. From four feet away, nobody can tell it’s IKEA.
Path 3: The Renter-Friendly Window Seat Reading Nook (Zero Drilling)
You don’t own the walls. You still deserve a cozy window seat reading nook corner. Here’s how.
Start with a storage bench that’s already 48 inches wide and 16 to 18 inches tall. The Better Homes & Gardens flip-top bench at Walmart ($79) and the SONGMICS folding ottoman bench at Amazon ($89) both hit the sweet spot. Push it tight against the wall under your window. Done with construction, now we style.
Add a custom-cut foam cushion on top (we’ll cover sizing in the next section), drop a stack of throw pillows against the wall, and frame the window with two tension rods running floor-to-ceiling, hung with sheer linen curtains from IKEA’s LILL panels ($5 a pair). The curtains create the alcove effect that fakes a built-in. Slide two woven baskets underneath if your bench has clearance. Total damage to the walls: zero.

The Cushion and Pillow Formula Nobody Else Gives You
This is the part the Reddit threads beg for and the top-ranking blogs skip. A reading nook lives or dies on its cushion.
Seat cushion sizing: Match the cushion to your bench top dimensions exactly, no overhang. For an 18-inch deep bench, your cushion is 18 inches deep. Foam thickness should be 4 inches minimum for adult comfort, 5 inches if you’re going to nap on it. Anything thinner feels like sitting on plywood within a month.
Foam density: Ask for high-density polyurethane foam at 1.8 to 2.5 lb density. The cheap 1.2 lb foam at the craft store collapses fast. FoamOrder.com and FoamFactory.com both ship custom-cut sizes for $60 to $120 depending on dimensions.
Cover fabric: Linen blends in oat, cream, or sage hold up best for the Pinterest aesthetic. Avoid pure white if you have kids, dogs, or coffee.
Throw pillow stacking ratio: For a 48-inch bench, use five pillows total. Two 22-inch euro shams in the back corners as the back rest, two 18-inch lumbars in front of those, one 14-inch accent pillow in the center. Mix textures: one boucle, one linen, one knit, one velvet, one patterned. That’s the Pinterest formula.

What If There’s a Radiator or Heating Vent Under the Window?
This is the question that derails more window seat plans than any other, and not one of the top-ranking blogs solves it. Here’s the working math.
For a forced-air floor vent, leave a minimum of 4 inches of vertical clearance between the vent face and the underside of your bench, and cut a 6 by 10 inch grille opening in the front face frame to let the air actually circulate. Home Depot sells matching white plastic floor register covers for $8 that snap right into the cutout.
For a baseboard radiator (the long horizontal kind), build the bench tall enough to clear the top of the radiator by at least 3 inches, then add a hinged ventilation grille along the front face. The Cape Cod-style radiator cover bench is a real thing and adds usable seating without trapping heat.
For a cast iron upright radiator, do not build a closed bench around it. The heat will fail to circulate and you’ll cook the wood over a winter. Use the renter path instead, with a freestanding bench placed beside the radiator rather than over it.
If you’re unsure about your specific setup, the Department of Energy has clear guidance on heating vent clearances and air circulation that’s worth a five-minute read before you cut anything.
Building on a Flat Wall vs a Bay Window
A bay window does the design work for you, since the alcove already exists. You’re just dropping a bench into a three-sided pocket. Measure all three walls of the bay separately because they’re rarely identical, and cut your bench top in three matching trapezoid sections that meet flush at the bay angles.
A flat wall takes more styling work to feel intentional. Add bookcases on each side of the bench (BILLY bookcases from IKEA at $80 each are the budget hack) and they become the alcove walls. Run trim across the top connecting the bookcases above the window, and the whole assembly reads as a custom built-in. This is the classic reading nook with cozy window seat and built-in bookshelves layout, and it’s the highest-pinned configuration on Pinterest right now.

Budget vs Splurge: Two Versions of the Same Nook
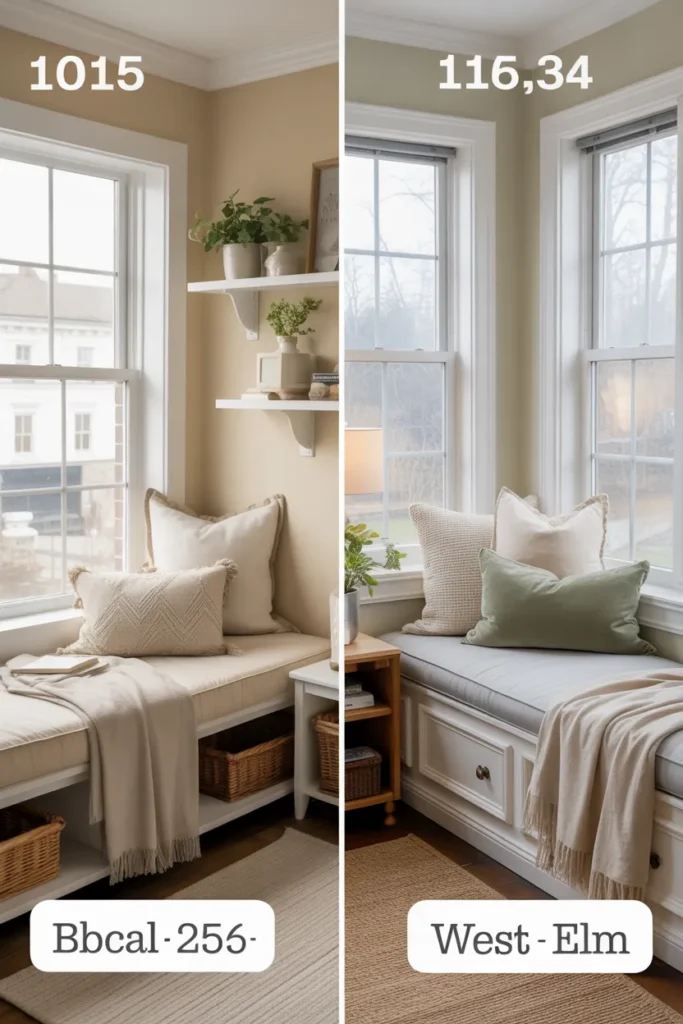
Budget build (under $250 total): IKEA KALLAX hack for the base ($90), Drona fabric bins ($20), custom 4-inch high-density foam cushion ($75), five thrifted and HomeGoods throw pillows ($45 total), IKEA LILL sheer curtains ($5), tension rods from Dollar Tree ($3 each). Final tally: around $235.
Splurge build (around $850 total): Full custom plywood build with poplar trim and piano hinge ($240 in materials), 5-inch high-density foam cushion in linen blend cover ($180), two Pottery Barn 22-inch boucle euro shams ($138), two Anthropologie 18-inch lumbars ($110), one West Elm accent pillow ($60), Pottery Barn linen drapes ($120). Final tally: around $848.
Both versions photograph beautifully. The splurge holds up better over five years of daily reading.
Styling Touches That Make It Look Like a Magazine
A bench is just a bench until you style it. Add these last:
A small wall sconce or a cordless rechargeable lamp from our guide to cozy reading nook lighting mounted at 60 inches off the floor for actual book light. A small side table or a wall-mounted ledge at 28 inches off the bench for a mug. Sheer linen curtains that puddle 1 inch on the floor (never floating above it). A trailing pothos or a small olive tree in a stoneware pot. A stack of three to five hardcover books with cloth covers, no dust jackets, in muted spine colors.
If you want the kid version, swap the linen for washable cotton canvas, swap the foam for medium-firm so they can climb, and add a fairy light strand along the back trim. Family Handyman has a solid breakdown of kid-safe DIY reading nook hardware if you want a second opinion on safety choices.

Common Mistakes to Avoid
Building the bench too deep. Anything past 20 inches deep and your back never reaches the pillows. Stick to 16 to 18 inches.
Skipping the soft-close hinge. A regular piano hinge slams shut on fingers and on the lid itself, chipping paint within a month. Spend the $18.
Using 1.2 lb foam. It collapses. You’ll be replacing it inside six months. Always 1.8 lb minimum.
Painting before caulking. Caulk shrinks as it dries. Caulk first, prime, then paint. Then caulk one more time and touch up.
Forgetting the heating vent. Trapped heat warps wood and dries out caulk lines. Always cut a vent grille if there’s air coming up under your bench.
Pushing the bench tight against window trim with no gap. Wood expands seasonally. Leave 1/8 inch of clearance between bench top and window trim or you’ll crack the trim by February.
For more on avoiding small-space styling mistakes specifically, our small space decorating mistakes guide covers the ones that show up in nook projects most often.
DIY Window Seat Reading Nook FAQs
How deep should a window seat be? Between 16 and 20 inches deep. Sixteen is comfortable for sitting upright with a book, 18 is the sweet spot for curling up with your knees tucked, and 20 is the maximum before your lower back loses contact with the pillows.
How much weight can a DIY window seat hold? A properly built 2×4 frame with a 3/4-inch plywood top and a center support holds 400 to 600 pounds when anchored into wall studs. The IKEA BESTÅ hack holds about 250 pounds per cabinet, so 500 across two cabinets.
Can you build a window seat over a heating vent or radiator? Yes, but you need clearance and ventilation. Leave 4 inches above a forced-air vent and cut a grille opening in the front face. For baseboard radiators, leave 3 inches of vertical clearance and add a hinged ventilation grille. For cast iron uprights, don’t enclose them.
How do you attach a window seat to drywall without studs? You don’t, not for a real built-in. Always anchor into wall studs through the back rail with 3-inch screws. If your stud spacing won’t cooperate, build a freestanding bench with a wider footprint instead so it doesn’t need wall anchoring at all.
What thickness of foam is best for a window seat cushion? 4 inches minimum, 5 inches if you’ll nap on it. Density should be 1.8 to 2.5 lb high-density polyurethane. Anything thinner or less dense compresses fast.
How much does it cost to build a DIY window seat? $180 to $260 for the full custom build with hidden storage. $90 to $200 for the IKEA hack. $80 to $250 for the renter no-build version. Cushion and pillows add another $100 to $400 depending on whether you sew, order custom, or shop big-box.
How long does this project take? Two to three weekends for the full custom build (one to frame and box, one to trim and paint, one to cushion and style). Four to six hours for the IKEA hack. Thirty minutes for the renter version once your pieces arrive.
What if I’m in a small space or rental? Use the renter path. A 48-inch storage bench, sheer curtains on tension rods, and a custom foam cushion give you the full window seat reading nook for kids or adults without a single hole in the wall. The whole setup breaks down in 10 minutes when you move.
What’s the budget version of this idea? KALLAX shelf laid horizontally as the base, Drona bins for storage, 4-inch foam from FoamFactory, five mixed-texture pillows from HomeGoods and Target, and IKEA LILL sheer curtains. Around $235 total.
Save This One for Later
If you got this far, you’re serious about actually building it. Pin the post (the third image down is the most-saved one), and when you’re ready for what goes on the wall above the bench, head to our gallery wall ideas for reading nooks post next. The bench is the bones. The styling above it is what makes the photo worth pinning.
Keep reading
More cozy nook ideas
 IKEA Hacks
Read →
IKEA Hacks
Read →
20 IKEA Besta Ideas That Look Custom, Not Homemade
Four skinny legs, a gap at the wall, a cushion that slides off every time you lean back. That’s how most IKEA…
 DIY
Read →
DIY
Read →
12 Furniture Makeover Ideas for Beginners Who Have Never Painted a Thing
Your dresser is fine. It works, it holds socks, and it has looked exactly the same since the day you carried it…
 DIY
Read →
DIY
Read →
How to Make a DIY Headboard (Even If You’re Not Handy)
No saw. No garage. No conversation with your landlord. A DIY headboard is really just three things: one flat panel, something soft…