
Vintage Kitchen Decor: Retro Cottage Charm in a Rental Kitchen

No reno budget, no landlord permission, no drill. That is the honest starting line for most of us, and vintage kitchen decor still works from there. You can get butter yellow tins on an open shelf, a warm bulb over the sink, and one enamel pot that clangs when you set it down.
Retro cottage charm is mostly small objects placed with restraint. Not a gut renovation.
Here is what most guides skip: some of the prettiest thrifted plates are not safe to eat off, and nobody tells you how to spot them. We will get to that. First, the swaps you can finish before Sunday night.
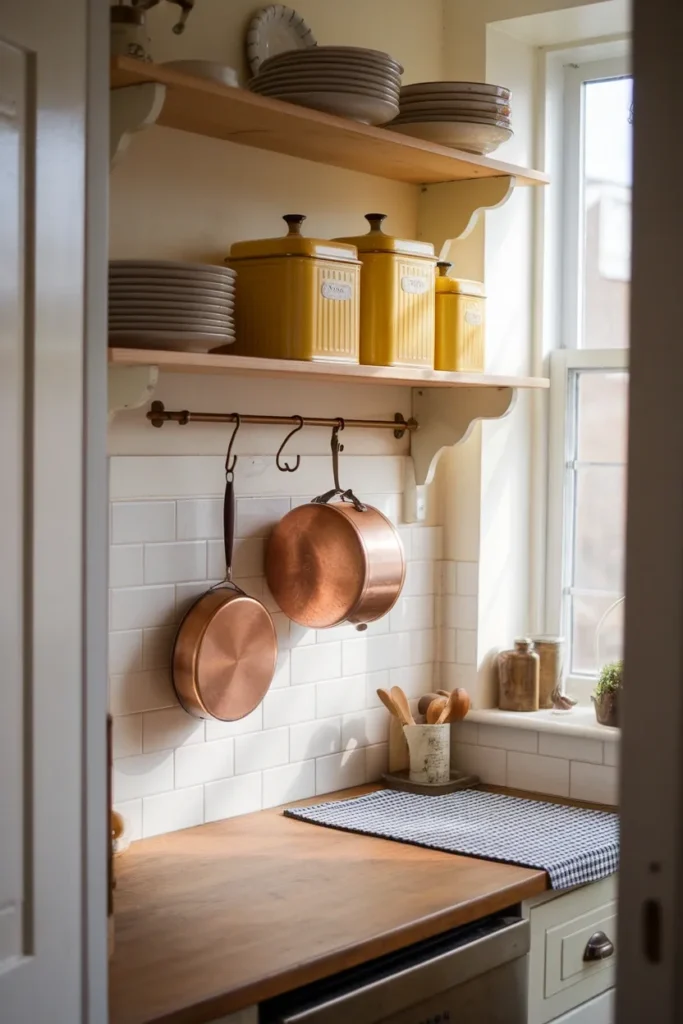
Five Vintage Kitchen Swaps You Can Finish This Weekend
Zero drilling. Nothing your landlord can charge you for. Start at the top of this list, because the first one moves the needle harder than the other four combined.
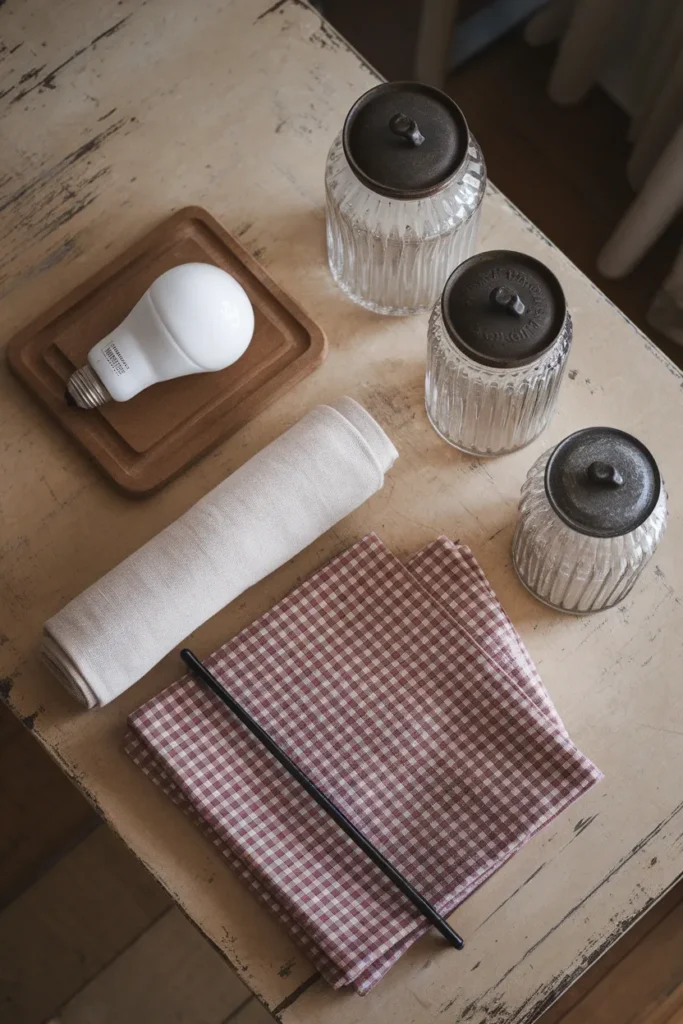
- Change the bulb before you buy anything. Swap whatever cool white bulb is over your sink for a 2700K warm white. It costs a few dollars and it re-tints every surface in the room toward cream and honey. Cool 4000K light makes vintage brass look dirty. Warm light makes it look aged.
- Put out one tray of real objects. A wooden breadboard leaned against the backsplash, a stoneware crock holding wooden spoons, a small scale. Group them on a tray so the counter still reads as tidy.
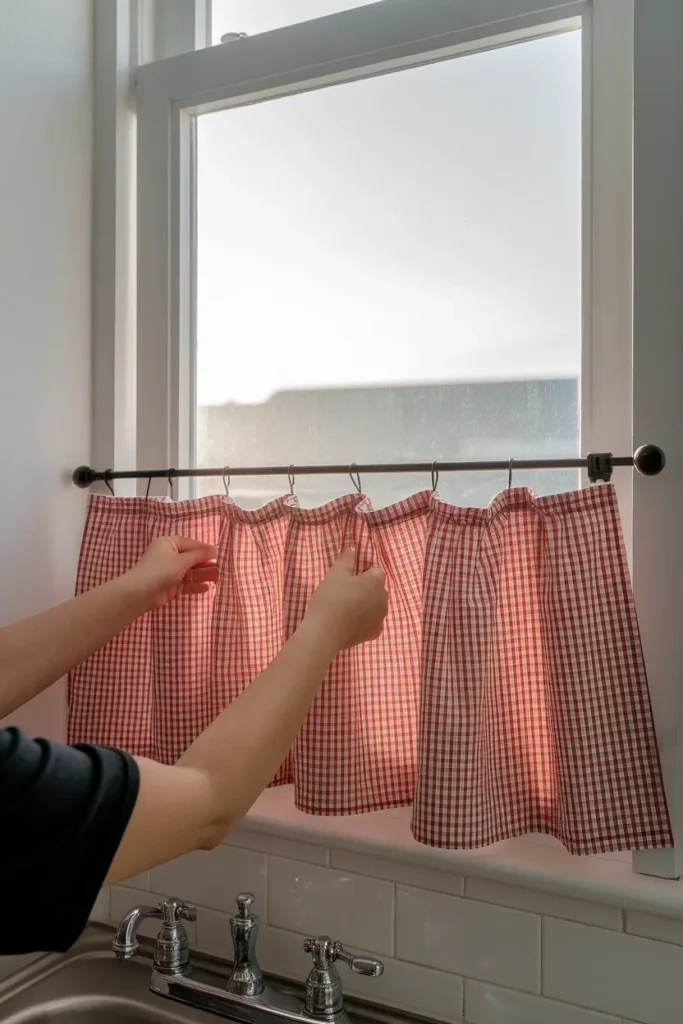
- Add a cafe curtain on a tension rod. Half height, hung inside the window frame. No brackets, no screws, no spackle later.
- Decant into glass. Move flour, sugar, and pasta into clear glass canisters with metal lids. Modern packaging is what makes a kitchen read as 2026.
- Layer a runner on the floor. A washable cotton runner in a faded check or stripe softens the sound of the room and hides the beige builder tile everyone rents.
That is roughly a $60 to $150 afternoon depending on how much of it you thrift, which sits comfortably inside a first-apartment budget. Treat those numbers as a planning estimate, not a quote, since thrift pricing swings hard by region.
The Vintage Kitchen Palettes Pinterest Is Actually Searching For
I checked this against Pinterest’s own Spring Trend Report for 2026 rather than guessing, and the numbers are lopsided in a useful way. Grandmacore is not a vibe someone invented on TikTok. It is a measurable search surge.
| Pinterest search term | Year over year growth | What it looks like in a real kitchen |
|---|---|---|
| Dark cottagecore kitchen | +915% | Deep green or brown cabinets, brass, dried florals, low warm light |
| Village kitchen ideas | +825% | Painted wood, open shelving, mismatched crockery, no upper cabinets |
| Grandma core kitchen | +545% | Floral curtains, copper pots, mismatched dishware, weathered wood |
| Aubergine kitchen | +495% | Plum cabinets or plum island against cream walls |
| Sage green and cream kitchen | +410% | Muted sage lowers, cream uppers, unlacquered brass hardware |
| Vintage pink kitchen | +275% | Dusty rose walls, chrome accents, 1950s glassware |
| Cozy vintage kitchen | +165% | The catch all: warm wood, glass canisters, soft textiles |
Pick one and commit. The single fastest way to make a small kitchen look chaotic is to pull one object from each row.
If you want the muted, slightly overgrown version of this palette, the same logic that governs cottagecore decor across a whole house applies in a kitchen: pick three colors, let two of them be neutrals, and let the third show up only in small objects.
Renters, you are not locked out of this. Peel and stick wallpaper on the backsplash only, or a single painted freestanding piece, gets you 80 percent of the palette without touching a cabinet.
Open Shelves, Plate Rails, and the 12-Inch Breathing Rule
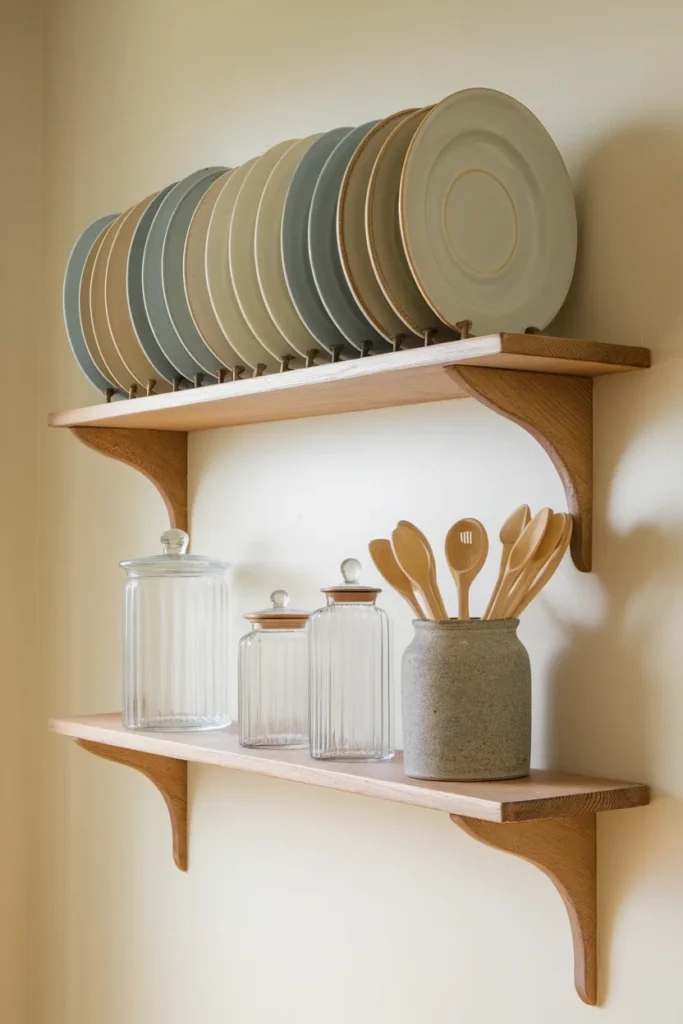
Open shelving is where vintage kitchen decor either sings or turns into a cluttered mess. The difference is spacing, not styling talent.
Here is the rule I work to, and I will call it the 12-inch breathing rule so it is easy to remember: leave at least 12 inches of vertical clear space above the tallest item on any shelf. A stack of dinner plates is about 4 inches tall, so a 16-inch shelf gap gives that stack room to look deliberate instead of crammed.
| Shelf contents | Typical item height | Recommended shelf gap |
|---|---|---|
| Stacked dinner plates (8 to 10) | ~4 in | 16 in |
| Mugs on hooks or upright | ~4.5 in | 16 in |
| Glass canisters, mixed heights | 7 to 10 in | 20 to 22 in |
| Pitchers, large crocks | 10 to 12 in | 24 in |
Two more numbers worth knowing. Standard US upper cabinets sit 18 inches above the countertop, so if you are replacing uppers with open shelves, start your lowest shelf at that same 18 inches and your small appliances will still fit underneath. And a standard dinner plate runs about 10 to 11 inches across, which means a 12-inch deep shelf holds them face out with almost nothing to spare.
Failure mode if you skip this: you fill every inch, the shelf reads as storage rather than display, and you stop putting things away because there is no slack.
Mismatched is the point, by the way. Buy dishes in odd numbers, in one color family, from four different decades. That layered, inherited look is the same instinct behind grandmillennial style’s mix of old and new, just applied to a shelf instead of a living room.
Vintage Dishware and Lead: Check This Before You Serve Dinner On It
This is the section other vintage kitchen guides leave out, and it matters more than any styling tip on this page.
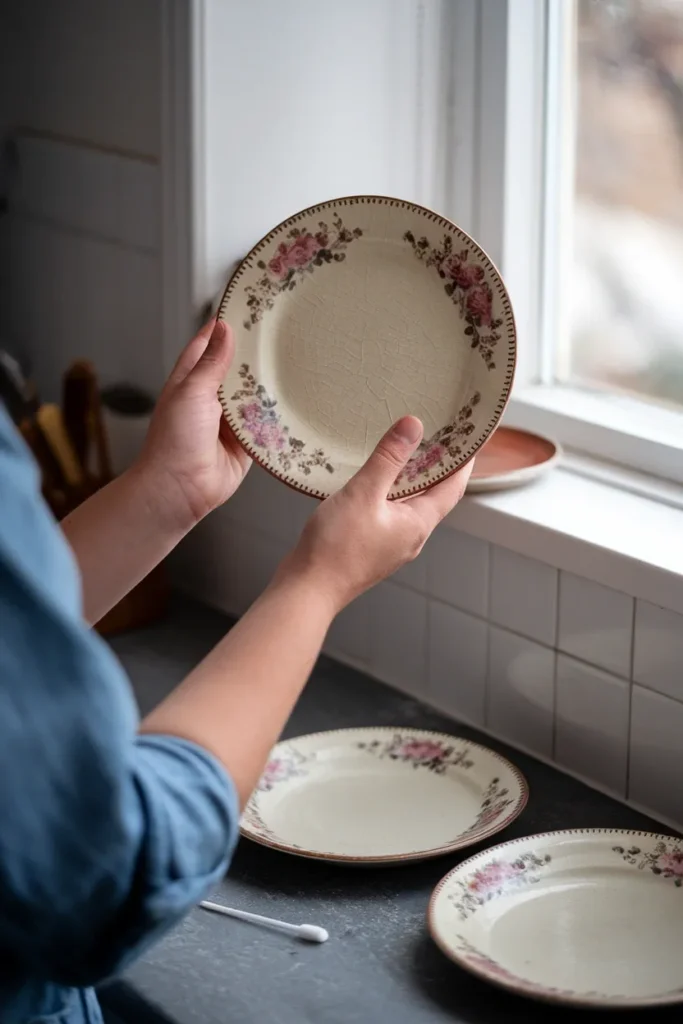
Some older glazed ceramics leach lead into food. Not all of them, and not usually the plain factory made stuff, but enough of them that it is worth two minutes of attention before a thrifted plate goes under a sandwich.
According to FDA guidance on lead-glazed pottery, the higher risk categories are handmade pieces with a crude or irregular finish, antique pieces, damaged or heavily worn pottery, items bought from flea markets or street vendors, and brightly decorated pieces in orange, red, or yellow, because lead was used to intensify those pigments. The FDA also notes that pottery made in commercial factories for everyday use is much less likely to have a lead problem.
Two things worth burning into memory. Decorative-only ceramicware is supposed to carry a warning reading “Not for Food Use, May Poison Food,” so check the underside. And no amount of washing, boiling, or scrubbing removes lead from a glaze.
My working sort, applied at the thrift store before anything comes home:
- Display only: hand painted pieces with visible glaze irregularity, anything with a chalky or dusty worn interior, anything with bright orange or red decoration inside the eating surface, anything unmarked and old.
- Probably fine for food: marked commercial dinnerware from recognizable US manufacturers, clear glass, plain white restaurant ware, anything with an intact glossy glaze and no interior decoration.
- Test it: anything you love and want to actually use. Lead test swabs are sold at most US hardware stores.
Chipped and crazed pieces belong in the display column regardless of maker, because a broken glaze surface is exactly where leaching gets worse.
This is general information, not medical advice. If you are pregnant, have young children in the house, or think someone has been exposed, talk to your physician or your local health department about blood lead testing.
Painted Hutches, Enamel Tables, and the 1978 Line
The other half of the safety question is paint, and it shows up the second you decide to sand down a flea market hutch on your balcony.
Per EPA guidance on household lead sources, homes built before 1978 are more likely to contain lead-based paint, often buried under newer layers. The agency is specific that lead dust forms when that paint is “scraped, sanded or heated during home repair activities,” and it extends the warning to handed down furniture, calling out the family rocking chair and antique doll furniture as possible sources.
So the rule for vintage painted furniture is simple. Do not dry sand an old painted piece indoors, and do not sand one at all if you cannot date the finish.
What to do instead:
- Leave the patina. Chippy paint is the look. Clean it, seal it with a clear water based topcoat, and stop.
- Prime over, do not strip. A bonding primer buys you a new color without generating dust.
- Reserve stripping for bare wood pieces with no paint history, or hand it to a lead-safe certified renovator.
- Keep pre-1978 painted pieces away from food prep. An enamel top table is different, since the surface is fired glass on steel, but a painted wood work surface is not where I would knead bread.
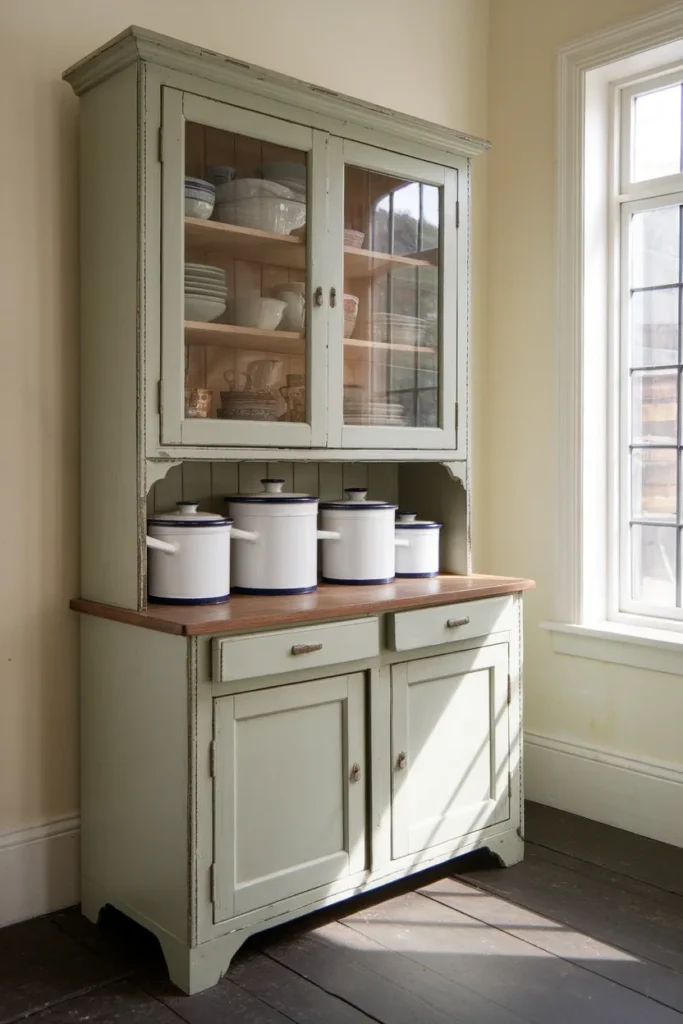
Enamelware is the easy win here. Enamel top kitchen tables, chippy white pots with blue rims, and speckled roasters give you unmistakable retro cottage charm with a hard, cleanable, non-porous surface.
Renter-Safe Vintage: No Drill, No Paint, No Lost Deposit
Every idea above assumes you might have to undo it in eighteen months. Here is the version that leaves no trace.
Vertical surfaces without holes. Removable peel and stick wallpaper on the backsplash strip only, where steam is minimal. Command-style strips rated well above the object’s weight for lightweight plate racks and small frames. Tension rods inside window frames for cafe curtains. A leaning ladder shelf instead of anything wall mounted.
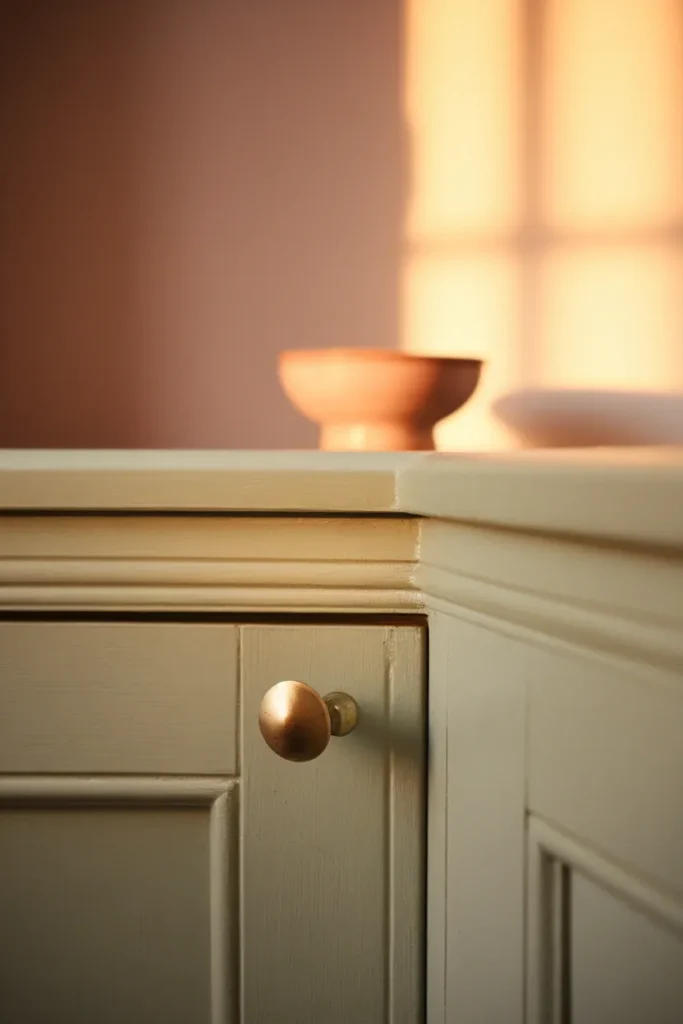
Cabinets without a screwdriver, almost. Hardware swaps are the exception I make to the no-modification rule, because you are reusing the existing screw holes. Take the original knobs off, bag them, label the bag, and put them back on move-out day. Unlacquered brass or dark bronze bin pulls change a kitchen more than their price suggests.
Freestanding does the heavy lifting. A hutch, a baker’s rack, a rolling butcher block cart, a Hoosier-style cabinet if you find one. These carry the entire vintage story and leave with you.
Cover, do not replace. A wooden butcher block cutting board sized to your countertop hides a stretch of dated laminate. A washable runner hides floor tile. A fabric skirt on a tension rod under an open sink hides plumbing and reads instantly cottage.
The same deposit-protecting logic runs through renter friendly seasonal decor that leaves no marks, and it holds year round: nothing permanent, everything reversible, keep the original hardware in a labeled bag.
Lighting: Why 2700K Is Most of the Trick
I keep coming back to bulb temperature because it is the cheapest lever with the largest effect, and almost nobody pulls it.
Color temperature is measured in Kelvin. Lower numbers are warmer and more amber. A 2700K bulb is the standard warm white that mimics old incandescent light. A 3000K bulb is a touch crisper. Anything at 4000K and above pushes blue, flattens wood grain, and turns aged brass a sickly greenish color.
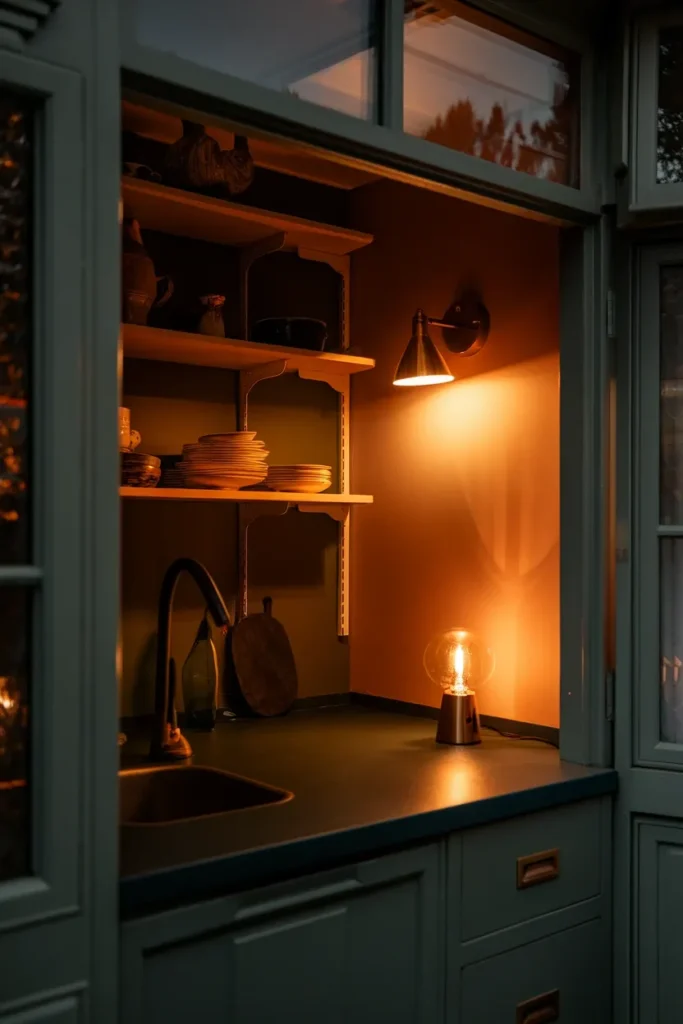
Set every bulb in the kitchen to 2700K. All of them, including inside the range hood and under the cabinets. Mixed color temperatures in one small room are the visual equivalent of a wrong note.
Then add one light that is not overhead:
- A plug-in wall sconce beside the open shelving, cord run down and clipped along the wall edge.
- A small picture light clipped or leaned above a framed print.
- A short table lamp on the counter in the corner you never use for prep. This one reads as distinctly non-kitchen, which is exactly why it works.
Put the overhead on a dimmer if you own the place, or use a plug-in dimmer module if you do not. Evening light at 30 percent turns a galley kitchen into somewhere you linger.
The Kitchen Reading Corner Nobody Plans For
Here is an angle the big kitchen guides miss entirely: the warmest seat in a small apartment is usually in the kitchen, and almost nobody furnishes it that way.
Pinterest’s own 2026 numbers back this up from a different direction. Searches for “reading nook ideas” are up 245 percent and “comfy reading chair small spaces” is up 455 percent, in the same report that shows grandmacore kitchens climbing. People want somewhere to sit that is not the couch.
If you have a corner, a bay, or even 30 inches of dead wall between the fridge and the doorway, you have a nook:
- 30 to 40 inches of wall: a single armchair angled toward the window, a 12-inch round side table, a floor lamp behind the shoulder.
- A window with a radiator or low sill: a bench cushion cut to depth, two lumbar pillows, a linen throw over the arm.
- A true corner: an L of two benches, a small round table, a runner underneath to define it.
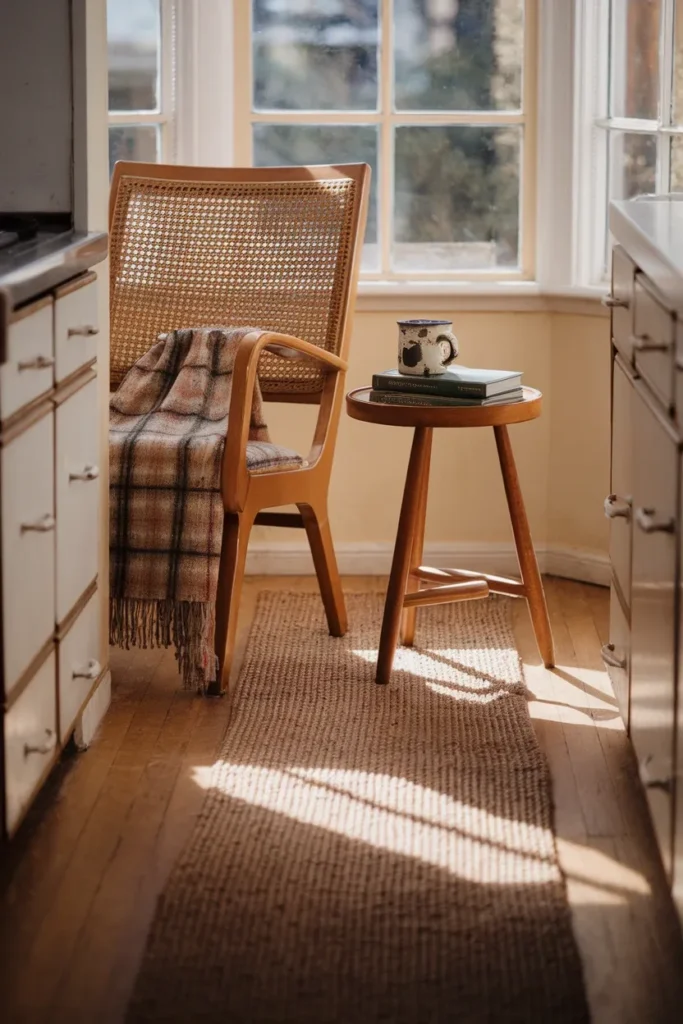
Keep the vintage language consistent with the rest of the room. A cane back chair, a wool blanket in a faded plaid, a chipped enamel mug that lives on the side table. That corner ends up being where your TBR pile actually gets read, because it smells like coffee and the light is good at 4pm.
Trade-off worth naming: a kitchen chair collects crumbs and cooking smells. Choose a washable cushion cover, not the dry clean linen you love.
What Makes a Vintage Kitchen Look Dated Instead of Collected
There is a line between a kitchen with history and a kitchen that just never got updated. Four things push you to the wrong side of it.
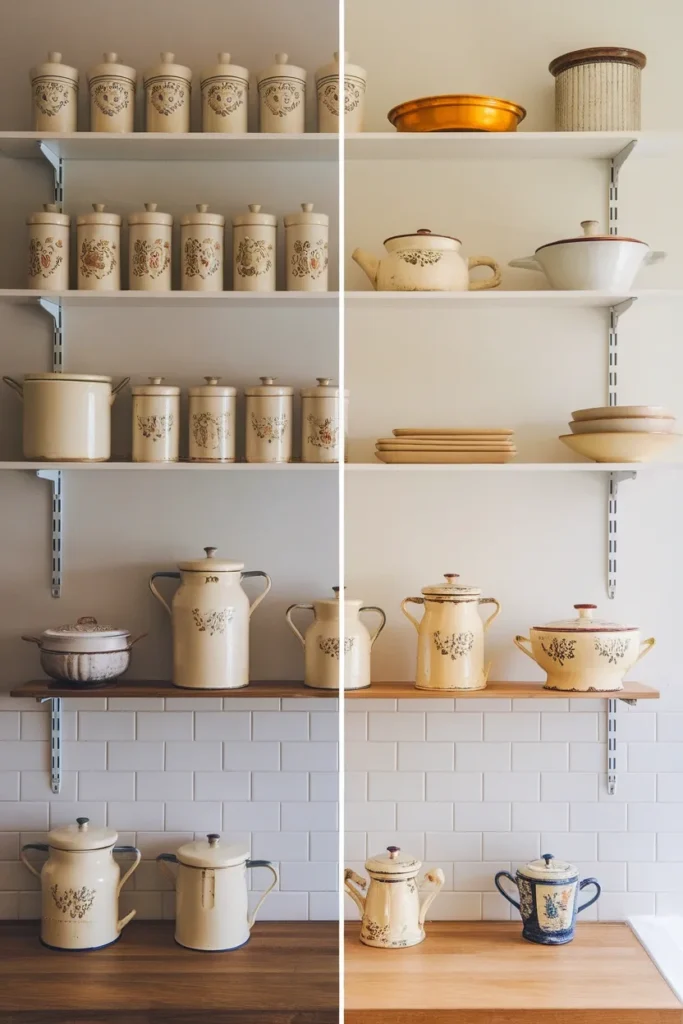
Matching sets. A coordinated rooster-themed canister set from one store is decor. Six unrelated tins in the same color family are a collection. Buy things at different times, from different places.
Everything on display. Edit to about 70 percent full and stop. Empty space is what signals the arrangement was a choice.
One decade, everywhere. A room that is 100 percent 1950s reads as a themed diner. Mix a 1920s scale with a 1970s Pyrex bowl and a modern faucet, and it reads as a real home that accumulated things.
Fake age. Distressed-look new items with printed “vintage” typography on them undercut the actual old objects sitting next to them. One genuinely old thing beats five reproductions.
The correction for all four is the same. Remove three objects, then look again the next morning.
FAQ
What is the easiest way to create a vintage kitchen look on a budget? Change your bulbs to 2700K warm white, decant dry goods into glass canisters, and put out three genuinely old objects on a tray. Under $50 if you thrift the objects, and it shifts the whole room.
Can I mix vintage and modern elements in a kitchen? Yes, and you should. A modern faucet and a stainless dishwasher next to a 1930s enamel table is what stops the room from reading as a themed set. Aim for roughly one third old objects, two thirds functional modern.
What colors work best for a vintage kitchen? Muted and slightly dusty versions of ordinary colors. Sage green, cream, butter yellow, dusty rose, deep plum, faded brick. Pinterest’s 2026 trend data shows sage green and cream up 410 percent and vintage pink up 275 percent, so the muted end of the range is where the interest is.
Do I need to buy actual antique items to get the vintage look? No, but you need a few. Reproductions read as reproductions when they are the only thing on the shelf. Three or four real pieces carry a whole kitchen, and the rest can be new.
Are vintage dishes safe to eat off of? Some are, some are not. The FDA flags antique, handmade, crudely finished, damaged, and brightly orange or red decorated ceramics as higher risk for lead, while commercially manufactured everyday dinnerware is much less likely to be a problem. Use a hardware store lead test swab on anything you plan to eat from, and keep chipped or crazed pieces for display only.
How can I get vintage kitchen decor without renovating? Work only on things that are not attached to the building. Freestanding furniture, textiles, lighting, dishware, hardware swaps that reuse existing holes, and removable wallpaper on the backsplash. That covers most of the visual weight of the style.
How do I stop my vintage kitchen from looking cluttered? Follow the 12-inch breathing rule on open shelving, keep every surface at about 70 percent full, and group small objects on trays so they read as one item instead of nine.
Start With the Bulb
If you do one thing from this page, make it the 2700K swap, then live with it for a week before you buy a single object. Warm light is the base coat that makes everything else you add look intentional instead of thrifted.
After that, work outward slowly. One shelf. One freestanding piece. One corner to sit in.
And if that last one caught your attention, the kitchen corner is usually just the first nook in a small home. Once you have got the light right in there, the same three rules (warm bulb, one soft surface, one place to set a mug down) will build you a reading spot in a bedroom, a hallway, or a landing.
Little Nook Home participates in affiliate programs. Product archetypes named here are examples, not sponsored placements.
Keep reading
More cozy nook ideas
 Living Room
Read →
Living Room
Read →
Cabin Living Room Checklist: Everything to Decide Before You Start
No log walls, no stone hearth, no lake outside the window. You can still build a cabin living room in a regular…
 Bedroom
Read →
Bedroom
Read →
English Cottage Bedroom Checklist: Everything to Decide Before You Start
You saved forty pins of floral quilts and sloped ceilings, then looked up at your own bedroom: beige walls, one window, a…
 Nursery & Teen Rooms
Read →
Nursery & Teen Rooms
Read →
25 Teen Boy Bedroom Ideas That Feel Grown-Up, Not Childish
If his room still has the race car lamp and the glow-in-the-dark stars, and the door has started staying shut, he’s telling…