
Cottagecore Bedroom Fairy Lights That Look Like a Cottage, Not a Dorm Room

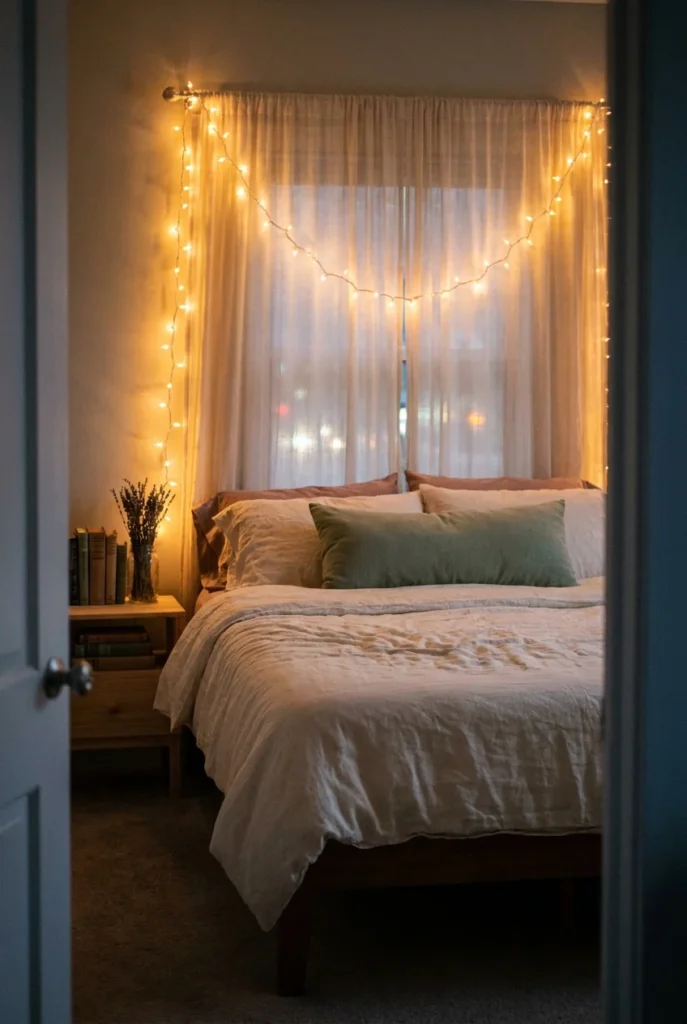
You bought the string lights. You taped them up in a wobbly line above the bed, stood back, and felt that small sink of disappointment, because the pin looked like a candlelit farmhouse and your wall looks like a freshman dorm in 2014.
Same lights. Completely different result. The gap isn’t budget or square footage, and it isn’t your landlord.
It’s three specs almost nobody talks about.
Cottagecore bedroom fairy lights only read as cottage when the light itself is warm enough, the wire is thin enough, and the brightness is low enough to make pools instead of a wash. Get those right and a $15 string outperforms an expensive fixture. Get them wrong and no amount of linen and dried lavender saves it.
Below: the three numbers, seven placements that photograph well and live well, a renter’s mounting kit that comes down clean, and the safety spec every other guide on page one leaves out.
The Three Number Rule: 2700, 33, and 5
Write these down before you buy anything.
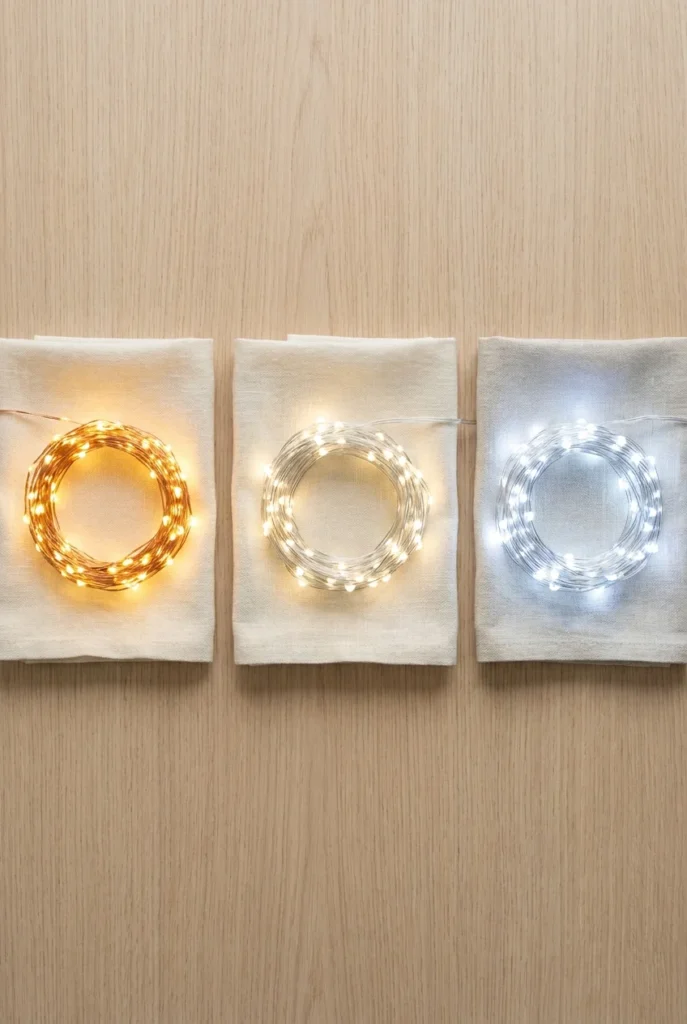
2700K or lower. Kelvin is the color temperature of the light, and it’s the whole ballgame. Warm white sits around 2700K and reads like candle flame and old lamplight. Cool white climbs to 5000K and above, which is office lighting, and it will make your cream linen look grey and your wood furniture look dead.
Packaging often says “warm white” without printing a number. If there’s no Kelvin value listed anywhere on the box or the product page, assume it’s cooler than you want.
33 feet, roughly, per placement. A 33 ft copper wire string with 100 LEDs is the workhorse of this entire aesthetic. It’s enough to canopy one side of a queen bed, or frame a standard window, or wrap a leaning ladder with length to spare. Buy per placement, not one giant string for the whole room.
5 brightness levels, or a dimmer. Fairy lights at full blast are a wall of light. Fairy lights at 40% are a mood. Any set with a remote, an app, or an inline dimmer gives you the range, and the low end is where the cottage feeling actually lives.
Here’s what the Kelvin scale does to a room:
| Kelvin | Light reads as | In a cottagecore bedroom |
|---|---|---|
| 2200K | Candle flame, amber | Warmest option, gorgeous at night, can go orange on camera |
| 2700K | Old incandescent lamp | The target. Warm, flattering, cottage-correct |
| 3000K | Soft white | Acceptable. Slightly cleaner, slightly less romantic |
| 4000K | Neutral white | Starts reading modern and clinical |
| 5000K+ | Daylight, cool white | Dorm room. Office. Avoid entirely |
One more spec that matters more than it should: wire color and thickness. Thin bare copper or a fine coated wire nearly disappears in daylight, so the lights read as floating points. A thick white or green PVC cord announces itself as a Christmas product all day long, and your room only looks right for the four hours it’s dark.
Budget roughly $10 to $25 for a basic 33 ft copper wire string and $25 to $60 for a longer app-controlled set. Those are typical ranges rather than fixed prices, and they swing with sales.
Placement 1: Canopy the Bed
This is the most-saved fairy light placement on Pinterest, and it’s the one people most often get wrong.
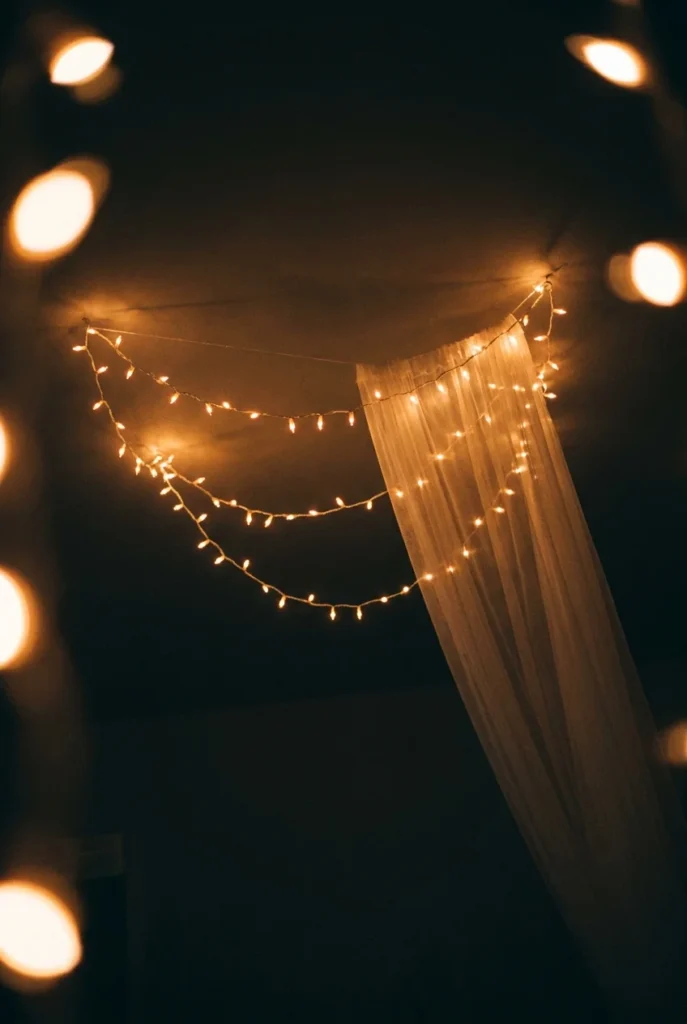
The mistake is running a straight taut line. Tension reads as utility. What you want is sag, because a gentle curve is what makes fabric and light look draped rather than installed.
Use four anchor points, not two: one at each corner above the bed, and two more pulled out toward the room so the string forms a shallow dome instead of a flat ceiling. Aim for about 8 to 12 inches of dip at the lowest point of each swag. Any less and it looks stretched. Any more and you’ll headbutt it getting into bed.
If you have an actual four-poster or a hoop canopy frame, wind the string loosely around the frame rather than along it, roughly one full turn every 6 to 8 inches. The spiral catches light from more angles.
No frame and no drilling allowed? Run the string along the wall behind the bed at about 12 inches above the headboard, then drape a single sheer panel over it. You get the canopy read without a single hole.
Failure mode: anchoring into the ceiling with adhesive hooks. Ceiling adhesive fails under sustained downward pull, usually at 2am, usually onto your face. Anchor into walls and let the string cross the space, or use a proper ceiling-rated fastener.
Placement 2: Backlight Sheer Curtains
If you only do one thing from this list, do this one. It’s the highest ratio of visual payoff to effort in the whole article.
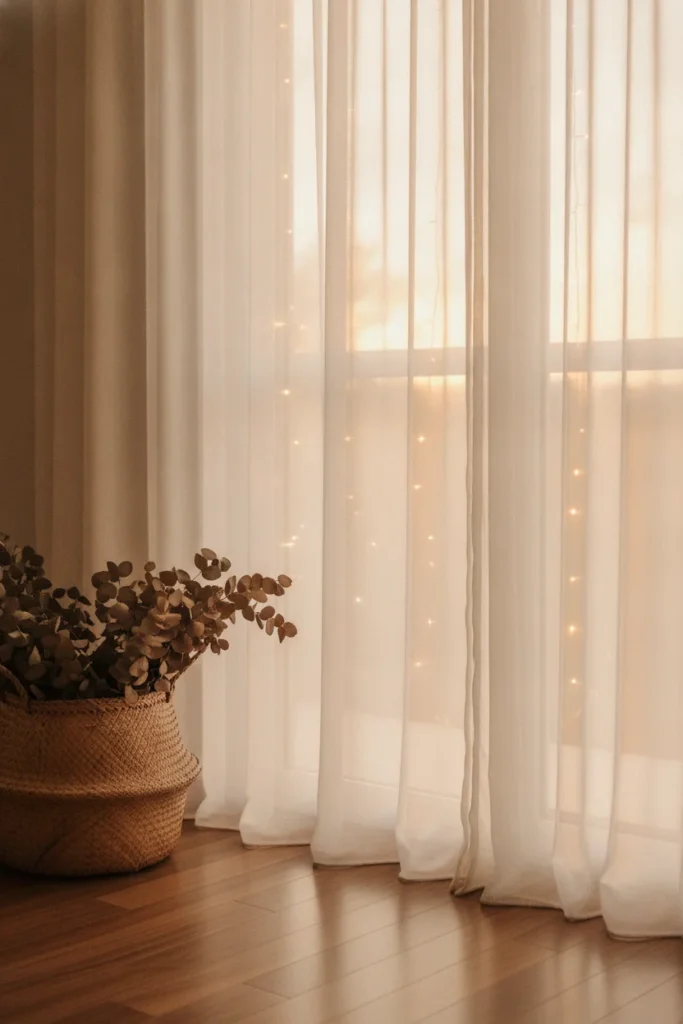
Hang the string between the window and a sheer curtain panel, not in front of the sheer and not against the glass. The fabric diffuses every point of light into a soft even wash, so instead of seeing 100 individual bulbs you see a glowing wall. It reads expensive. It’s the cheapest thing here.
Run the string vertically in loose S-curves down the panel rather than horizontally, which keeps the brightness even from top to bottom. Cheap sheer panels work better than nice ones for this, because a thinner weave diffuses more generously.
This placement also quietly solves the biggest cottagecore problem in a rental: a boring window with builder-grade blinds. Once there’s a sheer glowing in front of it, nobody’s looking at the blinds.
Failure mode: using blackout curtains instead of sheers. No light gets through, and you’ve just hidden your lights inside a fabric sandwich.
Placement 3: A Light Line Behind the Headboard
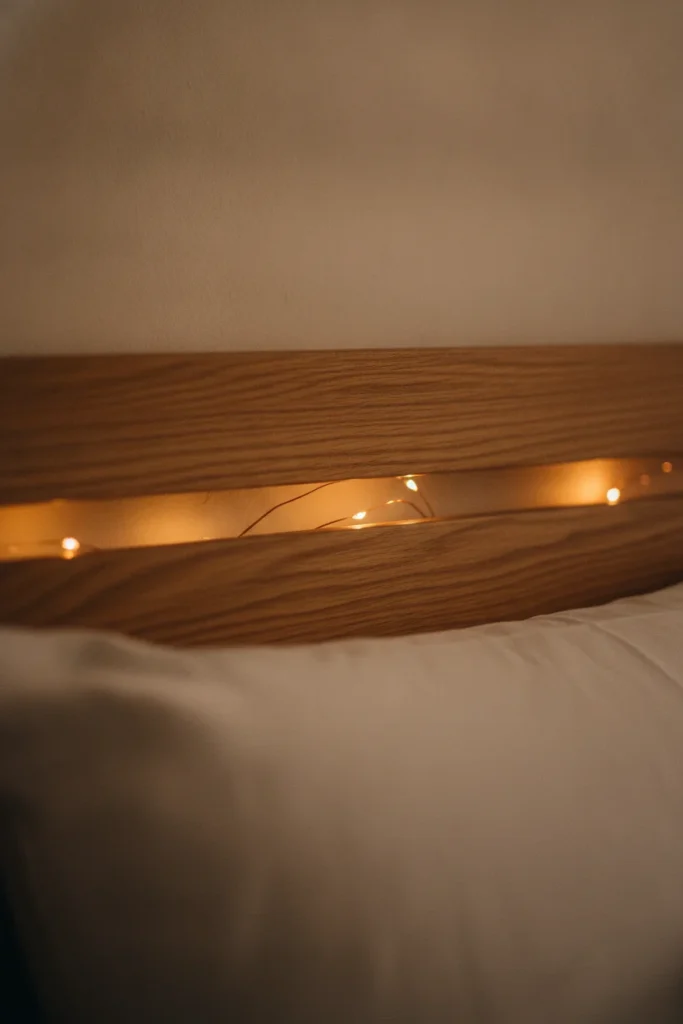
Tuck the string in the gap between headboard and wall so the bulbs never show. You get a halo of light around the bed’s silhouette and no visible hardware at all.
The trick is distance. Sit the string about 3 to 4 inches off the wall so the light has room to spread into a gradient instead of a hard hot line. Foam mounting tape, a slim strip of cardboard, or a few adhesive clips spaced along the back of the headboard will hold that gap.
Solid headboard with no gap? Run the string along the wall in a wide horizontal band about 6 inches behind where the headboard ends, so the glow spills past both sides.
Warm-toned wood and upholstered headboards take this beautifully. Painted white ones can go slightly yellow, which either reads as candlelight or as nicotine depending entirely on your Kelvin. Which is why the first section exists.
For a fuller picture of how ambient layers stack in a room, these warm lighting ideas for the whole home cover the same logic applied beyond the bedroom.
Failure mode: a string with a bulky battery pack and no way to hide it. Route the pack down behind the bed leg or use a USB string with a longer lead.
Placement 4: Braid the Lights Into a Dried Flower Garland
Here’s where this stops being generic fairy light decor and becomes properly cottagecore.
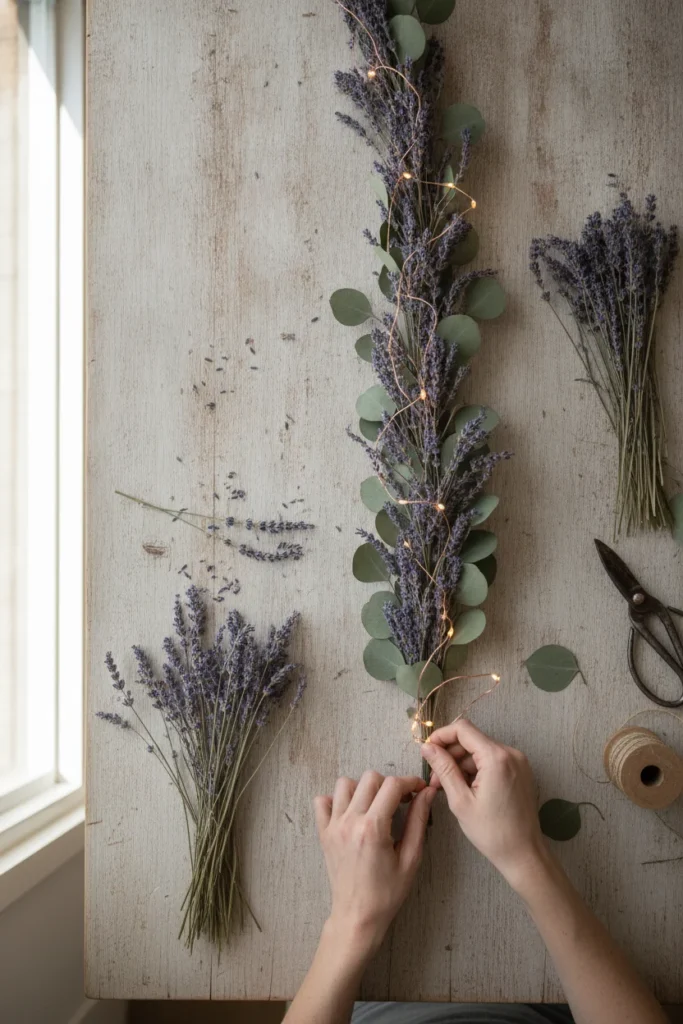
Take a length of dried eucalyptus, lavender, wheat, or preserved fern, and braid the copper wire string through it so the bulbs sit inside the foliage rather than on top. The greenery breaks up the light into irregular flickers, which is what makes it feel like something growing rather than something bought.
Drape it along a mantel, a mirror frame, a curtain rod, or the top edge of a headboard.
Dried lavender does something the photos can’t show you. Brush past it and the room smells faintly of it for a minute afterward, and warm LEDs sitting close to the stems seem to lift the scent slightly. It’s a small thing that makes a room feel inhabited.
Keep the ratio at roughly two parts foliage to one part visible bulb. More light than that and the greenery reads as a garnish on a light fixture rather than the other way around.
Trade-off, honestly: dried botanicals shed and they collect dust in a way silk stems don’t. Expect to shake yours out over a trash can every few weeks and to replace the whole garland after a year or so. If that sounds like too much, preserved eucalyptus holds up considerably longer than dried lavender.
If you want the full styling context around this look, the broader cottagecore aesthetic room ideas guide covers the textiles and furniture that sit under this kind of lighting.
Placement 5: Give the Reading Corner Its Own Pool of Light
A bedroom lit evenly is a bedroom with nowhere to hide. Cottagecore lives in the uneven parts.
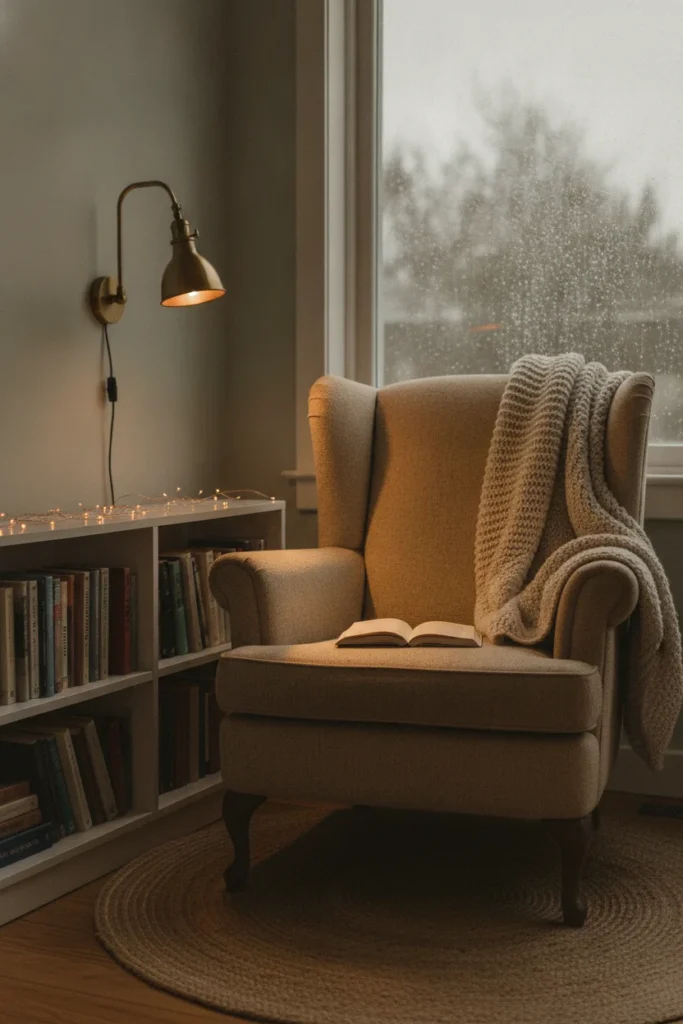
Pick the corner you actually sit in, or the one you’d like to. Wrap fairy lights around whatever’s already there: the back of an armchair, a small bookcase, the frame of a window seat. The goal is a distinct pocket of light with dimmer space around it, so the corner feels tucked away from the rest of the room.
Fairy lights alone won’t let you read, and this is the honest limitation of the whole category. They’re ambient, not task lighting. Pair them with one clip-on reading light or a plug-in sconce at about 48 to 52 inches off the floor, positioned so the light falls over your shoulder onto the page rather than into your eyes.
The 18-inch reach rule applies here: whatever surface holds your tea, your book, and your phone should sit within 18 inches of where your hand rests when you’re seated. Further than that and you’ll stop using the corner within a week, no matter how good it looks.
Pinterest’s own Spring 2026 trend report backs the direction, with searches for “comfy reading chair small spaces” up 455% and “closet reading nook for adults” up 55%. Small, enclosed, and softly lit is where the demand is.
Failure mode: lighting the corner but leaving the overhead on. The pool of light only exists if everything else is dimmer.
Placement 6: Wrap a Leaning Ladder or Open Shelf
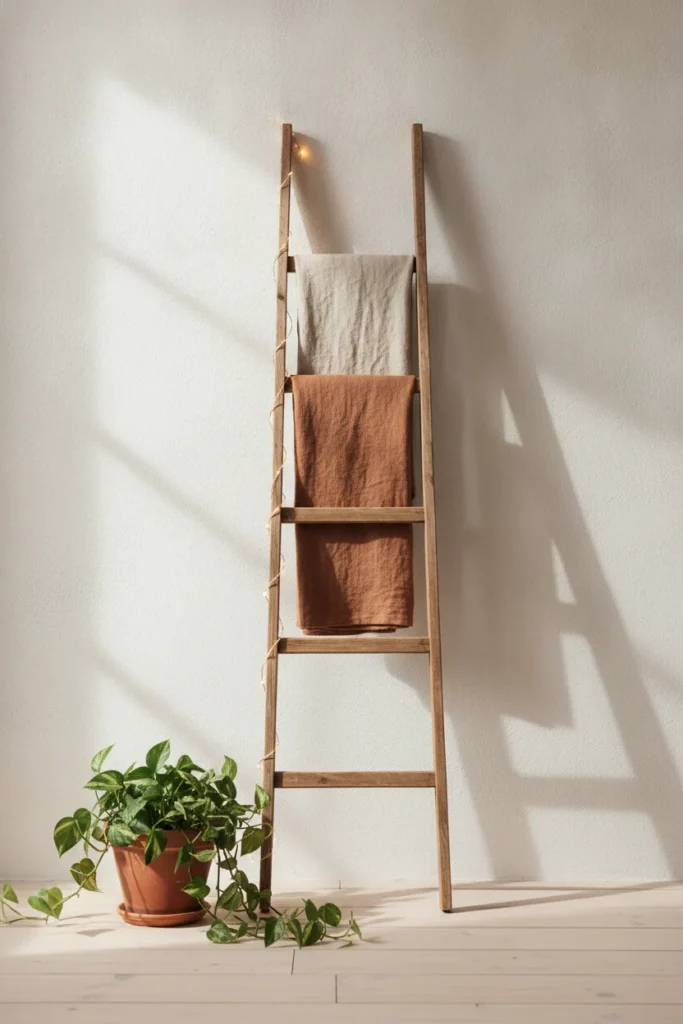
A leaning wooden ladder is one of the highest-value cottagecore pieces you can own, because it holds throws, adds vertical height, and needs no wall fixing at all. Wind fairy lights down one rail in a slow spiral, roughly one turn per rung.
On open shelving, run the string along the back edge of each shelf rather than the front lip. Back-edge placement throws light forward onto whatever’s displayed. Front-lip placement throws it into the room and blinds you at eye level.
Ceramic, glass, and brass objects all pick this up well. A row of amber glass bottles with a string behind them is genuinely one of the prettiest cheap effects available in a bedroom.
Keep the objects sparse. Light needs gaps to travel through, and a packed shelf just absorbs it.
Failure mode: lighting a cluttered shelf. Fairy lights are a spotlight on whatever they touch, including the mess.
Placement 7: Frame the Window at Cafe Height
Instead of outlining the whole window, run the string along the lower two-thirds only, roughly where a cafe curtain would sit. The top stays open for daylight and the bottom glows after dark.
This one earns its place in small rooms specifically. A fully outlined window pulls the eye to a rectangle and makes the wall feel smaller. A partial frame keeps the sightline open.
Command clips spaced every 10 to 12 inches along the trim hold a light copper string with no trouble, since the whole run typically weighs well under a pound.
Failure mode: running lights across a window you open regularly. Route around the fixed frame, not the moving sash.
The Renter’s Mounting Kit: Zero Drilling, Zero Deposit Loss
Everything above works without a single hole. Here’s the kit and, more importantly, the removal sequence, because that’s the part that actually protects your deposit.
What holds what:
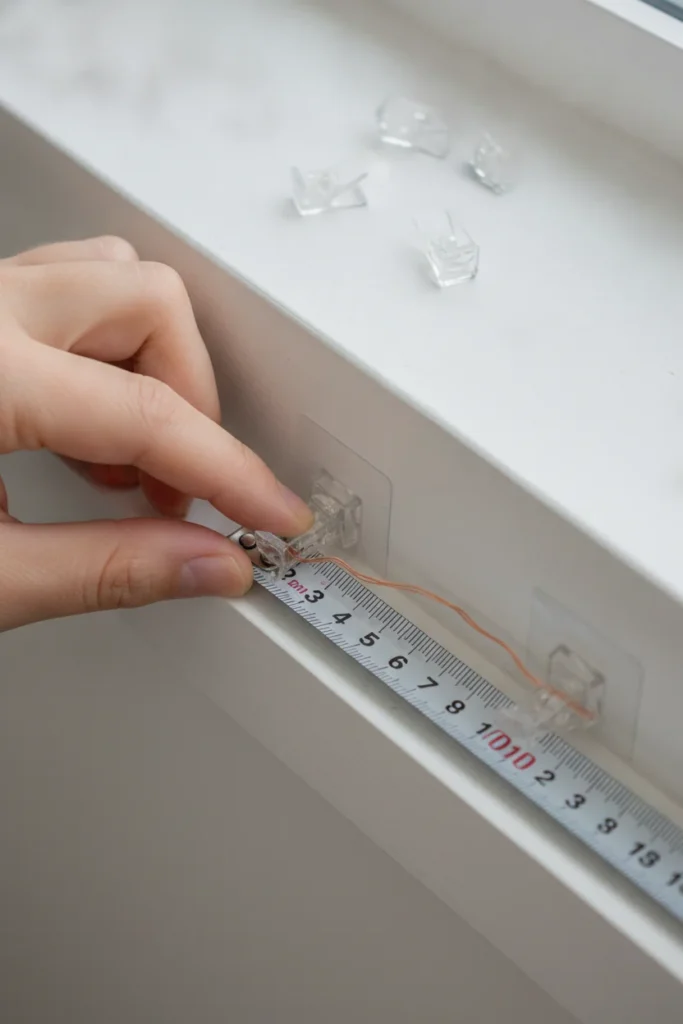
- Clear adhesive decorating clips for the string itself. A light copper wire run weighs almost nothing, so the small clips are fine. Space them every 10 to 12 inches on straight runs, closer on curves.
- Medium adhesive utility hooks (typically rated around 3 to 5 lb) for anything with weight, like a garland or a swag with fabric in it.
- Tension rod across a window recess or an alcove, for a fully fixture-free anchor point.
- Adhesive-backed cable clips to route the power lead down a wall edge so the cord disappears.
The removal sequence that saves paint: pull the adhesive tab straight down, slowly, parallel and flat against the wall. Never pull outward or at an angle. If a tab breaks off inside, warm the strip with a hair dryer on low for 20 to 30 seconds and it releases without taking the paint.
Two real limitations to know going in. Adhesive strips fail on textured, freshly painted, or wallpapered walls, so test one in a hidden spot and leave it a full day before committing to a whole run. And paint cured less than about three weeks is still soft, which means the adhesive can bond harder than the paint bonds to the wall.
More approaches in this vein sit in these renter friendly apartment decor ideas if your whole place needs the no-holes treatment.
The Spec Every Other Bedroom Guide Skips: Seasonal vs Year-Round Rated
Most string lights sold in the US are certified for seasonal use, meaning roughly 90 days a year. If you leave yours up permanently, and in a cottagecore bedroom you almost certainly will, you’re running a seasonal-rated product well outside its intended duty cycle.
A separate category exists for exactly this. UL created a year-round use classification for string lights with genuinely stricter requirements: a larger minimum wire gauge, thicker wire insulation, additional flex testing, more rigid strain relief testing, and different safety markings. The requirements were agreed by the UL 588 standards panel and published in September 2017. Worth knowing that the revision covers parallel-connected strings, not series-connected ones. The full breakdown of UL 588 string light certification requirements is on UL’s own site.
What to actually do with this:
- Look for a year-round or all-year use marking on the packaging, not just a UL mark
- Check the listed maximum run time and the number of strings you can safely connect end to end
- Put the whole run on a timer or a smart plug, which caps daily hours without you thinking about it
- Never run a string under a rug or through a doorway where it gets stepped on or pinched
None of this is a reason to be nervous about fairy lights. It’s a reason to spend four seconds reading the box.
Why LED Specifically, and Not the Old Stuff
If you inherit a box of older incandescent string lights, don’t put them on your bed.
Incandescent bulbs release about 90% of their energy as heat, according to the Department of Energy, while LEDs emit very little heat by comparison. On a canopy, where the string sits inches from fabric and pillows and possibly your hair, that difference stops being an efficiency stat and starts being the reason it’s safe to drape at all.
LEDs also use at least 75% less energy and last up to 25 times longer, which is the difference between a string you replace every season and one that outlives the apartment. The Department of Energy LED lighting guide has the full comparison.
Run cost is genuinely negligible. A small LED string drawing a few watts, on for five hours a night, costs pennies a month. You can leave it on guilt-free, which matters, because the whole point is a room you want to be in.
Five Ways This Goes Wrong
Front-loaded worst first, since these are the ones that undo everything else.
- Cool white bulbs. Nothing else on this list can rescue 5000K light in a cottage room. It’s the first thing to check and the only truly unfixable mistake.
- One string doing everything. A single long run stretched around the whole room gives you flat even light, which is the opposite of the goal. Two or three short runs in separate spots beat one long one every time.
- Full brightness, always. Most people never touch the dimmer after setup. Try your string at 30 to 40% for a week before deciding how it looks.
- Visible cords and battery packs. The eye finds a white cord snaking down a wall instantly. Route it behind furniture, along a trim line, or down a curtain edge.
- Lights doing the work of furniture. Fairy lights amplify a room that already has texture. They can’t create one. If the room is bare, layer a throw and a rug first, then light it.
Cottagecore Bedroom Fairy Lights Frequently Asked Questions
What color fairy lights are best for a cottagecore bedroom? Warm white at 2700K or lower. Look for a printed Kelvin value rather than trusting the phrase “warm white,” which manufacturers use loosely. If you’re choosing between two options and only one lists its Kelvin, choose that one.
How many feet of fairy lights do I need for a canopy bed? For a queen four-poster, plan on roughly 60 to 70 feet total, which is usually two 33 ft strings. For a simple wall-mounted swag above the headboard, one 33 ft string is plenty. Buy slightly more than you measure, because loose draping eats length faster than you’d expect.
How do you hang fairy lights without nails or damaging walls? Clear adhesive decorating clips every 10 to 12 inches for the string, adhesive utility hooks for anything heavier, and a tension rod where you need a fixture-free anchor. Remove by pulling the tab straight down flat against the wall, never outward. Test one clip in a hidden spot first if your walls are textured or recently painted.
Are fairy lights safe to leave on overnight? LED strings run cool and are generally fine, but check whether yours is rated for seasonal or year-round use, and don’t run them under rugs, through doorways, or pinched behind furniture. A timer or smart plug is the simplest safeguard, and it saves you remembering.
Can you use fairy lights in a small or rented bedroom? This is arguably where they work best. Every placement in this article is drill-free, and in a small room the pools-of-light approach makes the space feel larger and softer than a single overhead ever will.
Is a cottagecore bedroom expensive to put together? The lighting layer is the cheapest part of it. A basic 33 ft copper wire string typically runs $10 to $25, and two or three of them placed well will change a room more than a single expensive fixture. Prices move with sales, so treat those as ranges.
What’s the difference between fairy lights, string lights, and curtain lights? Fairy lights are the fine-wire type with small closely spaced bulbs. String lights usually means a thicker cord with larger, more widely spaced bulbs, closer to a patio or Edison style. Curtain lights are multiple vertical strands hanging from one horizontal line, designed to cover a whole wall or window. For cottagecore, fairy lights are the default and curtain lights work well behind sheers.
Start With One Placement Tonight
Don’t do all seven. Pick the sheer curtain one, because it takes about ten minutes, needs no hardware beyond what’s already on your curtain rod, and changes the room the most for the least effort.
Get that right, live with it a few evenings, and you’ll know exactly where the second string belongs.
If your bedroom has an awkward corner you’ve never known what to do with, that’s usually the next place a set of lights and a chair earn their keep.
Keep reading
More cozy nook ideas
 Bedroom
Read →
Bedroom
Read →
English Cottage Bedroom Checklist: Everything to Decide Before You Start
You saved forty pins of floral quilts and sloped ceilings, then looked up at your own bedroom: beige walls, one window, a…
 Bedroom
Read →
Bedroom
Read →
21 Small Bedroom Ideas for Couples
Sixty-two and a quarter inches. That’s the width of a common IKEA queen storage frame, and in a 10 by 10 foot…
 Bedroom
Read →
Bedroom
Read →
Floral Bedding Ideas for a Cottagecore Bedroom That Still Looks Right in Daylight
No painting. No drilling. No conversation with your landlord. Floral Bedding Cottagecore is the one cottagecore move you can make in an…